Overview
The Manage Data section of m-Power is a critical component of your m-Power Data Dictionary. This screen controls many facets of data management, including:
- Registering Existing Tables to m-Power
- Creating New Tables
- Uploading Spreadsheet Data
- Modifying Table & Field attributes (Description, Format Code, etc)
- Add Database Field
- Alter Tables (only available for Tables created within m-Power)
- Work-with Synonyms
This documentation will explain the above functionality available on each of the topics listed above.
Registering Existing Table to m-Power
Before building your first application, you must first register a table(s) to m-Power. Each Data Dictionary has its own list of registered tables, so if you are creating a new Data Dictionary, any tables you have already registered in existing dictionaries will need to be re-registered within the new dictionary. Once your table(s) has been registered, you can then proceed to building an application.
To begin, open the “Admin” right-slider and drill down on “Tables”. Then click the “Register” button.
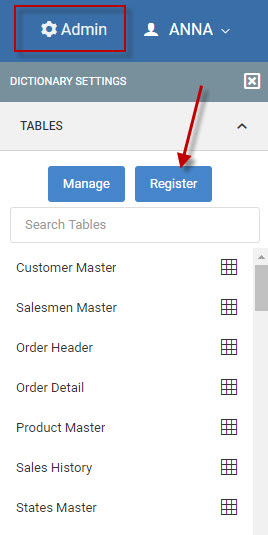
Here you will pick a database schema. Once a schema is selected, all tables within that schema will be displayed. Simply click the “Register” icon to register as many tables as you would like.

Creating New Tables
Perhaps you are starting a new project, or just to work with a table that does not yet exist. While you could create this table away from m-Power, the “Create New Table” feature gives you the ability to do this without leaving the m-Power interface. An additional benefit of using the “Create New Table” interface is that you will have the ability to alter your table in the future, if the need should arise.
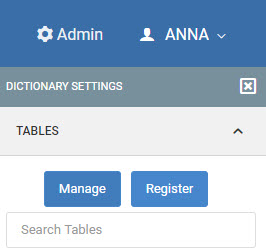
To begin, open the “Admin” right-slider, drill down on “Tables”, click the “Manage” button and click “Create new table”.

Specify the table name that should be created via this process. By default, the schema name will be defaulted to your data dictionary, but you can save your table to any schema that exists on your database.
To begin, simply click the blue “Add New Field” button to add an additional column to your table. Add as many fields as necessary, however ensure that no blank fields exist (You can delete a field by pressing the Remove “X” next to the corresponding field).
If you are creating a field that is used elsewhere in the dictionary, click the “Lookup” button to select it from a list of fields already registered in the dictionary. Using this functionality, will automatically inherit the proper field type and field attributes.
If you are creating a field that has not been registered in this dictionary, specify the field name, field type, length and decimals (if applicable).
When completed, click “Create Table”. Tables created in this manner are automatically registered to your dictionary, for your convenience.
Uploading Spreadsheet Data
Perhaps you have a situation where multiple end-users are trying to edit different versions of the same Spreadsheet? Often times, in this situation, issues of questionable data integrity are serious. To solve these problems, use the “Upload Data” feature. This feature allows you to handle a one-time upload of existing spreadsheet data into your database. Then, users can access and maintain this data with m-Power applications.
To begin, open the “Admin” right-slider and drill down on “Tables”. Then click the “Manage” button. Finally, click the “Create table from spreadsheet” button.
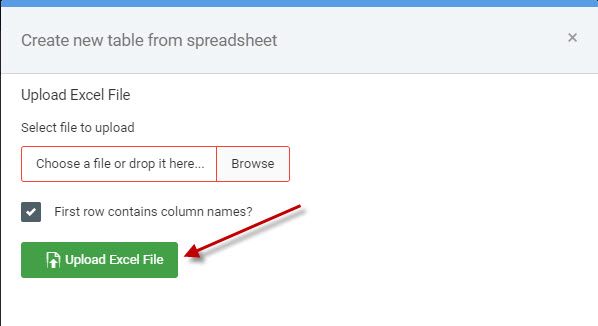
Select an Excel file from your local PC to upload. Then click the “Upload Excel File” button. This will analyze the spreadsheet data and default the remaining inputs such as table, schema, and table description. By default, the schema name will be defaulted to your data dictionary, but you can save your table to any schema that exists on your database. In addition to the schema/table suggestions, m-power will suggest field names and attributes based on the data uploaded. Make any necessary changes, then click the “Confirm fields and create table” button. Tables created in this manner are automatically registered to your dictionary, for your convenience.
Modifying Table & Field Attributes
The Data Dictionary structure of m-Power allows developers and administrators the ability to set up metadata about registered tables and fields that will be inherited into m-Power applications during the application design process. For example, let’s say that your ERP defines your field CUSNO as “Customer Number”. When this field is registered to m-Power, this description is automatically assigned to this field. Now, let’s say that, for brevity, you would prefer “Customer #” as the description. Without the ability to manage your metadata at the dictionary level, you would be forced to change “Customer Number” to “Customer #” in each application you built. Instead, the Data Dictionary structure allows you to save this information globally, to then be applied to each application automatically.
To begin, open the “Admin” right-slider and drill down on “Tables”. Then click the “Manage” button.
Manage Table Information
Click the “Edit” button next to the corresponding table you wish to update. While the table name is not editable, you can modify the schema, description and core table setting.
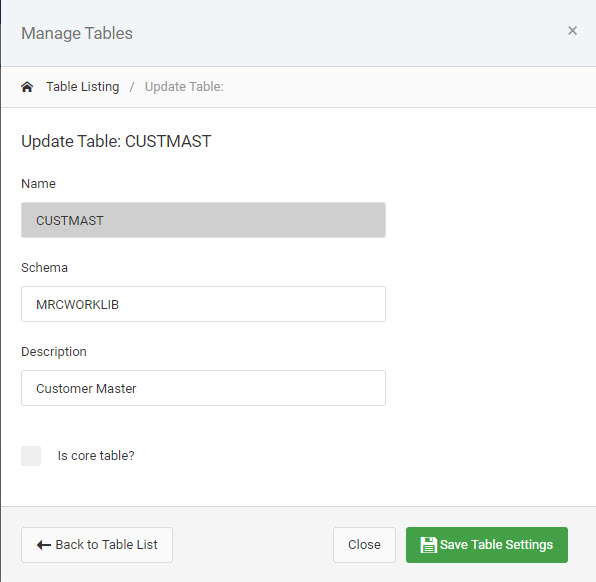
The Core Table setting is a flag that is available at the table level for added security. Developers who have their m-Power profile set to not work with “Core Tables” would not be able to edit this table, nor build Maintenance applications over it.
Manage Field Information
Click the “Fields” button to access the fields from the corresponding table.
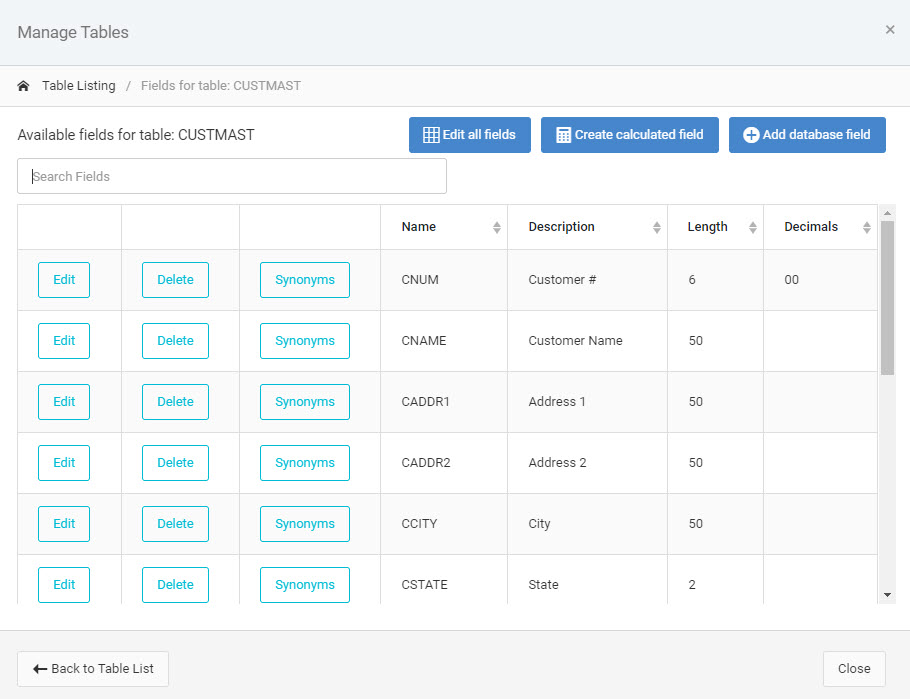
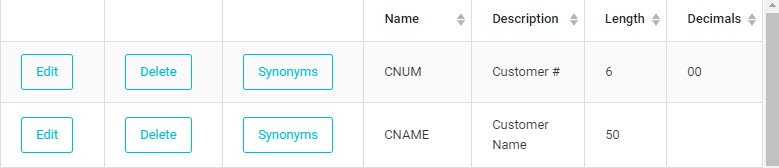
This screen lists all field information for fields that belong to this table. Click the “Edit” button to view information about this field.
Note: The Edit All Fields button allows you to edit all the fields within this table at once, within a grid format.
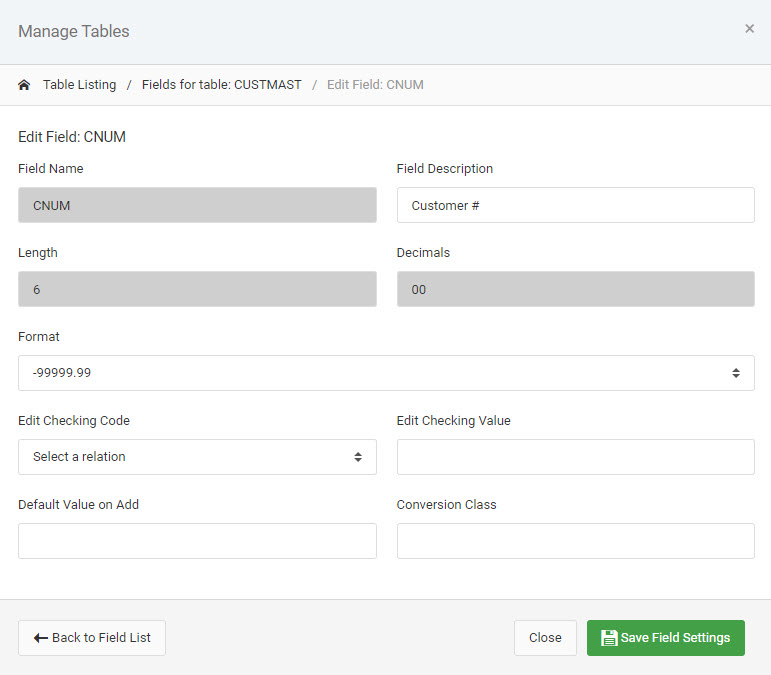
Numeric fields allow the Format Code to be edited. More information can be found here.
The Edit Checking code and value are useful if you plan on frequently using this field in a maintenance application and require validity checking. Default value for add, also used in Maintenance only, controls the value of this field when accessed in a Maintenance application in add mode.
Date Field Type, applicable to date fields only, allow you to control the format of your date field globally. More info can be found here.
Conversion Class, most typically used to better handle numeric date fields, allow users to enter data in one format, but for it to be recognized by the server in a different format. More info can be found here. Click “Save Field Settings” to return to the Manage Fields screen.
Changes made here will always apply to newly created applications.
Add Database Field
This feature allows you to check the physical database table and see if any new fields have been added since the time the table was originally registered. In other words, you would use this feature if you, or your database vendor, added a field to your database table. Until doing so, m-Power would not be able to recognize this new field.
Note: This feature is only for fields that already exist. If you need a new field added, please speak with your Database Administrator to add the field. Once it is added, then you can revisit the “Add Database Field screen”.
To begin, open the “Admin” right-slider and drill down on “Tables”. Search for the table in question and click the grid icon to open the table fields. Finally click the “Add database field” button.

If any fields are available, they will be listed here. Click the “Add”button to register this field to this table within m-Power.
Alter Tables
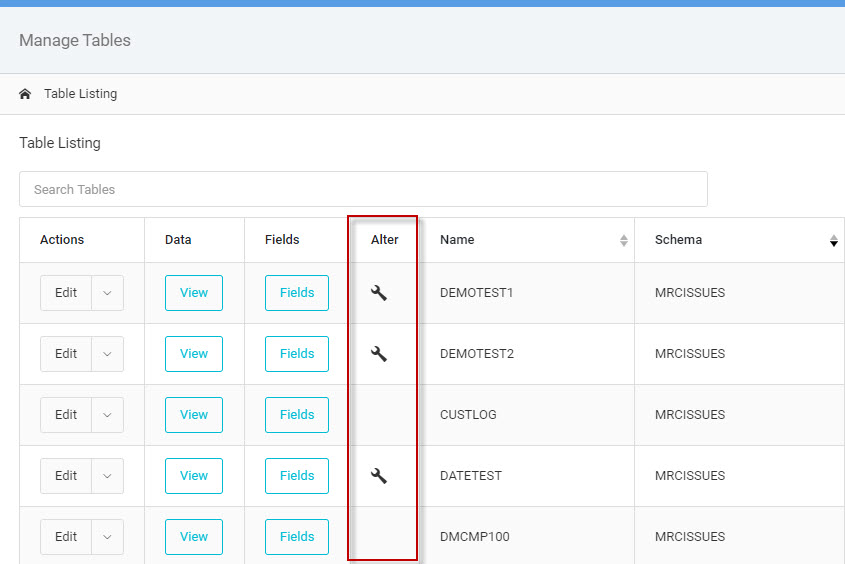
Tables created within m-Power are available to be altered directly within the platform. Developers have the ability to add additional columns, as well as increase the size of existing columns. To begin, open the “Admin” right-slider and drill down on “Tables”. Then click the “Manage” button. Notice the “Alter column” on the “Manage Tables” screen. If a wrench exists, it means this table was created within m-Power and is available to be altered. Click the wrench.
Add a New Field
To add a new field, click the “Add New Field” button. Specify the necessary field information. Field Name, Length, Decimal (if numeric), and description are required. To learn about the purpose of the fields, please click here.
Click “Confirm Alter Table.” Confirm that you wish to physically alter the table by clicking “Alter table”.
Modify an Existing Field
Click the “Edit” button on the Alter Table Fields screen. Here you can change the field length.
Note: To remove the possibility of data truncation, m-Power does not allow you to reduce the length of field attributes – they can only be increased.
Click “Confirm Alter Table”.
Work-with Synonyms
Synonyms are a core component of m-Power as they allow you to join tables together on field names with different names. By default, m-Power only allows you to join on fields from multiple tables that have the same name. For example, in the event you wish to join table ORDHEAD and ORDDET together in your application, both tables would need the same exact field name (for instance, ORDNO).
However, let’s say in your situation, your ORDHEAD table contains a field called ORDNUM and ORDDETAIL has a field called ORDNO. By default, m-Power would not allow you to join. To resolve this, we need to create a synonym which authorizes m-Power to join on fields with dissimilar names.
m-Power joins are reciprocal. Meaning, in the case illustrated above, I can create a synonym from ORDNO to ORDNUM or ORDNUM to ORDNO. In either case, the same outcome will occur.
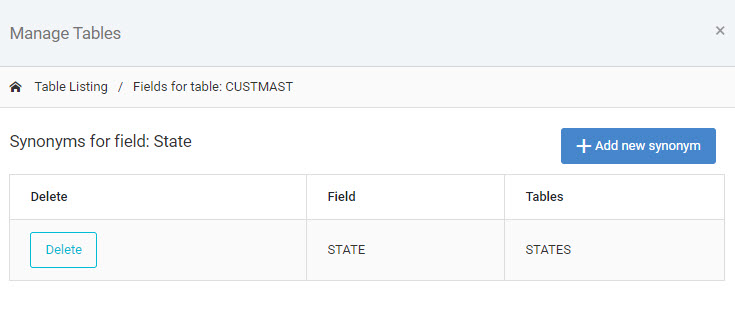
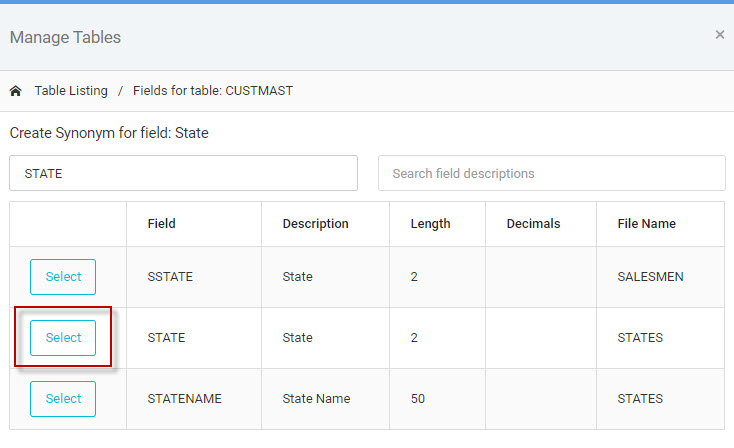
To begin, open the “Admin” right-slider and drill down on “Tables”. Find the table that contains one of the necessary fields and click the grid icon. Next, on the “Manage Fields” screen, find the necessary field and click the “Synonyms” button.
If no synonyms exist yet for this field, you will be able to search for existing fields in the dictionary you wish to create your synonym to and press the “Select” button.
When complete, click “Done”.