Overview
Occasionally you may want to redirect to another page after a user has performed an action within a Maintenance application (such as Update, Delete, or Add). One of the most common uses of the redirect is after a user fills out a form. Once they have completed and press the “Accept” button, developers desire to automatically redirect them to a confirmation page.
Application Properties
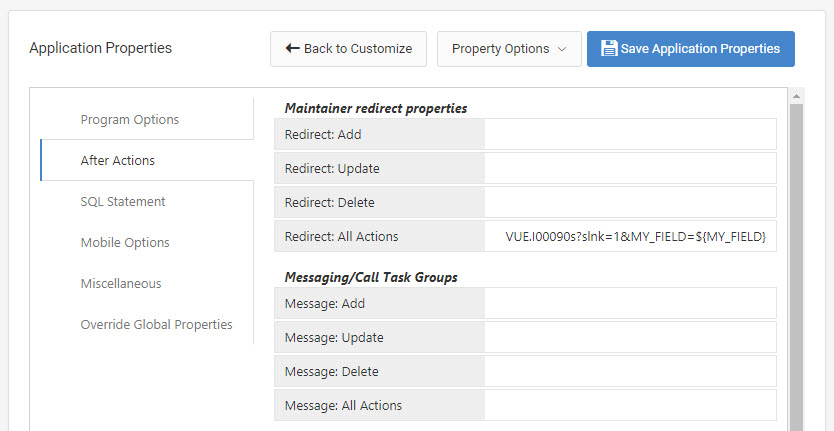
From the Application Properties screen. From the “Customize” screen, access the “Application Properties” from the “Edit Properties” button, then click the After Actions tab. Here you will find four properties related to redirecting:
Redirect: Add This will be the URL to redirect to after adding a new record successfully.
Redirect: Update This will be the URL to redirect to after updating a record successfully.
Redirect: Delete This will be the URL to redirect to after deleting a record successfully.
Redirect: All This will be the URL to redirect to after any of the actions have been completed successfully (Add, Update, or Delete).
In any of the above cases, Use ${FIELD} substitutions to insert submitted form values into the URL where FIELD is the field name.
Parameters
Here is an example link to redirect to Retrieval I00200 passing the field MY_FIELD as parameter:
DDATA.I00200s?slnk=1&MY_FIELD=${MY_FIELD}
Let’s break down this link:
DDATA = Data Dictionary name
I00200s = Application name
slnk=1 = This parameter tells your retrieval that this page is a SmartLink (link to:). This means that the page will only show records that equal the value(s) you pass to it. Without specifying slnk=1, the page assumes a greater than or equal to (GE) relationship.
MY_FIELD = The field name on the redirecting application.
${MY_FIELD} = The field name being passed from the maintainer to the redirecting application. The ${ } is Freemarker syntax for a variable, the field name inside the brackets will be replaced for the actual value of that field at run time.
Here is the Application Properties for the Maintainer with the Redirect: All link setup:
Runtime Example
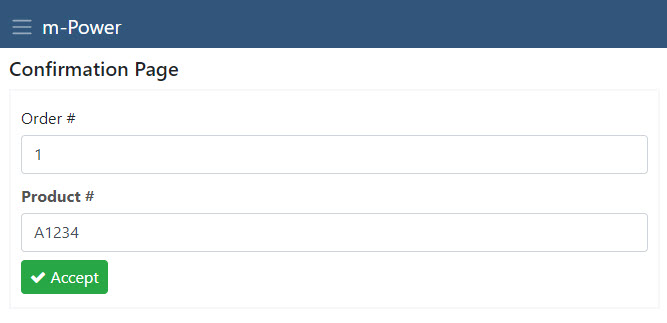
Here is the Maintainer at run time right before clicking Accept:
Here is the Retrieval at run time where I was redirected after clicking Accept on the Maintainer:
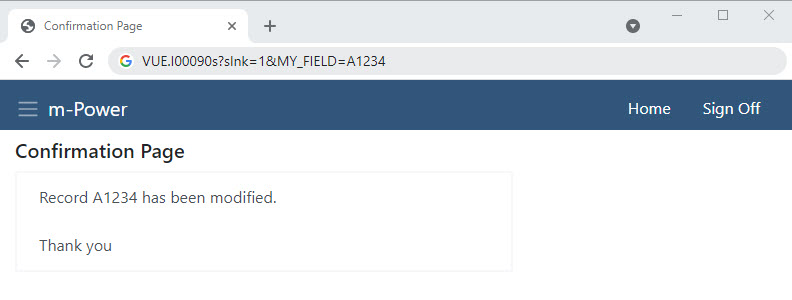
Earlier, we included MY_FIELD=${MY_FIELD} in the Properties for the redirect in the Maintainer, but if you look closely at the URL in the Retrieval in the above image, you will see that the substitution inside the brackets has changed to MY_FIELD=A1234. As you see above, my maintainer redirect captured by Product Number entry from above and successfully passed it to my redirected application.