Overview
After developing applications, it makes good sense to promote these applications to a production environment. There are many documents that explain how to do that on this site. For example, Set up a production instance.
However, this document covers something very different from just having a development and production instance. What this document will cover is what if you want to have your development instance run over test data, and your production instance run over live data.
Implementation
Develop, test, and paint your application as you normally would. By default, your applications will use, at run time, the same library your table resided in at development time. Essentially, the library name is hard coded. However, we can change that option by navigating to the following:
“Admin Menu” -> “Dictionary Configuration” -> “Runtime Application Settings”. The following popup window will appear:
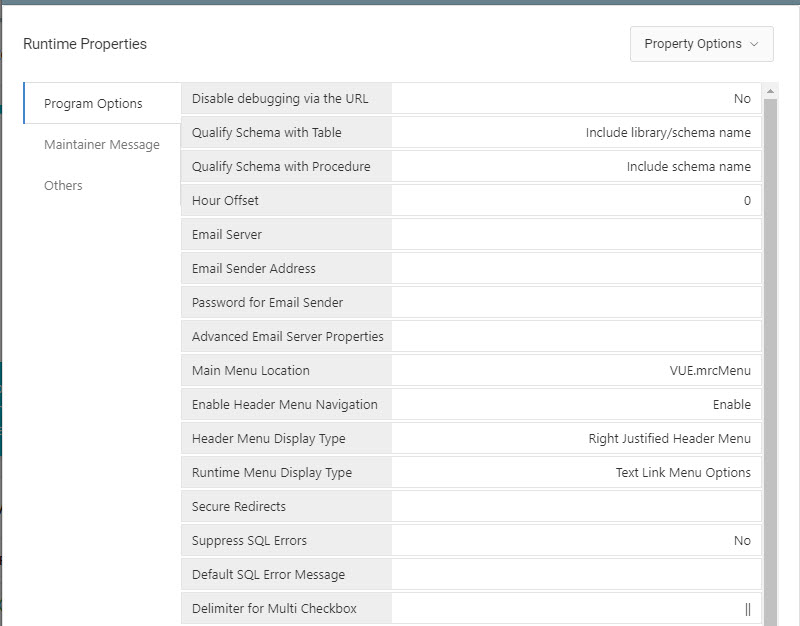
Change the “Qualify Schema with Table” value from “Include library/schema name” to “Table name only”.
Click “OK”. Then click the Save button.
Now, at run time, your applications will not use the library you used at development time, but you must still specify a list of libraries for the application to attempt to use. This information can be found by clicking Admin, then click “Data Sources” under Global Settings.
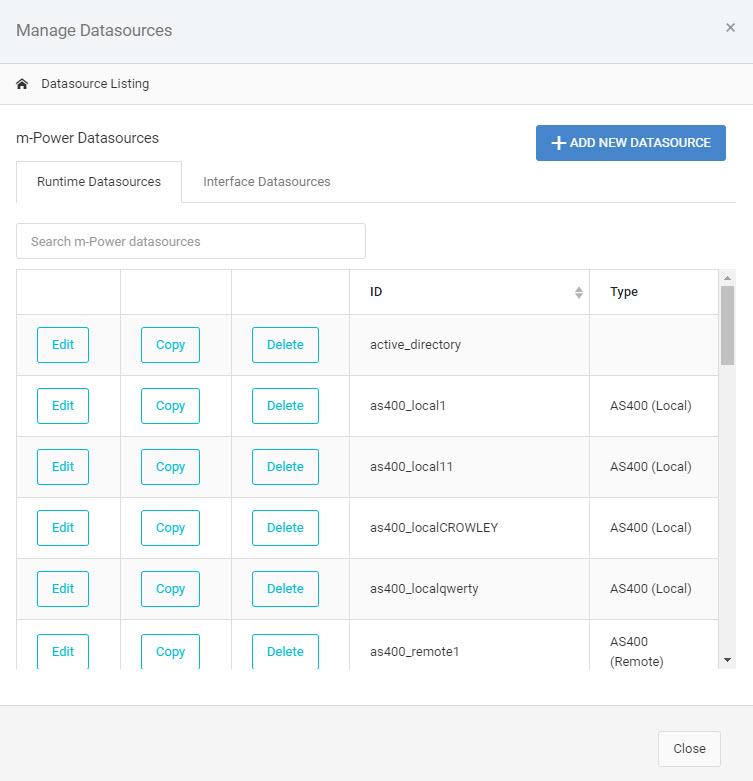
If you are using the remote connection, be sure to make the following changes to the “AS400 DB2 Remote” portion of the text. Likewise, if you are running locally, be sure to change to the “AS400 DB2 local” connection.
Since we told the SQL statement to no longer use the library used at development, we must specify libraries to try to use. The library list works left to right, and if your table is not found in the first library, it will continue on the list until it finds the correct library.
To specify your library list:
For Local connections:
After the *LOCAL ; add libraries=LIBNAME1, LIBNAME2, LIBNAME3;
For Remote connections:
After the libraries=, add LIBNAME1, LIBNAME2, LIBNAME3
Where LIBNAME1, LIBNAME2, LIBNAME3, etc. is your list of TEST libraries.
Ex. jdbc:as400://101.10.101.010;naming=system;libraries=LIBRARY1,LIBRARY2,LIBRARY3
Click the Accept button. Restart Tomcat.
Now that we have your development environment set up, simply copy over all the necessary components to your production environment, making sure to change your libraries list to now reference production libraries.