m-Power Demo Video Series: Field Service Management
The m-Power Development Platform is a low-code development platform that lets you create enterprise-class web applications without coding. The m-Power Demo Video Series takes you on a deep dive into m-Power's build process, walking you through a start-to-finish development project.
In this video, we create a custom field service management system from scratch. A project like this would easily take weeks using manual coding, but we complete the whole thing in a little over 2 hours. This video walks you through the project from start to finish, and explains each step along the way.
Want to try this field service management application on your own? Try the
live demo!
Don't have time to watch the whole video?
We've broken the video up into steps for those who don't have time to watch the whole thing from start to finish. You can filter the videos by topic and select one of the options below to view a specific step in the build process.
Filter videos by topic

Step 1: Demo
In step 1 of our Field Service Management Project, we take a quick look at the Field Service Management System we're about to create. Throughout the rest of the project, we'll show you how to build each piece.
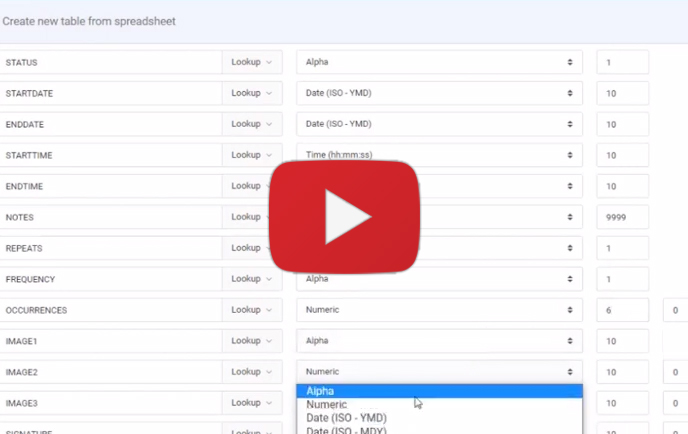
Step 2: Database Tables
In step 2 of our Field Service Management Project, we set up our data dictionary and database tables for the project. A data dictionary is a working environment within m-Power. You can register database tables to a data dictionary and build applications over them.
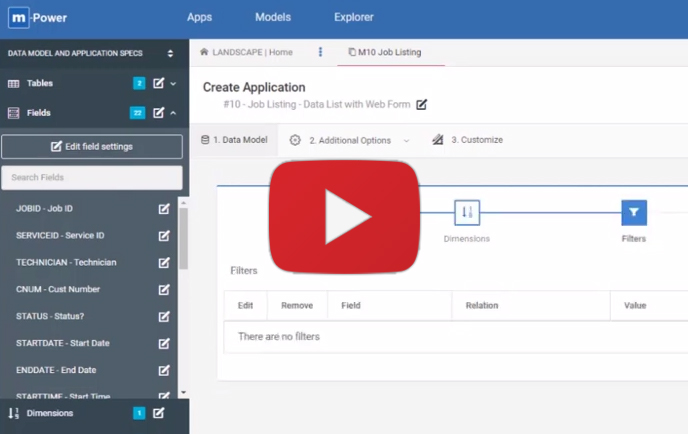
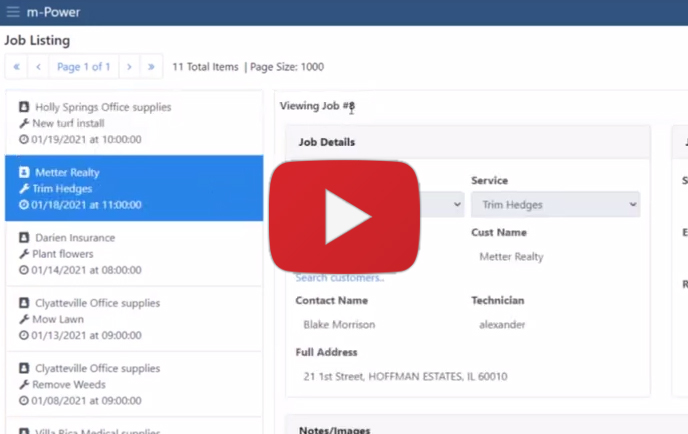
Step 3: Job Listing Application
In step 3 of our Field Service Management Project, we create the job listing application. This app displays all of the past and upcoming appointments for our technicians.
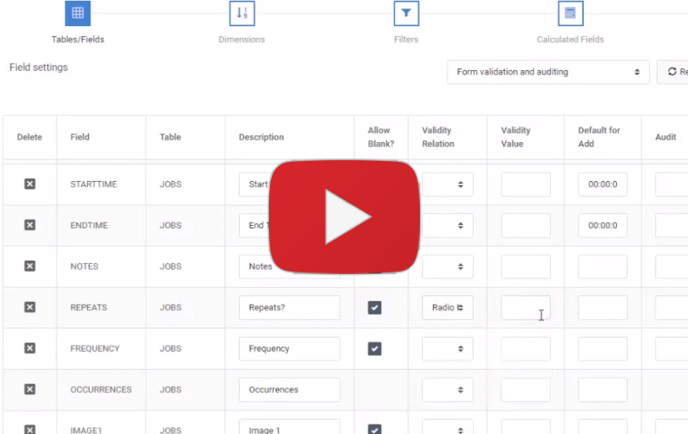
Step 4: Customization
In step 4 of our Field Service Management Project, we adjust some properties for our Job Listing Application. While m-Power templates provide the foundation for all applications, m-Power also lets you customize and adjust field/app properties however you wish.
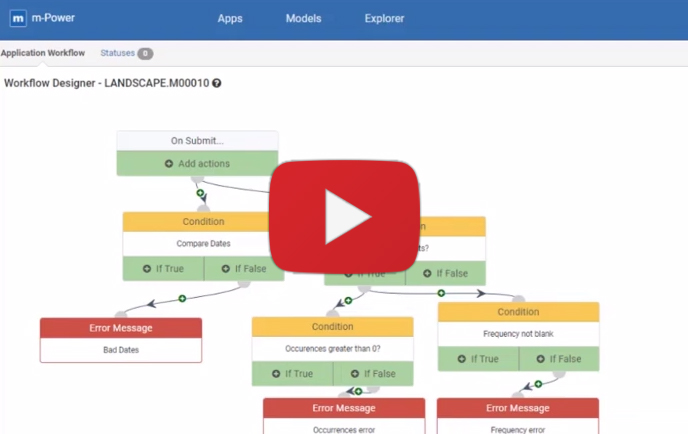
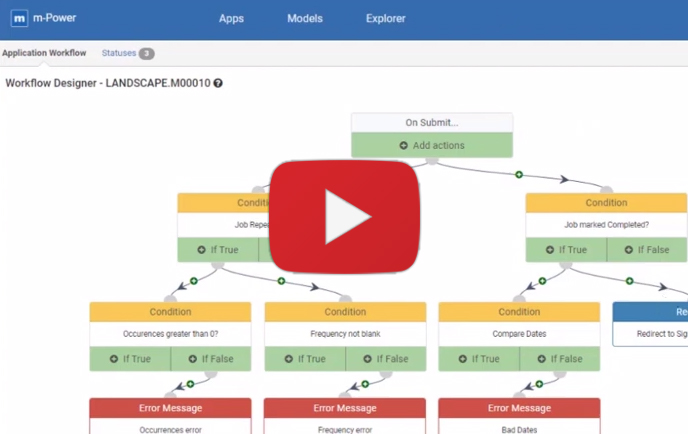
Step 5: Conditional Validation
In step 5 of our Field Service Management Project, we set up conditional validation using the Workflow Designer. m-Power's Workflow Designer is a powerful drag-and-drop workflow builder. It can be set to trigger workflows/processes based on user actions or data changes in your app.
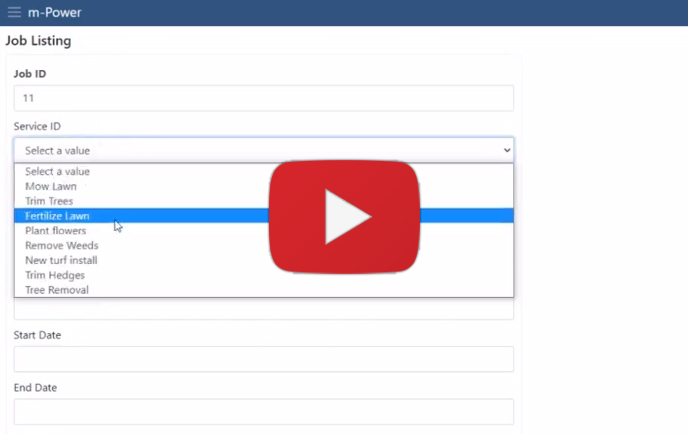
Step 6: Dropdown List
In step 6 of our Field Service Management Project, we create a dropdown list using m-Painter. m-Painter is m-Power's visual editor and is used to customize all aspects of an application. While we're just using it to create a dropdown list here, we'll revisit m-Painter in future steps.
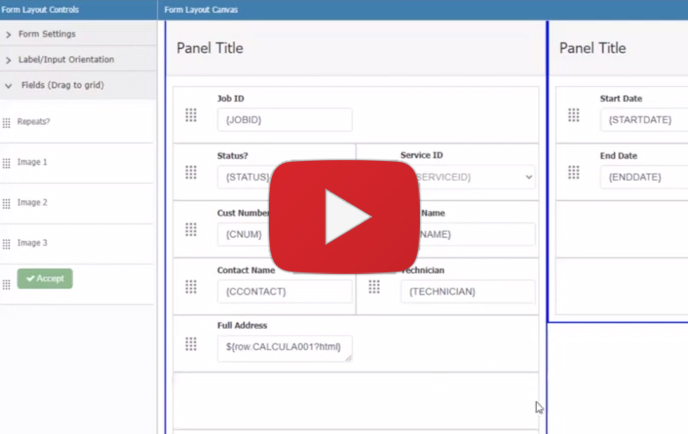
Step 7: Customizing the Form
In step 7 of our Field Service Management Project, we customize the form using the form layout editor. The form layout editor is a feature found in m-Painter that lets you customize any form. Using a drag-and-drop interface, you can modify the look and feel of your form in a few minutes.
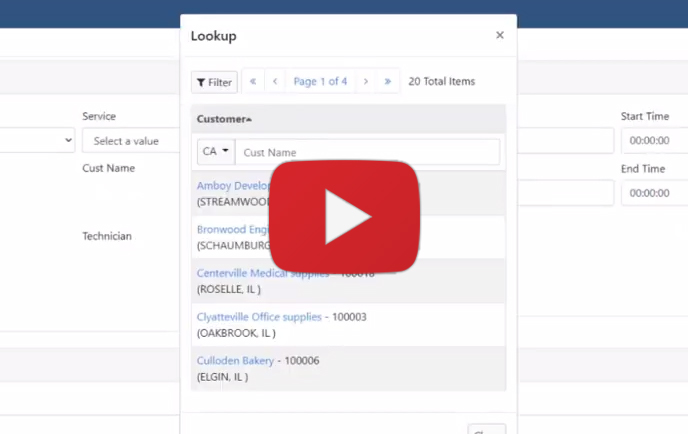
Step 8: Lookup Window
In step 8 of our Field Service Management Project, we add a lookup window to the form. A lookup window lets employees select from a list of data rather than manually entering everything by hand. This saves time and reduces data entry errors.
Step 9: Customizing the Left Panel
In step 9 of our Field Service Management Project, we customize the left panel of our Job Listing App, which is currently only displaying the job number. Since m-Painter gives us access to all database fields in our application, we'll use some more descriptive fields in our left panel.

Step 10: Search Filters
In step 10 of our Field Service Management Project, we customize the filters on the Job Listing Application. We'll rearrange the layout and add some dropdown lists to make them easier to use. This will make it easier for our technicians to find the data they need.
Step 11: Enable Security
In step 11 of our Field Service Management Project, we enable dictionary security and set up our user credentials. This will force our technicians to sign in to any application before they use it.
Step 12: Multi-Tenant Security
In step 12 of our Field Service Management Project, we create a reusable row-level security object. We can use the security object in all of our applications to enable multi-tenant security. This means that different users can access the same application but only see data they're authorized to see.
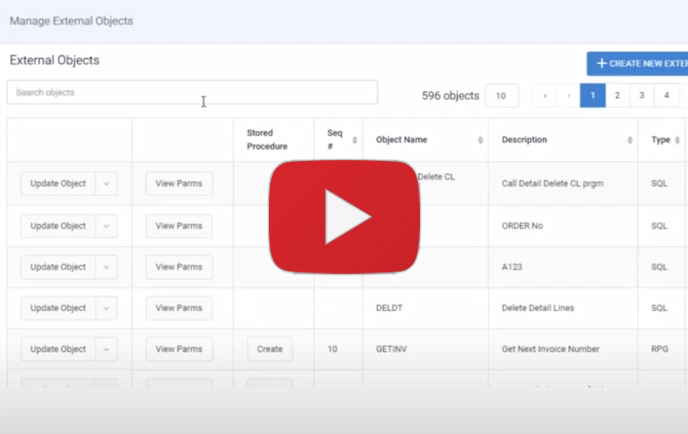
Step 13: External Business Logic
In step 13 of our Field Service Management Project, we add external business logic that will automatically create new jobs if a job is set to repeat. While not usually necessary, we include this step to show how easily you can integrate custom logic or procedures into your applications.
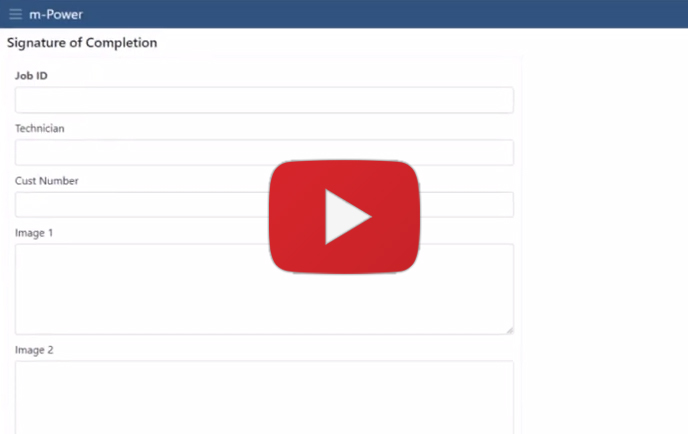
Step 14: Signature Capture Application
In step 14 of our Field Service Management Project, we create the signature capture application. This gives the technician a way to sign off on the job and have an invoice sent to the customer.
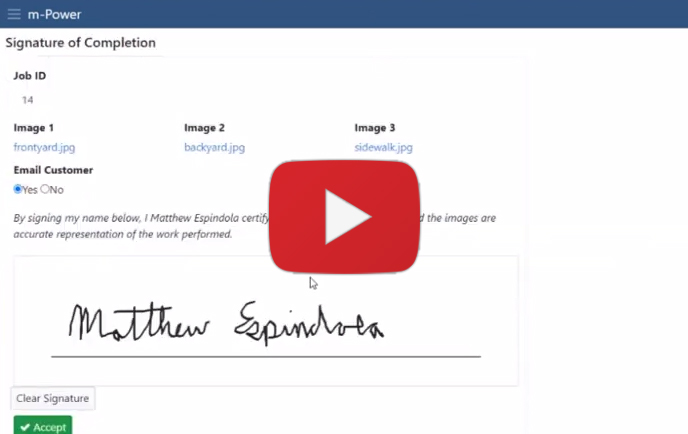
Step 15: Signature Capture Customization
In step 15 of our Field Service Management Project, we customize the signature capture application. This will give technicians a way to record and submit a signature in the application, and prepare for automatic invoice delivery.

Step 16: Scheduled Tasks
In step 16 of our Field Service Management Project, we begin setting up a scheduled task group within m-Power. When completed, this scheduled task group will automatically email customers an invoice once the job has been finalized.
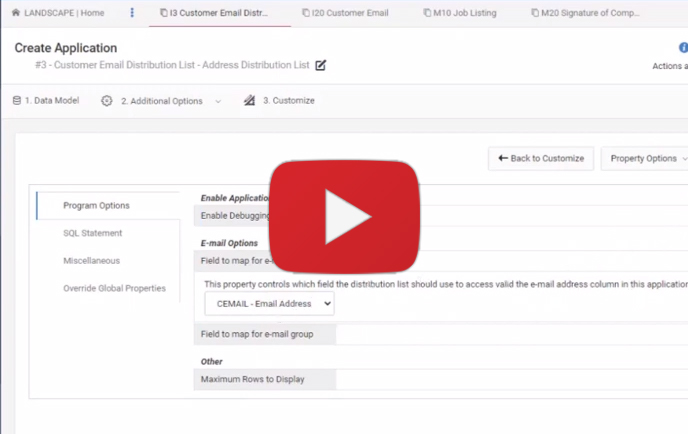
Step 17: Distribution List
In step 17 of our Field Service Management Project, we create a distribution list for our scheduled task. The distribution list contains our customer and email data, so our scheduled task can send the invoice to the correct customer.

Step 18: Connecting the Distribution List
In step 18 of our Field Service Management Project, we connect the scheduled task group with our distribution list. Once connected, the task group will pull customer data from the distribution list so it sends emails to the correct customers.
Step 19: Tying it all together
In step 19 of our Field Service Management Project, we connect all of our 'building blocks' from the previous steps. The advantage of this 'building block' approach is reusability. We can reuse all of these pieces in other applications if needed.

Step 20: Creating the Map
In step 20 of our Field Service Management Project, we create a map view of our customer jobs. To do this, we'll use the Google Maps API to present our customer addresses on a map. Once complete, we'll add a map view to our job listing application.
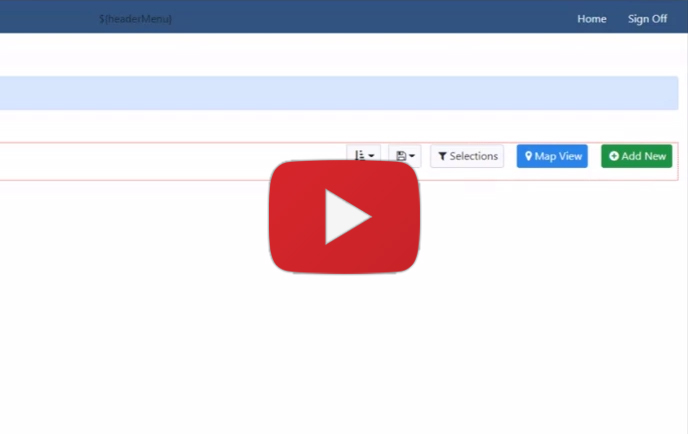
Step 21: Linking the Map to the Job Listing
In the final step of our Field Service Management Project, we tie the map to our job listing application. This will let our technicians toggle back and forth between the job listing app and the mapping application.