Introduction
m-Power reports have always allowed end-users to export to Excel but the main purpose of this, historically, was a focus on the data. Any work done in m-Painter was largely ignored. While the purpose of this was to allow your end-user to focus on the raw data, we understand that you may also want to incorporate changes made in m-Painter into your final Excel Export. This document will walk you through how to do this.
Enabling Formatted Excel
You can enable Formatted Excel at the repot level. In m-Painter, click on the Excel Report Format

Next, on the right-hand panel select “16-Formatted Excel” from the Output Format Dropdown list.

m-Painter Features
The following m-Painter features may be useful when customizing your Excel export. Keep in mind that customizations such as Conditional Styles, as well as general Styling overrides will be loaded into your Excel export.
Enabling Striped Rows
To enable row striping, click anywhere within your main table. On the right-hand panel, click “Select Data Table.”
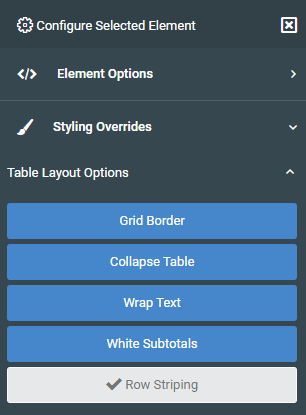
Next, click “Styling Overrides,” then click “Table Layout Options”
Finally, click “Row Striping”
Creating Header Rows
Even formatted Excel will only recognize elements inside your table. This means that to create a heading for your Excel document, this will need to be done inside your data table. Here is how to do this:
Click the “Layout” button.

Next, scroll down to your main table and hover over one of your column headings within your main data table. Click the up arrow labeled “Insert Row Above.”

Repeat this step for as many header rows as you would like.
Next, uncheck the Layout button.
Place your cursor inside of a cell in your new row. On the right side panel, under “Element Options” click “Merge All Cells”

Enter in your Header description.
To center this text, click on “Styling Overrides,” then select “Align Text (text-align)” and select “Center.”
Customizing your Column Headings
In the event you want to control the styling of your individual column headings, please follow the steps below:
Click inside a column heading.
Once select, under “Styling Overrides” select Background Color. From the first dropdown list, select a predefined theme. In the example below, I used the theme of “Slate.” Repeat this for each column heading listed.

Adding Styles and Conditional Styles
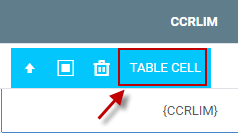
As referenced above, please add styles to individual cells using the normal process referenced in your training course. However, ensure that when you apply either of these, that you are applying them to the entire cell and not just the impacted text. When you click inside of the cell, your blue helper text should read “Table Cell”
Include Selection Criteria in Excel Output
Click on any cell in the selection criteria box.

On the right side Element Panel, click “Select Data Table”.

With the Selection Criteria table selected, click on “Styling Overrides” then “Class and Style Attributes”.
At the end of the Classes input, enter excel-table (make sure there is a space before excel-table and the entry that precedes it.
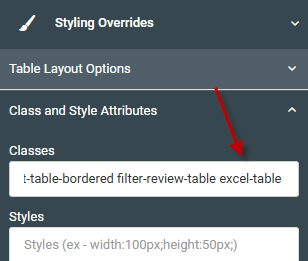
With this class added, the table will be included when exporting to Excel.
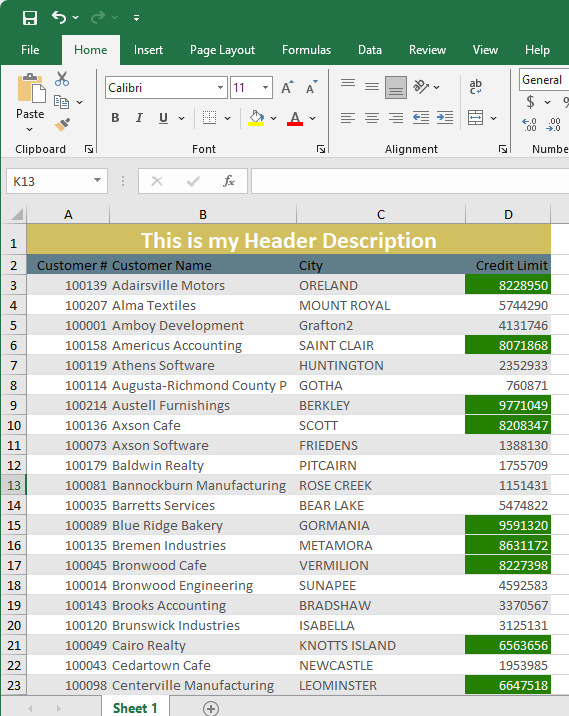
Finished Example
The example below utilizes features demonstrated above, including an additional conditional styling logic on the Credit Limit column.