Overview
For some users, the need to implement sign-on security in front of their applications is relatively low. However, at some point in time, you may need to activate m-Power’s built in security, formally referred to as Dictionary Security. Enabling Dictionary Security allows you to do the following:
- Validate end-users against their database user profile, a database table, Active Directory, or Single Sign On (SSO).
- Implement a menuing system that shows end-users only applications they have access to.
- Utilize m-Power’s Row Level Security (Limiting which rows of data a user can see at runtime)
- Capture the username for auditing purposes, conditional visibility, and more.
- Create a fully customizable sign on page.
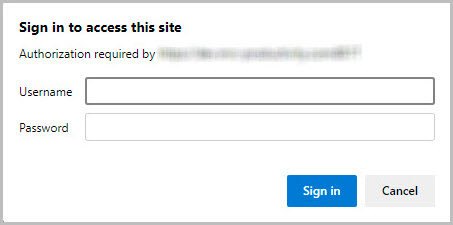
Each time an application is run, m-Power will check to see if security exists. If it does, the user will be brought to a sign-on page. If no security exists, the user will be taken directly to their application.
Enabling Security for a Data Dictionary
To implement your security, you will need to first click “Admin” in the header bar. Under “Menu and Security,” click “Toggle Security.”
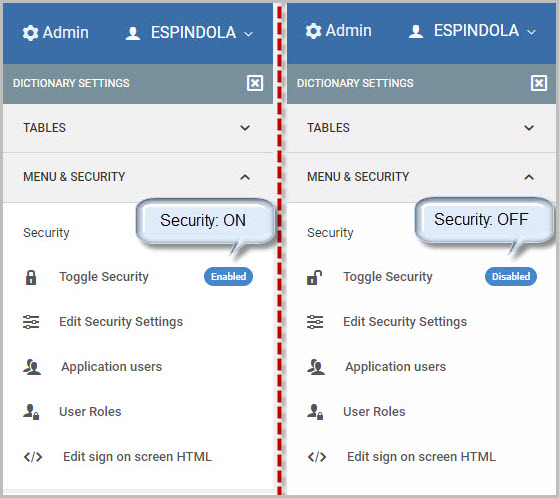
That’s it! Once the security is enabled (as shown in the left image above), all users will now have to sign-on when they wish to access applications within this Data Dictionary.
Configuring your Security Options
Once Dictionary Security is enabled, there are various settings to configure. To begin, click Admin -> MENU & SECURITY -> Edit Security Settings. A popup window will open like in the screenshot below:
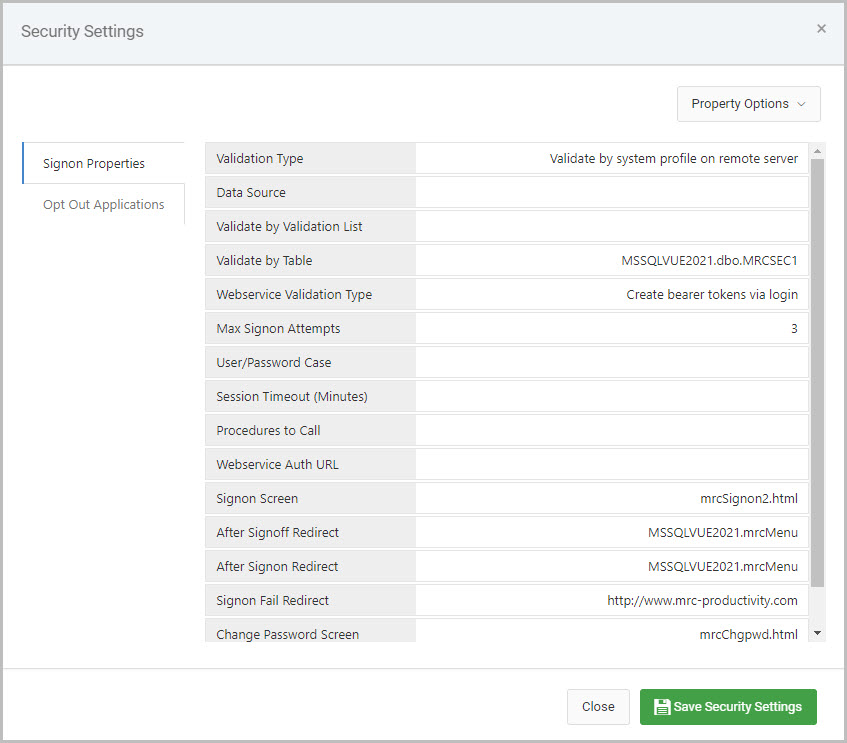
There are two tabs on the lefthand side of this window, Signon Properties and Opt Out Applications.
The Validation Type property, the very first property inside the Signon Properties tab, must be configured as this will tell m-Power which security authentication method will be used within this Data Dictionary. The necessary configuration required for each of these different validation types will be explained in the next section.
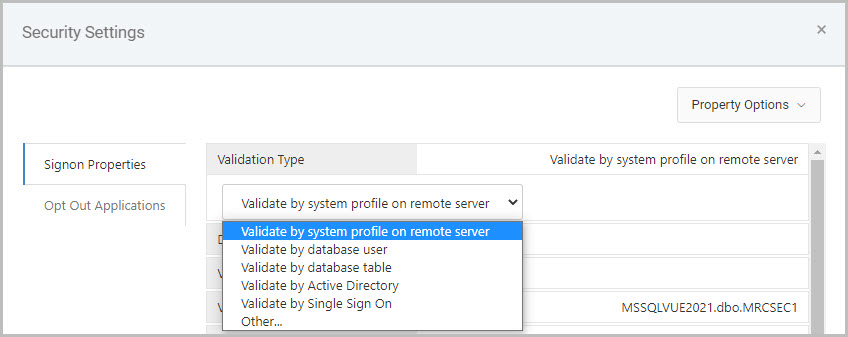
Validate by system profile on remote server
This option is for securing against iSeries user profiles. Configuration is as follows:
- Validation Type: Validate by system profile on remote server
- Data Source: This option is useful if you need to point your security credentials at a secondary database that is configured in the mrc Spring Context file.
- Validate by Table: This option is not used.
- Max Signon Attempts: Controls the number of times a user can guess wrong. Once this number has been reached, they will be redirected to the URL listed in the “Signon Fail Redirect” parameter.
- Signon Screen: If you wish to use your own customized signon screen, rather than the one provided to you with m-Power, please change this parameter.
- After Signoff/Signon Redirect: Once your user clicks the signoff button or signs on (from the DICTIONARY.Login) page, they will be automatically redirected to the URLs listed here.
- Signon Fail Redirect: Once your user has exceeded the tries to sign in as defined in the Max Signon Attempts value, they will be redirected to the URL listed here.
Validate by database user
This option is for non-iSeries databases to secure against users set up on the database. Configuration is as follows:
- Validation Type: Validate by database user
- Data Source: This option is useful if you need to point your security credentials at a secondary database that is configured in the mrc Spring Context file.
- Validate by Table: This option is not used.
- Max Signon Attempts: Controls the number of times a user can guess wrong. Once this number has been reached, they will be redirected to the URL listed in the “Signon Fail Redirect” parameter.
- Signon Screen: If you wish to use your own customized signon screen, rather than the one provided to you with m-Power, please change this parameter.
- After Signoff/Signon Redirect: Once your user clicks the signoff button or signs on (from the DICTIONARY.Login) page, they will be automatically redirected to the URLs listed here.
- Signon Fail Redirect: Once your user has exceeded the tries to sign in as defined in the Max Signon Attempts value, they will be redirected to the URL listed here.
Validate by database table
This option allows you validate end-user sign on against a database table. Configuration is as follows:
- Validation Type: Validate by database table
- Data Source: This option is required. Select the datasource of where your security table lives.
- Validate by Table: This option allows you to specify the schema & table to validate against, the column names for the user and password, and also what encryption your password field uses.
- Note: To allow m-Power to use an encrypted password field, add encryption_type=”XXX” to your validateby_table tag in text mode, where XXX is the type of encryption used. Valid encryption types are:
- MD2
- MD5
- SHA-1
- SHA-256
- SHA-384
- To use m-Power to encrypt your database values, see this here.
- Note: To allow m-Power to use an encrypted password field, add encryption_type=”XXX” to your validateby_table tag in text mode, where XXX is the type of encryption used. Valid encryption types are:
- Max Signon Attempts: Controls the number of times a user can guess wrong. Once this number has been reached, they will be redirected to the URL listed in the “Signon Fail Redirect” parameter.
- Signon Screen: If you wish to use your own customized signon screen, rather than the one provided to you with m-Power, please change this parameter.
- After Signoff/Signon Redirect: Once your user clicks the signoff button or signs on (from the DICTIONARY.Login) page, they will be automatically redirected to the URLs listed here.
- Signon Fail Redirect: Once your user has exceeded the tries to sign in as defined in the Max Signon Attempts value, they will be redirected to the URL listed here.
Validate by Active Directory
This option is for securing your applications against an Active Directory account. Configuration is as follows:
- Validation Type: Validate by Active Directory
- Data Source: This option is not used.
- Validate by Table: This option is not used.
- Max Signon Attempts: Controls the number of times a user can guess wrong. Once this number has been reached, they will be redirected to the URL listed in the “Signon Fail Redirect” parameter.
- Signon Screen: If you wish to use your own customized signon screen, rather than the one provided to you with m-Power, please change this parameter.
- After Signoff/Signon Redirect: Once your user clicks the signoff button or signs on (from the DICTIONARY.Login) page, they will be automatically redirected to the URLs listed here.
- Signon Fail Redirect: Once your user has exceeded the tries to sign in as defined in the Max Signon Attempts value, they will be redirected to the URL listed here.
- Active Directory URL: Required. Enter in the URL to your Active Directory server. This should be formatted similar to the following example shown here:
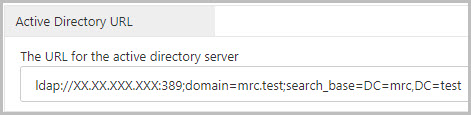
ldap://XX.XX.XXX.XXX:389;domain=mrc.test;search_base=DC=mrc,DC=test- Replace
XX.XX.XXX.XXXwith your Active Directory server address - Replace
MYDOMAIN.comwith your Active Directory domain. - Add the necessary domain content values (DC=) to the
search_baseparameter. You may add as many domain content values as is necessary for your system (separated by commas). - Save your changes when done and restart Tomcat.
- Replace
Validate by Single Sign On
This option is for utilizing an existing non m-Power sign on with your applications. Configuration is as follows:
- Validation Type: Validate by Single Sign On
- Data Source: This option is not used.
- Validate by Table: This option is not used.
- Max Signon Attempts: Controls the number of times a user can guess wrong. Once this number has been reached, they will be redirected to the URL listed in the “Signon Fail Redirect” parameter.
- Signon Screen: If you wish to use your own customized signon screen, rather than the one provided to you with m-Power, please change this parameter.
- After Signoff/Signon Redirect: Once your user clicks the signoff button or signs on (from the DICTIONARY.Login) page, they will be automatically redirected to the URLs listed here.
- Signon Fail Redirect: Once your user has exceeded the tries to sign in as defined in the Max Signon Attempts value, they will be redirected to the URL listed here.
Opt Out Applications
Click this tab if you wish to designate any applications within this data dictionary that should not be secured. If an application is listed here, users will not be required to sign-on when accessing these pages.
mrc Sign-on Screen
The sign-on screen that is presented to the user is fully editable. To edit this page, click Admin –> MENU & SECURITY -> Edit sign on screen HTML. A split window pane allows you to customize your sign on screen via a text editor on the left, and preview the live output on the right.
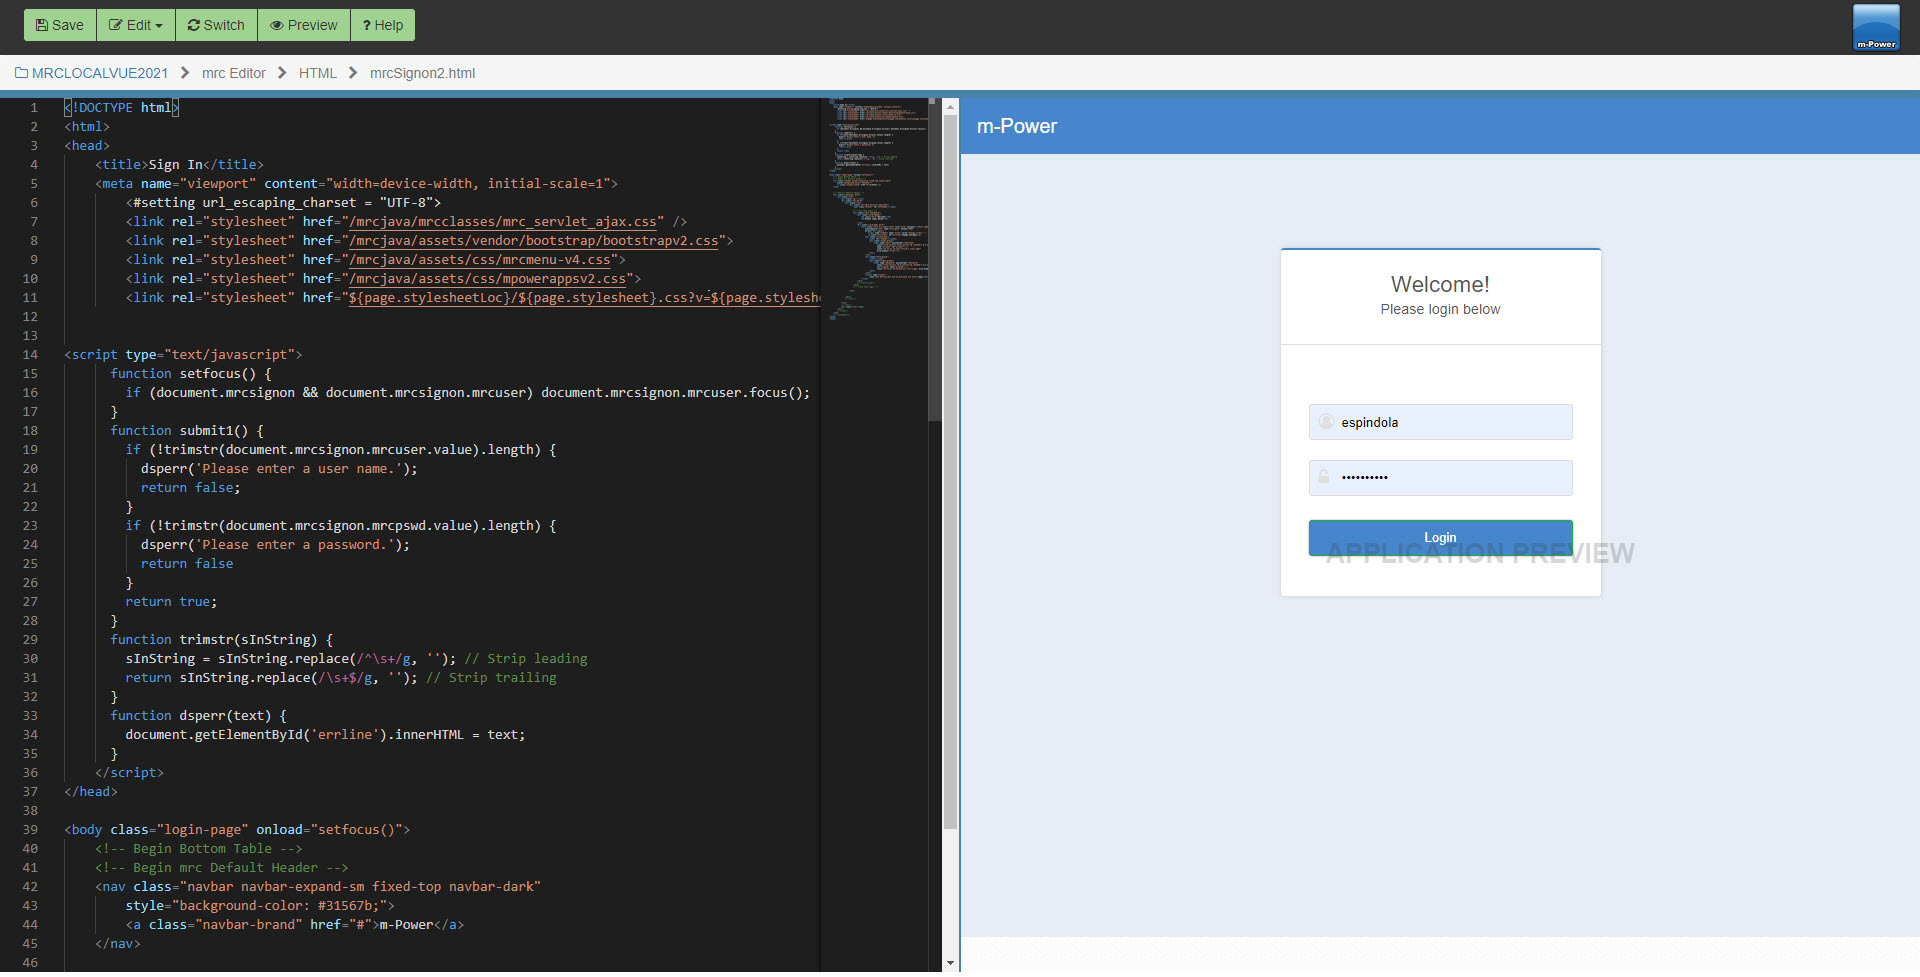
To preview your changes before saving the editor press Preview. When completed with your changes, make sure to click the Save button.
Other Important things to Remember
Once a user logs in, they will not have to sign in again until:
- They close their browser
- Tomcat is restarted
- They have exceeded their timeout value
- Tomcat is loaded (often because a developer compiles or saves changes in m-Painter)
Particularly because of the last point listed above, mrc strongly recommends moving development and production into two separate environments. Not only will this provide a much more stable environment for your end users, it will give your developers piece of mind knowing that they are not changing applications that are currently in use. More information regarding this topic can be found here.
Also, any changes made to mrcSignon2.xml or mrcSignon2.html after they have been loaded into Tomcat’s memory will require Tomcat to be restarted before those changes will go into effect.