After selecting the template for your application, you will first be brought to the Table/Fields Selection specification screen. This is the first screen to specific how the data of your application will be populated. There are four options:
Use Database Table
The traditional and default option for data population is using a database table. Initially, you will be prompted to select your first table. Notice that all of the tables available to you are all the tables that you have registered to your current data dictionary.
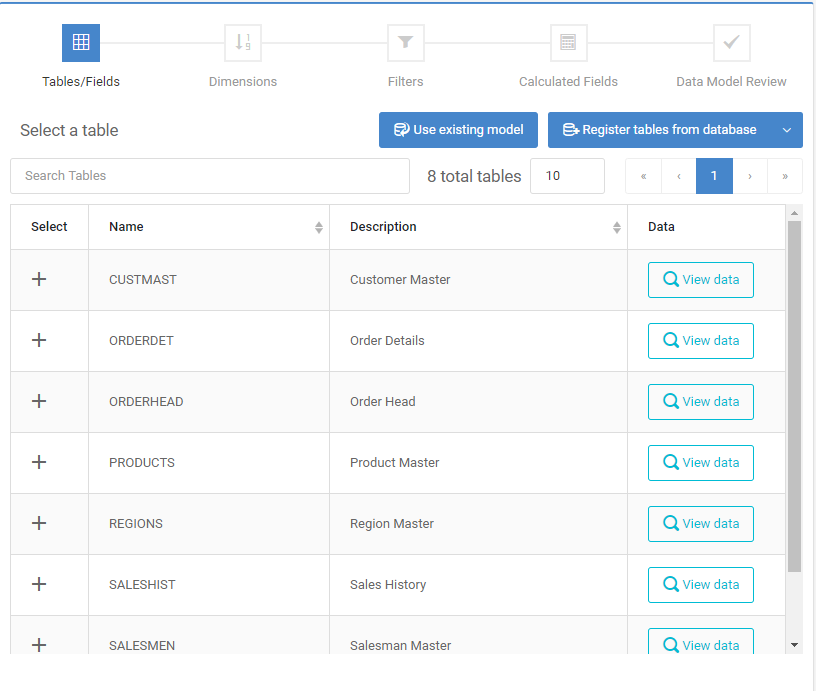
Here you can filter your registered tables, view more of your tables with the paging buttons, preview data with the magnifying glass button, or select a table using the plus sign.
After doing so, you will be brought to the Field Selection page.
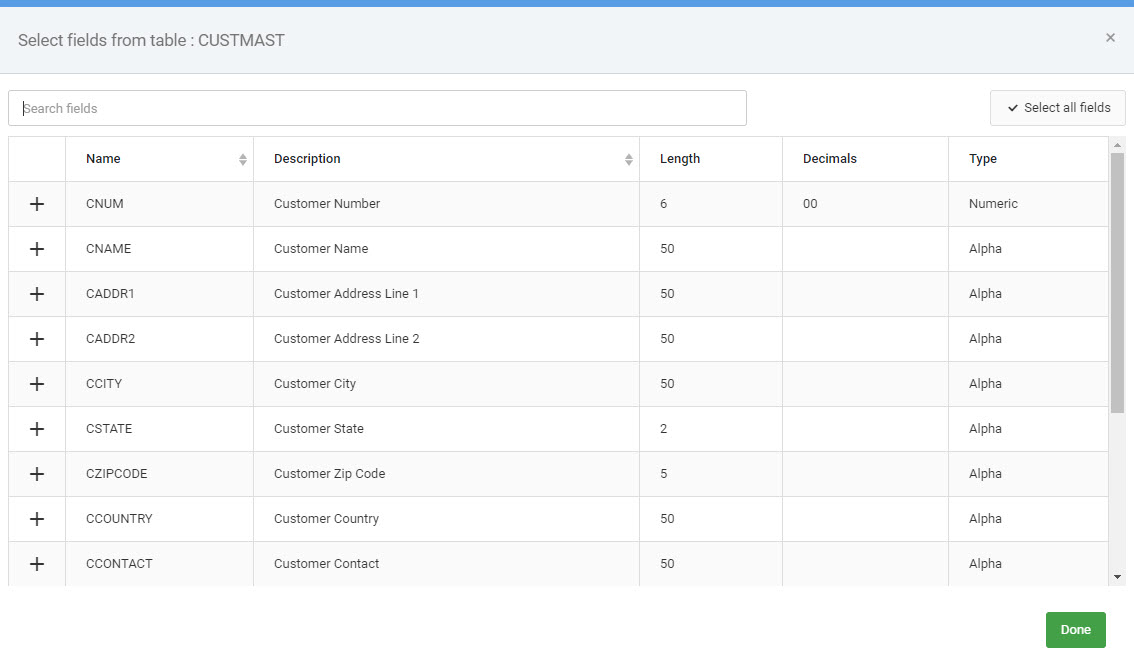
Select fields by clicking on the plus sign. If you plan on joining out to any secondary tables, it is important that you select fields in the current table that will also be found in the secondary tables. Once you have selected all desired fields, click Done.
After clicking Done, you will be brought to the “Selected Tables” screen. So far, you have only selected one table. Therefore, only this table should appear on this screen.
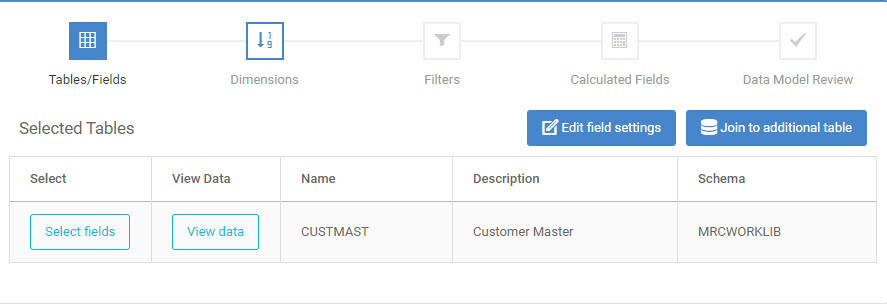
Table Selection Options
From the Selected Tables screen you have these available options:
Select additional fields from the table already selected
Click on the “Select Fields” button on the desired table. This will return you to the Field Selection screen. Select your fields and click “Done”. This will return you to the Selected Tables screen.
Edit the selected field settings
Click on “Edit field setting” to be taken to the Field Settings screen
Join to a different table
If you want to join to a different table, click on “Join to additional Table”. You will be brought to the “Join to Additional Table” screen.

Click on the “Select” button to join out to the desired table. This will bring you to the “Select Join Fields” screen.
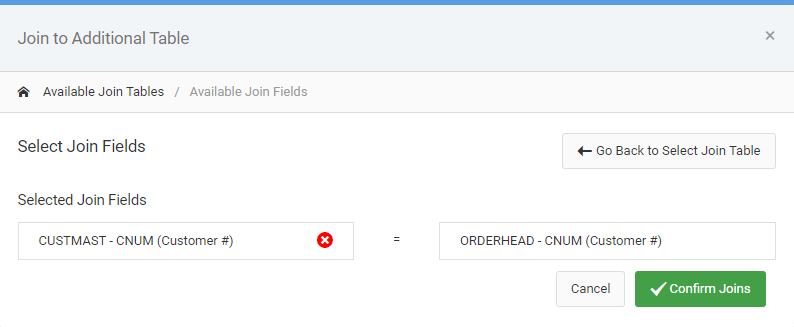
All of the fields that are found in both the primary table and the secondary table are shown in this screen. Select the fields you wish to join over and click “Confirm Joins”. This brings you to the Field Selection screen. However, you now see the fields that are available to be selected from the secondary table rather than the primary table. Select your fields, and click “Done”.
Now that you have selected the fields for your application, you are ready to move onto the last required specification, Dimensions. To navigate to the Dimensions, you can either click on the “Dimensions” icon to the right of the “Tables/Fields” icon or by clicking on the “Next” button to the bottom right of the screen.
Show Advanced Join Types
m-Power allows developers the opportunity to select how their joins will function at the table level. To select this, click the “Show Advanced Join Options” button.

Available options include:
- Left outer join – Will include all data residing in the FROM table even if matching data does not exist in TO table.
- Right outer join – Will include all data residing in the TO table even if matching data does not exist in FROM table.
- Inner join – Will only include data residing in FROM table if matching data exists in TO table.
- Cross join – A Cartesian join. Will match every row residing in the FROM table to every row in the TO table.
SQL Composer
The m-Power SQL Composer allows advanced users to enter their own custom SQL query and m-Power will parse the statement to generate the necessary fields foregoing the traditional Data Dictionary registered table approach to an m-Power build.
Click the following link to learn more about the SQL Composer.
Use Web Service
The Web Services module is a useful tool for developers to incorporate 3rd party API web services as the datasource for their m-Power applications. This differs from the standard m-Power method of pulling data directly from a database. This module supports consuming any outside web service that returns data in the standard JSON format.
Click the following link to learn more about Using Web Services.
Use Existing DX Model
The m-Power Data Models allows m-Power administrators as well as developers to pre-define queries at the Data Dictionary level. Power users, tired of making the same queries/joins regularly, can setup common queries, including joins, calculations, and filters, within Data Models to simplify future application development.
Click the following link to learn more about Creating DX Data Models.