Overview
An SQL View can be thought of as a virtual table — one that does not physically contain any data but rather stores useful SQL queries to improve database/user efficiency. While most developers realize how powerful an SQL view can be while running queries, they can now harness the same functionality within m-Power. Below are just two examples of excellent reasons to build and use an SQL view:
- Limiting Records — Let’s say that you have a Sales History file with data from the past 10 years and you know that you would never want to report over more than the last 3 years. Of course, you could build a record selection within each of your m-Power applications to handle this. Your other option would be to create an SQL view over this table that only includes the last 3 years of data.
- Joining — Another example of a useful view could be that you have a complicated query — one that utilizes numerous tables, joining on many fields. You could, one hand, build your application manually, using m-Power to join out to all of the necessary tables. Or, you could create an SQL join that includes all necessary tables. Once your SQL View is created, all included fields will appear in m-Power as belonging to one table, which makes creating each subsequent application much easier!
Best of all, as soon as your data changes, your view will automatically be updated! Even more information on SQL Views can be found here.
Step 1 — Create an SQL View
To create your SQL View, using the “Limiting Records” example, simply enter in your SQL query using the following syntax:
CREATE VIEW SCHEMALIB/VIEWNAME AS SELECT FIELD1 as FIELDABC, FIELD2 as FIELDDEF, FIELD3 FROM SCHEMALIB/TABLE1 WHERE FIELD1 = VAL1 and FIELD2 = VAL2
To create an SQL View that uses the “Joining” example, simply enter in your SQL query using the following syntax:
CREATE VIEW SCHEMALIB/VIEWNAME AS SELECT * FROM SCHEMALIB/TABLE2 T01 left outer join SCHEMALIB/TABLE1 T02 on T02.FIELD2 = T01.FIELD1
Step 2 — Load Your SQL View into m-Power
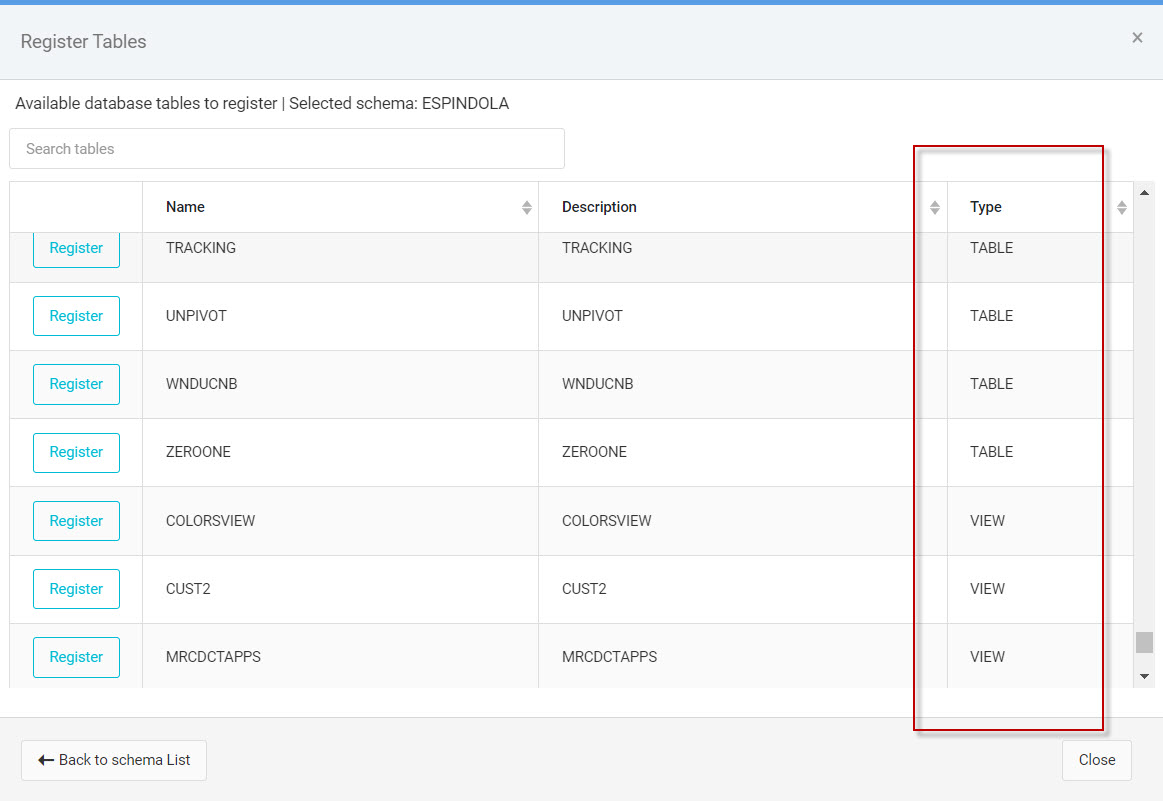
Registering SQL Views to m-Power is the same process as registering tables. Simply access the “Admin” menu, select “Tables”, and then click the “Register” button. The “Type” column will help you determine if your data is contained in a physical table or in an SQL view.
Step 3 — Using your SQL View in an Application
Create your application as you normally would — your SQL view will be in the same list as your physical table!