Overview
To help highlight data patterns, developers often employ the use of conditional styles to color code their data. For example, when a percentage is greater than 80%, you may wish to make that data cell green, whereas otherwise you would want to continue to leave it as a white background with black text. This documentation will explain how to implement the Color Coding functionality from the m-Painter editor.
Color Coding via Specific Styles
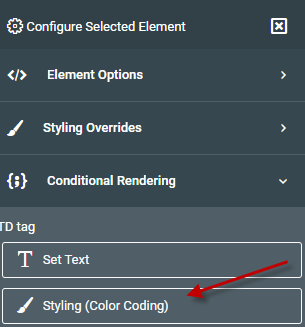
To color code a cell, click in the cell you wish to color code, then choose “Conditional Rendering” from the Element Panel and click “Styling (Color Coding).”
You will be brought to a screen that looks like this:
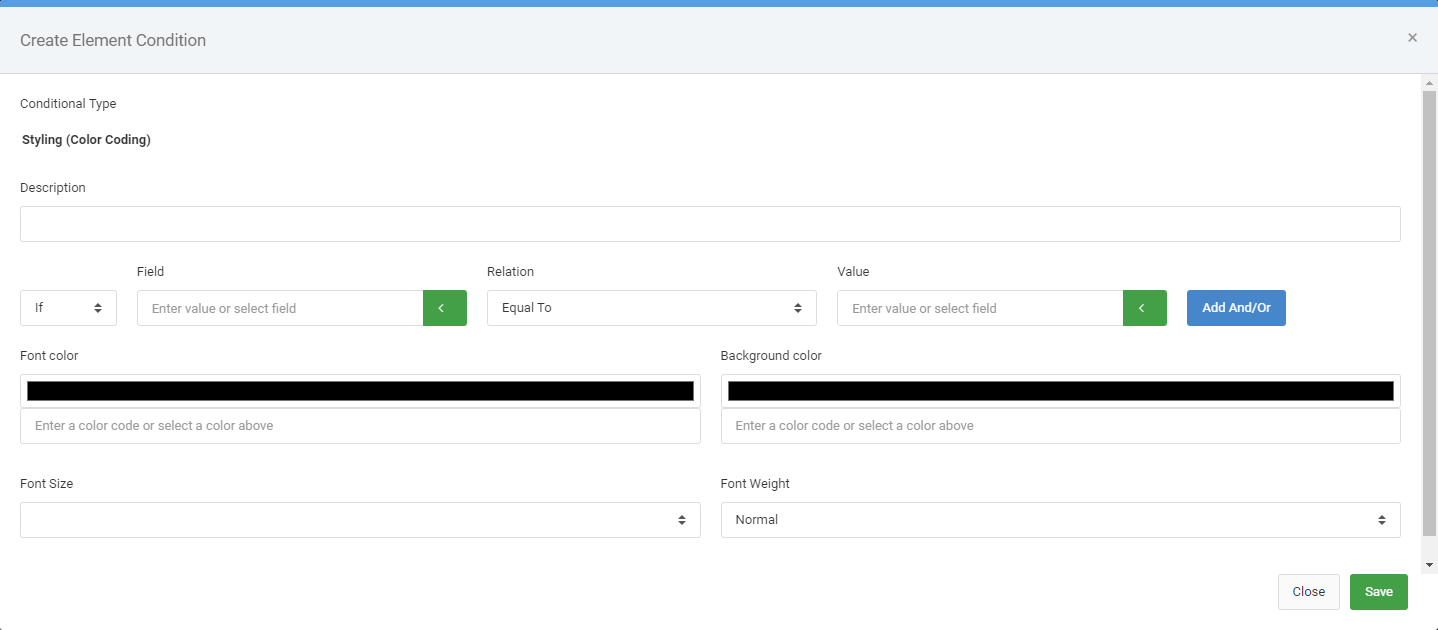
Utilize the condition area to specify the rules for your condition. In the “Description” input, add a brief note explaining what this rule will do.
Next, add the actual rule by specifying the field to check, its relation to the value, and the value to check. Click the “Add And/Or” if you need to specify multiple rules.
Next, select the font color, background color, font size, or font weight to set the value to in the event the rule is true. When does, press Save.
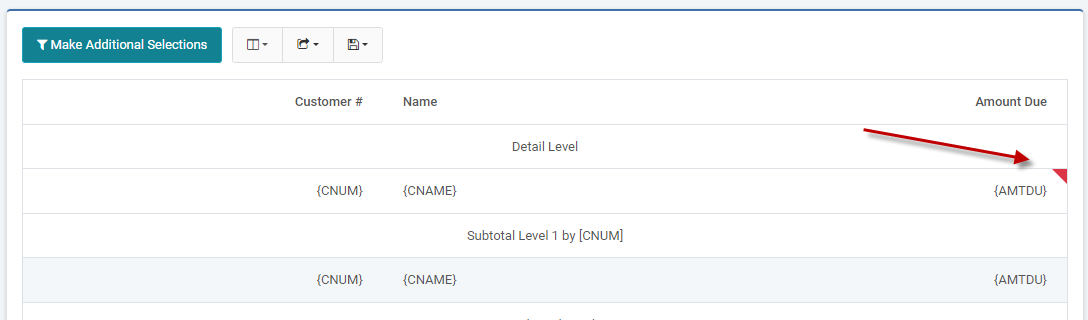
In m-Painter, I can see this individual cell has color coding on it, as there is now a small red triangle in the upper right hand corner of the cell.
Note: This border is only visible in m-Painter and will not be seen by the end-user.
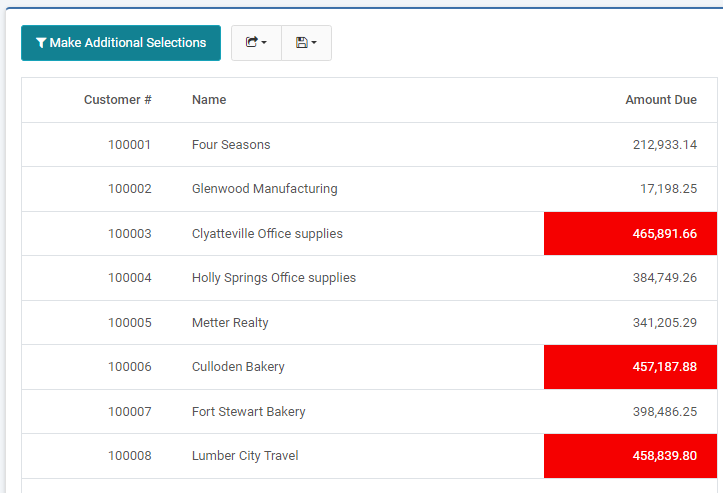
At run-time my application looks something like this, adding a red background in the event the amount due is over $400,000:
Note: While not explicitly stated above, the same process could be employed by row so that your conditional logic is applied to all cells within a row by right clicking on a cell, then using the up arrow on the blue menu to arrive at having the TR selected.
Color Coding via CSS rules
Similar to what is described above, rather than specifying specific individual rules, you can set entire CSS classes conditionally.
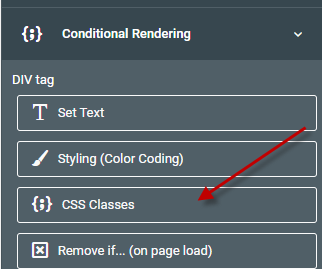
To do so, click on the element you wish to conditionally style, then click “CSS Classes” from the Conditional Rendering Menu
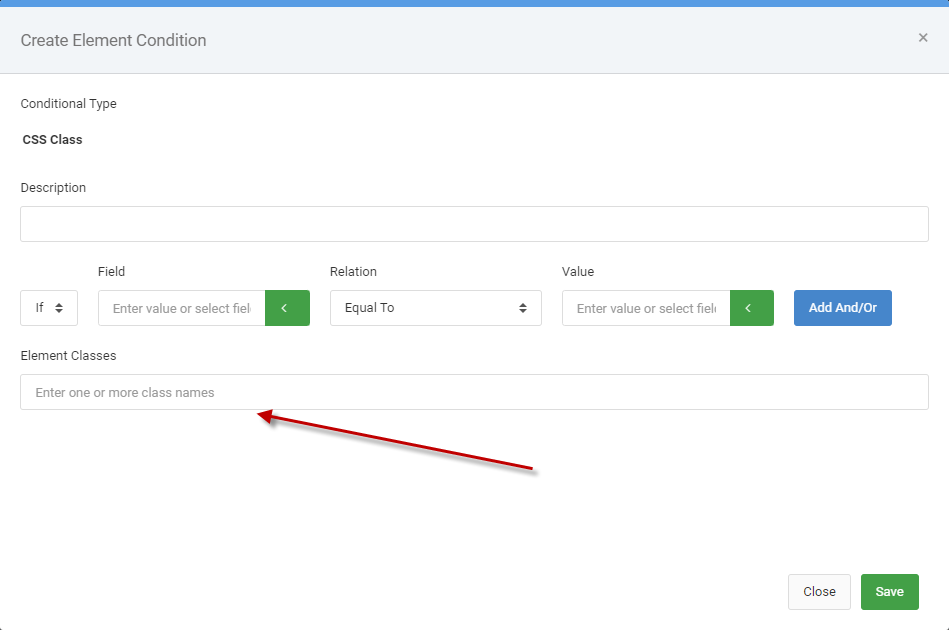
On the subsequent screen, after adding all applicable conditional rules, specify a predefined CSS class within the “Element Classes” input.
Notes
- To delete an individual condition, click on the cell in question, then click “Conditional Rendering.” click the “Remove” link. From here, press the “X” icon within the panel.
- The color conditional logic is not designed to have multiple rules applied to the same cell. For instance, do not attempt to apply one rule to an individual cell, then a separate rule applied to the entire row.