m-Painter was designed to work in such a way that successful users could do practically anything without needing to be a programmer. This includes the task of moving elements around the page to improve or otherwise adjust the layout of the elements on the page. Perhaps a developer wants to arrange a form so inputs are in a multi column approach or maybe a developer wants to add content from different apps side-by-side in layout cards. All this can be accomplished within the graphical interface of m-Painter, all thanks to the Layout functionality.
Video Overview
Layout Wizard – Form
When working on any page with a form (think a dialog panel or an update screen of a maintainer), you may want to adjust the layout of the inputs within the form. Typically, m-Power generates form inputs that go all the way across the page, printing 1 row at a time. As a developer, if you wanted to change that, you could use the Layout – Form option to adjust.
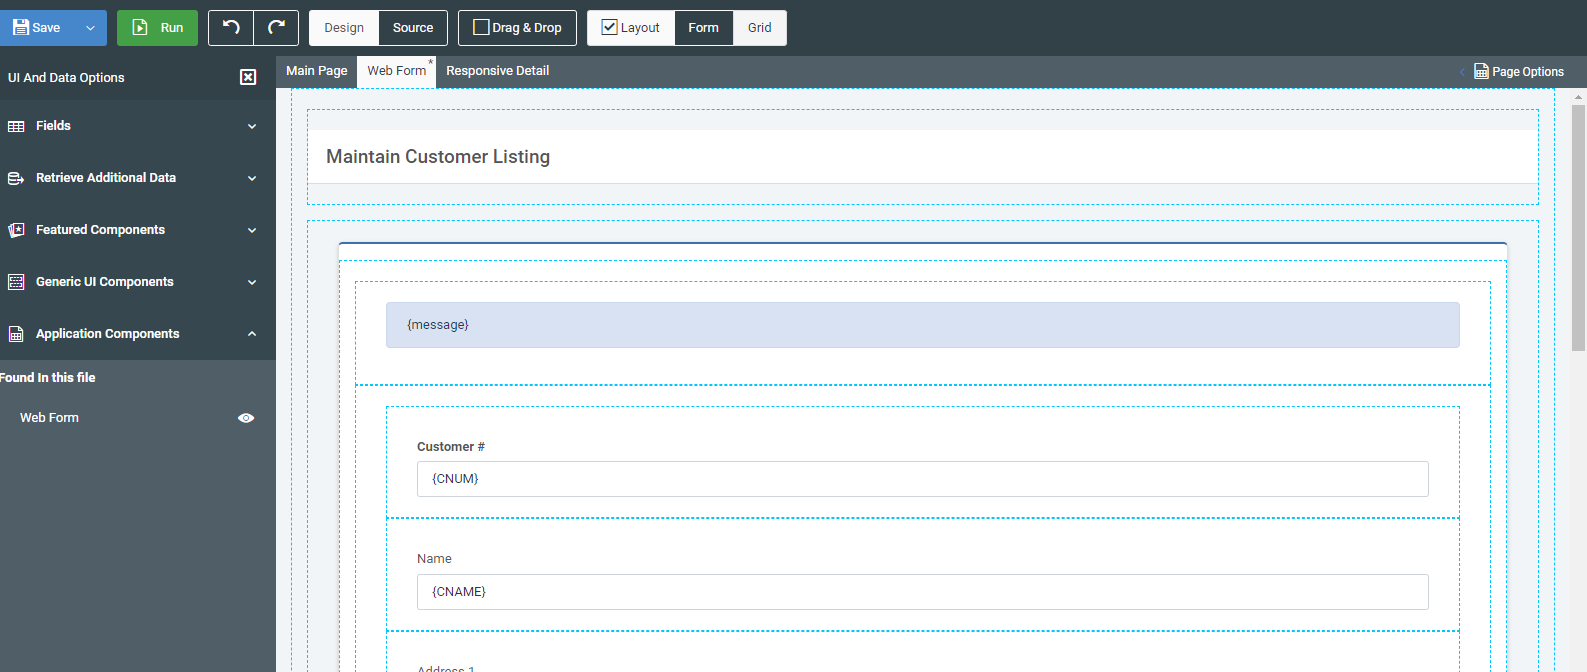
Once in m-Painter, click the Layout button to activate the Layout Wizard

Clicking this button will do two things for you automatically, it will enter you into the Form Layout mode and it will also enable drag and drop, allowing you to easily move elements around in your form.

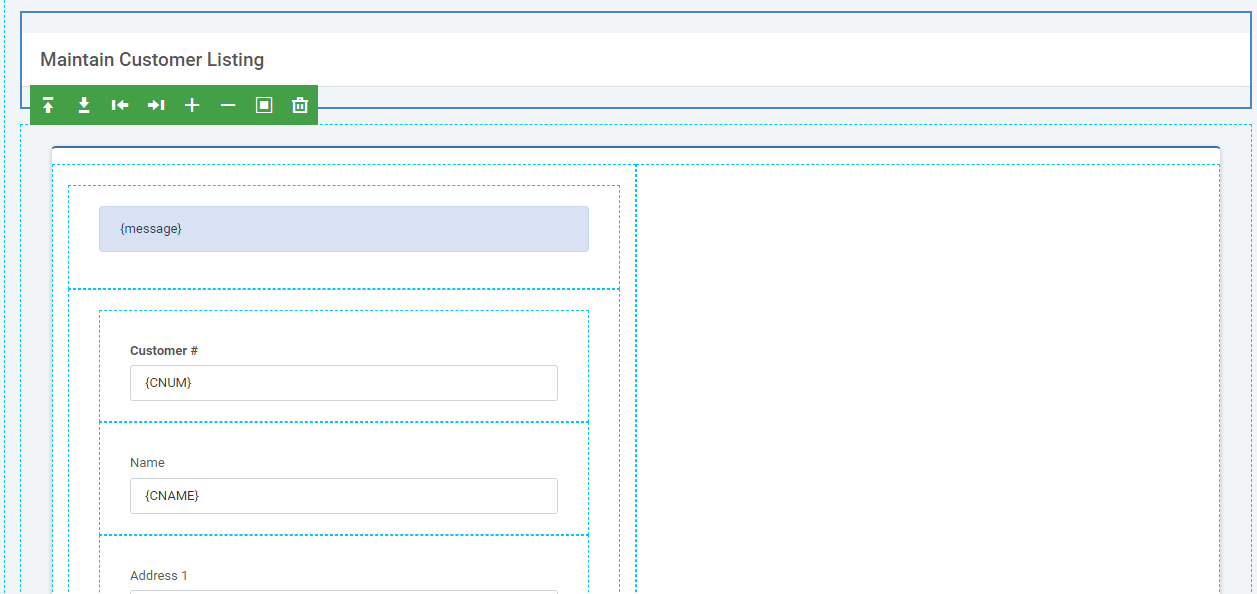
You will notice that your form has now been transformed. Notably, your page now has numerous dotted borders as well as a green menu viewable within whatever element you are currently hovering on.
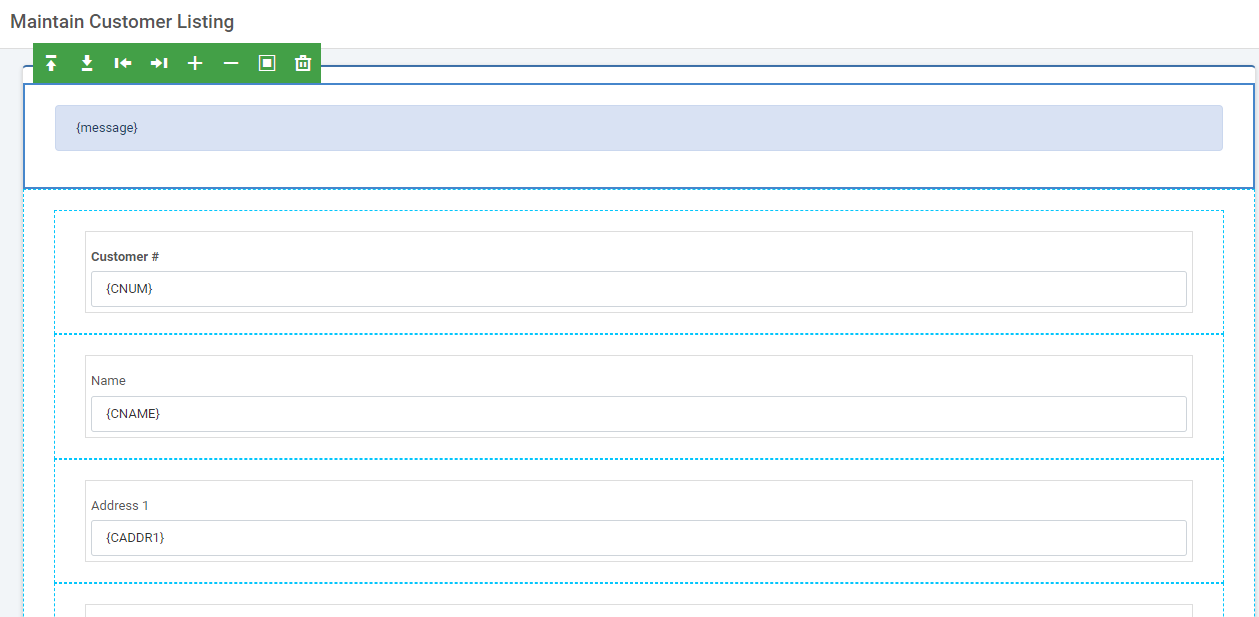
The green menu allows you to either add new rows above/below the element you are hovered over (up/down arrow), add new columns to the left/right of the selected element (left/right arrow), increase/decrease the size of the current selected element (plus/minus), wrap the current content into a card/tab (square icon), or remove the element (trash).
To add a second column of inputs, hover over each label or input and click the right arrow.
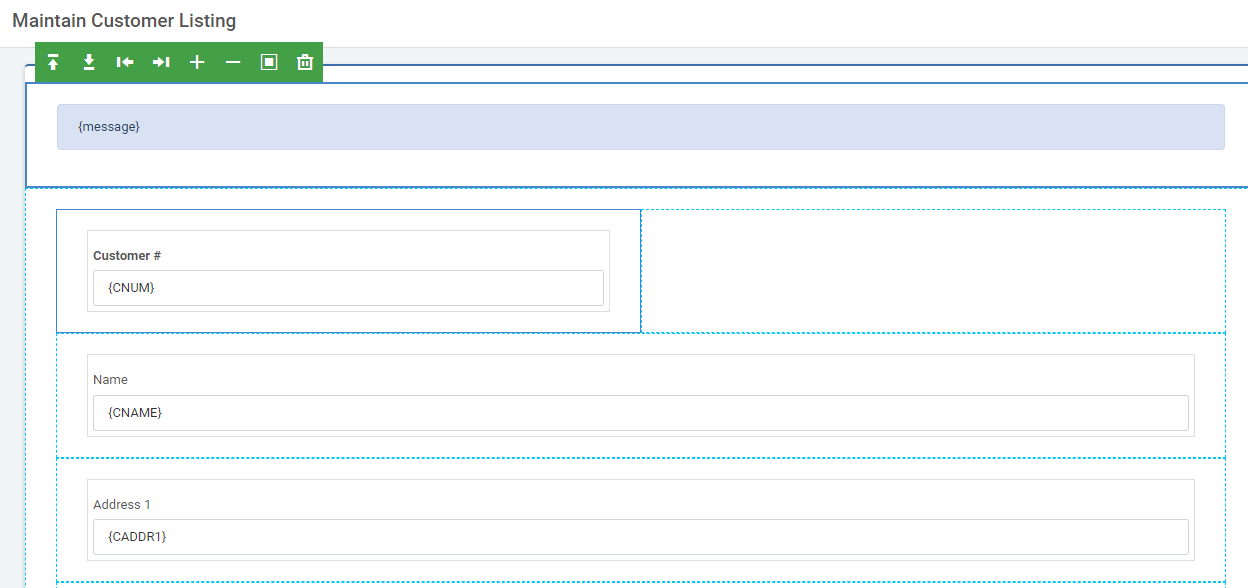
Notice that there is now an empty box to the right of customer number? We can now click and drag another input into that empty box. Dragging the name to the empty area will look like this:
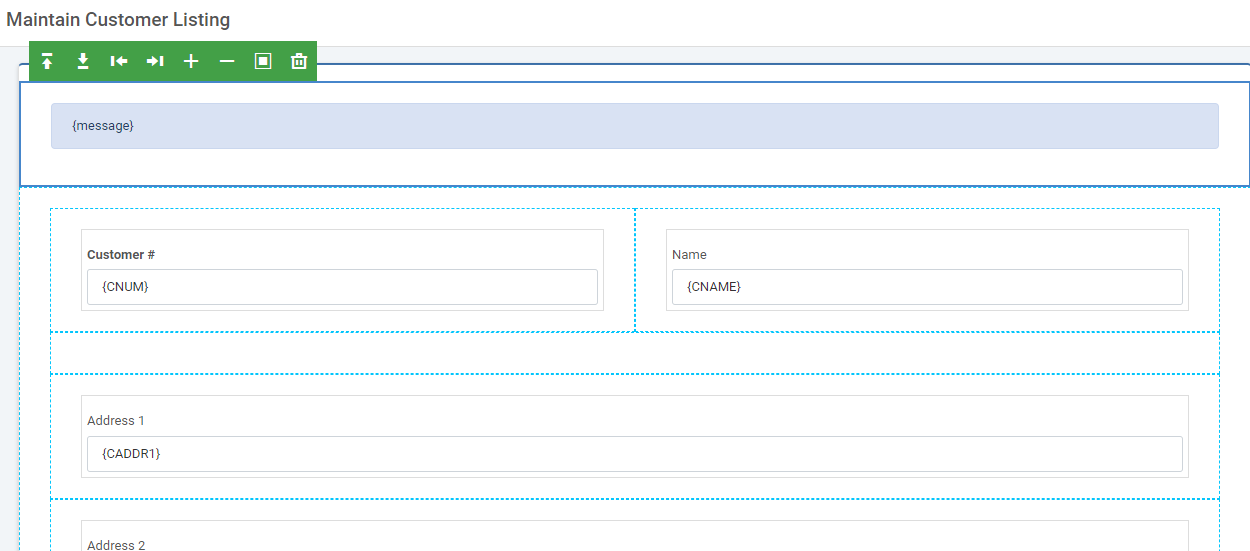
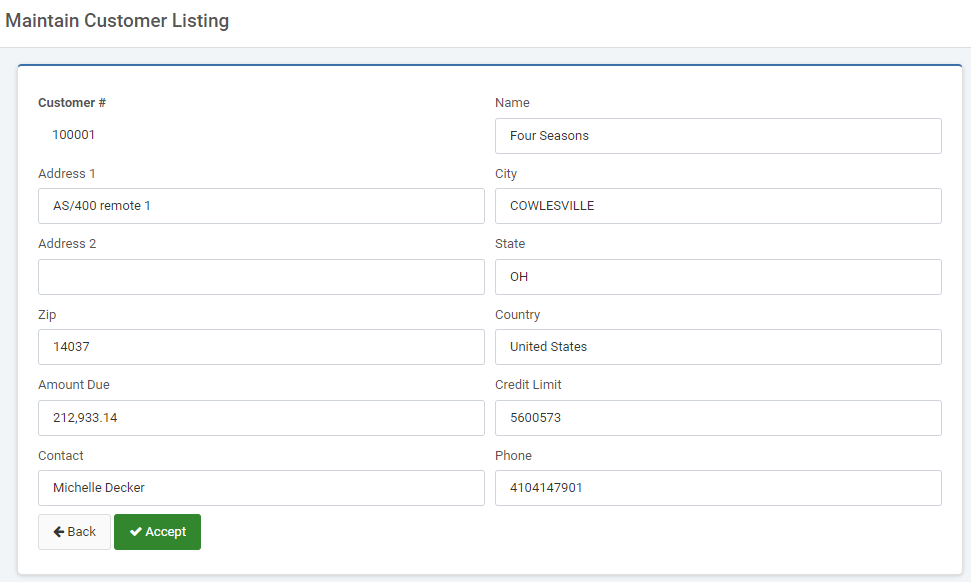
There is now an empty row, it can be removed by hovering over it and pressing the trash icon. Repeat this process until the layout of the page matches your design goals.
Be sure to save changes in m-Painter.
Layout Wizard – Grid
While the Grid Layout works in the same fashion as the Form Layout, their use case is entirely different. The Grid Layout is designed to work outside of a form. While the use case above assumed we were moving elements within a form, this example will have us move elements outside of the form. A good example of this is when you are working with a page with no form at all (like a report) or you are trying to adjust non-form elements (like importing a second application next to your main application.
To implement, click the “Layout” button.
To split this entire card and make room for another panel on the right, hover over the main card and press the right arrow. This will shrink the currently selected element to make room for another element to the right.

When completed, m-Painter will look like this. Notice the empty space on the right?
From here a developer now has space to add new elements to the page, such as a graph or an imported application.
Ultimately, the Grid Layout mode should be thought of as a tool that allows developers to adjust how any element on the page can be adjusted, not just specific form elements.