Do you find yourself needing to build a Menu for all of the great generated applications you have built with m-Power? Tired of plain .html files that offer no security or Menuing Systems that you have to create all the tables by hand? mrc now offers the ability to create your Menuing system with a new built-in tool, the “Application and Security” Option. Here is how to create your own menus:
-
- Implement Sign-On security by copying the following two files from the /mrcjava/mrcclasses folder to your Data Dictionary /mrcjava/WEB-INF/classes/DATA DICTIONARY NAME:
- mrcSignon2.xml
- mrcSignon2.html
- Implement Sign-On security by copying the following two files from the /mrcjava/mrcclasses folder to your Data Dictionary /mrcjava/WEB-INF/classes/DATA DICTIONARY NAME:
NOTE: Security is not required to use this feature, although without Signon logic all users will see the same options.
- Please be sure to edit the files accordingly so they point to the right configuration specifications. For additional information regarding mrc security configurations please see our security documentation here.
- Now that your system is fully up-to-date and the security has been implemented, please go to “Admin Menu”, and click on the “Application Menu and Security” Option.
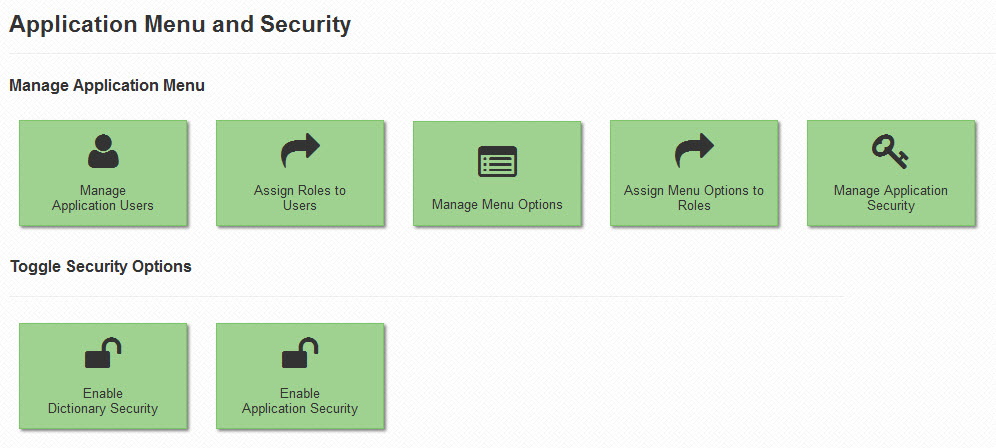
The first four links you see control the following options:
Manage Application Users — This link allows you to add Users to the Menuing system. If a user is not in this list, they will be unable to see applications on the mrc Run-Time Menu.
Assign Users to Roles — This link allows you to assign role(s) to users. m-Power menuing and security allows a single user to belong to multiple groups — it is on this screen that you declare these roles to a given user.
Manage Menu Options — This link allows you to add Applications to the Menuing system. If an application is not on this list, no user will be able to see it as an option.
Note: Newly created applications are not automatically added to this list. You will need to decide which applications are added to the mrc Menuing System.
Assign Menu Options to Roles — This link allows you to control which users can see which applications. Think of this option as the screen that allows you to link the role to the application.
Note: The Menuing System is unique for each data dictionary.
Let’s first add some users via the “Manage Application Users” screen:
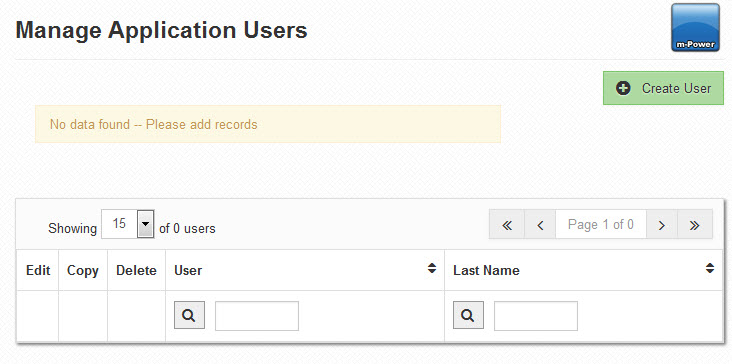
Click the “Create User” button to add a User:
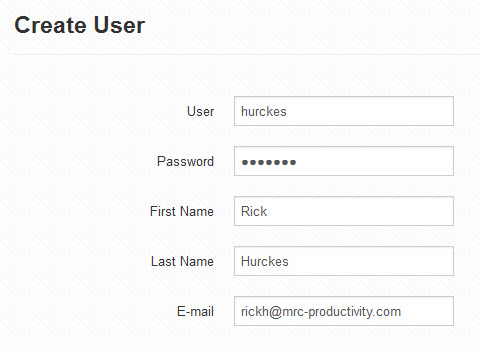
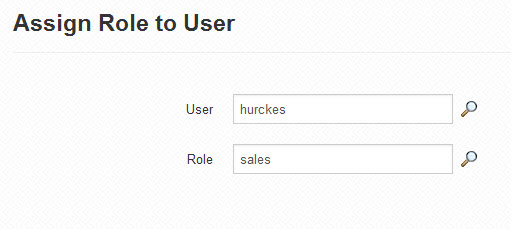
The “User” field must be the same as the AS400 sign-on.
The “Role” field is what tells the Menuing system what category of applications this user can see.
The Password, First Name, Last Name, and E-mail fields are not used for the Menuing System but are provided for you in case you wish to run database table authentication off of this table. For your reference, the name of the table is MRCSEC1 and is located in the current Data Dictionary.
Note: If you are using this system without any Sign-on logic, you will need to add one, and only one, user to this table. The name of the user is not relevant.
Click “Accept”.
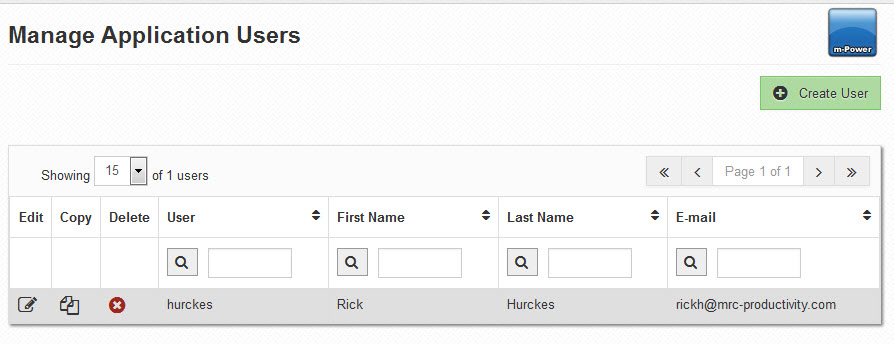
The user ‘hurckes’ has now been added to the Menuing System. As of right now, this user is the only one who can access the Menuing System.
I will add one other user for this walkthrough, this user will be named ‘testuser’ and will have the Role of ‘Support’.
Next, click the “Admin Menu” –> “Application Menu and Security” –> “Assign Roles to Users.”
Click the Create Option button.
You can utilize the lookup window to choose from existing users or roles. However, you also have the flexibility to create new roles. Keep in mind, that a user can belong to multiple roles.
Next, click the “Admin Menu” –> “Application Menu and Security” –> “Manage Menu Options.”
Click the Create Option button.
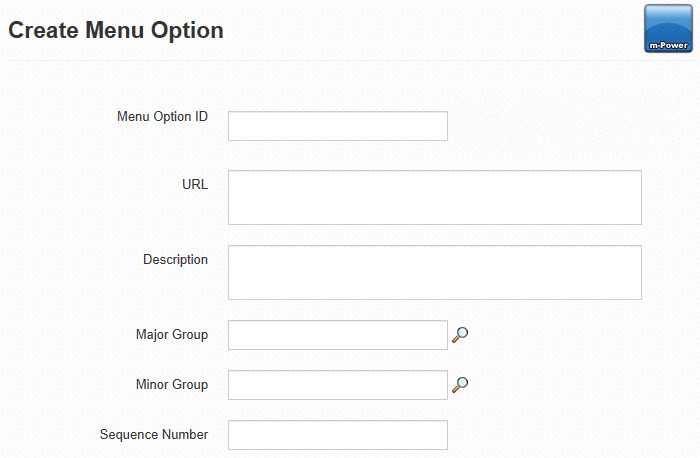
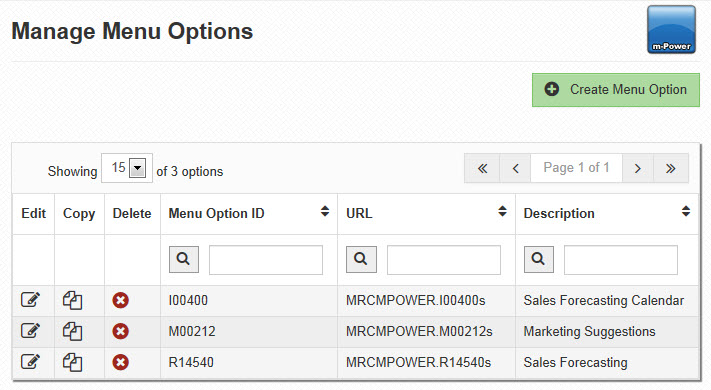
The top 5 options are currently being used and are as follows:
The “Menu Option ID” field is the key field and, thus, must be unique. mrc recommends using the application letter and name for this field when linking to mrc Applications (i.e. if your Application is Report 14540 that you call this field R14540).
The “URL” field will assume relative linking unless you specify the whole path (i.e. if I wanted to link to Report 14540, I would simply input MRCMPOWER.R14540s. However, if I wanted to link to the mrc homepage, I could also type https://www.mrc-productivity.com.).
The “Description” field will be the written text of the link.
The “Major Group” field allows you to specify all applications of the same category together in a tabbed group (i.e. a reasonable option here might be “Sales”, “Marketing”, “Help”, etc.).
The “Minor Group” field allows you to specify all applications of the same major group to be categorized on the page together in different groups (i.e. under the “Sales” tab, I might want 3 different sections — “Budget”, “Forecast”, and “Leads”. Each of these would be different Minor Groups depending on the application.
Sequence Number, Image URL, Title, and Class are not required by the Menuing System but are provided for your customization. For example, you can enter a “Sequence Number” to sort individual menu options within a Minor Group. However, not entering a Sequencing number will sort your applications alphabetically by default.
Since the Menuing System is an mrc Servlet, you can map a specific Image or even a .CSS Style Class, then paint the mrc Menuing page to include said objects.
Click “Accept”.
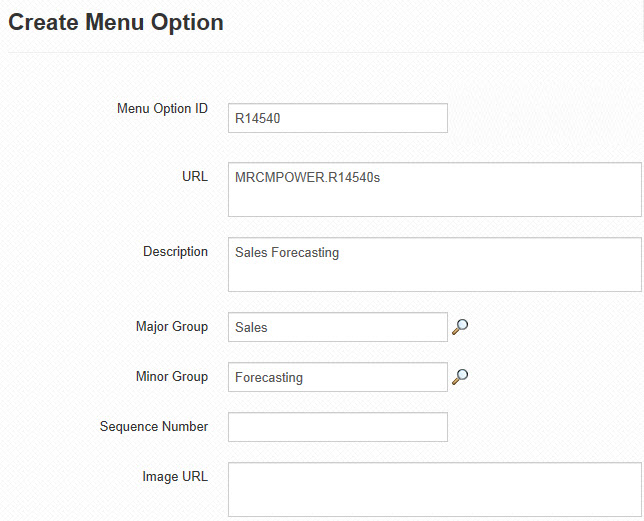
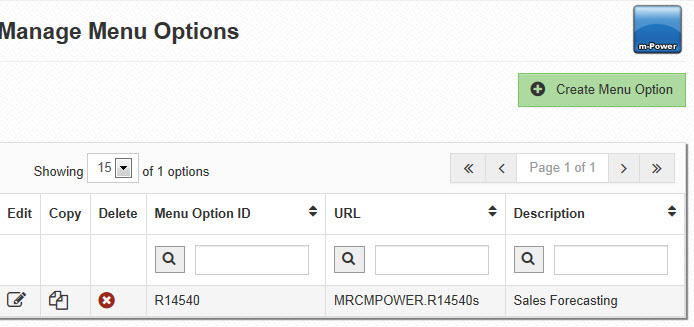
The next screen confirms that my application has been added:
For the purposes of this example, I will add two more applications:
— I00400, a Calendar Application for Sales Forecasting
— M00212, a Single Record Maintainer that allows me to add Marketing Suggestions
After my additions, my list of applications looks like this:
My final step is to assign these programs to my list of users.
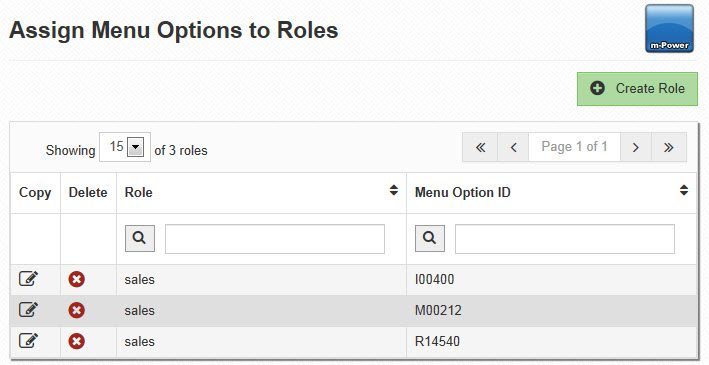
Next, click the “Admin Menu” –> “Application Menu and Security” –> “Manage Menu Options to Role.”
This is the screen where we say which users can see which applications.
Click the “Create Role” button.
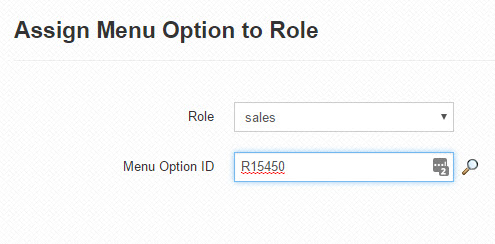
Clicking the Accept button will register any user who has “sales” specified as their role to the “R14540” application.
I will also add M00212 and I00400 to the sales role. Notice the dropdown for role. I can select any available role. Additionally, notice the “All Users” role. This is useful in the event that you want every single user able to have access to this application, mo matter what role(s) they belong.
Currently, the “Hurckes” user should see three applications, while the “testuser” will see no applications.
To view the menu, please direct your browser to this address:
where 123.456.789.012:8011 is your IP address and Specified Port Number, and DATADICTIONARY is the name of your Data Dictionary
After Signing On, I am shown this screen:
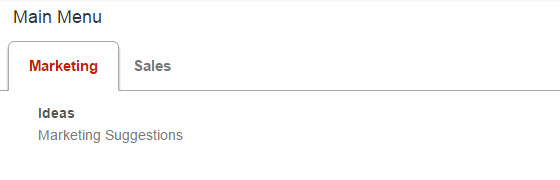
You can see two tabs, these are my “Major Groups”. Under Marketing, I see “Ideas” which is my minor group.
Clicking the “Sales” tab, I see this screen:
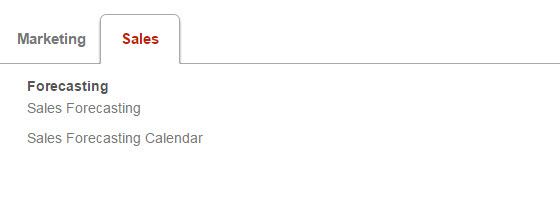
Since both applications have “Forecast” as their “Minor Group”, they are both listed together.
Other Notes:
· The mrc Menuing System .html application is fully modifiable. The file to modify is mrcmenu.html and is located in /mrcjava/WEB-INF/classes/DATADICTIONARY/
You can also control the Stylesheet within the mrcmenu.html as well.
· Since the mrc Menuing System was generated with mrc, it means that it can be used interactively with any other application. Ultimately, you can import this application into any other application if you wish. More information about importing can be found here.
· As mentioned above, you are encouraged to authenticate over this table if you choose database table authentication for your users. The benefit to this is that you are then only using one table, and thus maintaining only 1 table. The name of this table is MRCSEC1 and is located in your data dictionary.
· The mrc Menuing System can be used with or without sign-on logic. To use this system without sign-on logic, please add one, and only one, user to the Users table. The name of the user is irrelevant.
· The mrc Menuing System can be rolled out to production environments to different databases. mrc Support can assist you in this process if necessary. (Note: Users who have a development and production instance of Tomcat do not require any additional configuration as their development and production are utilizing the same database.)