Sometimes while interacting with an AI Assistant Chatbot, the dialog will be conversational. You will ask it questions, and it will return to you answers in plain text. But sometimes you may want to give the Chatbot a command (Add an item to my cart). In making this request, the Chatbot will need to return a response in JSON format to make this happen. This document will walk you through this process of how to use m-Power and AI to achieve this.
The Components
- An AI Assistant — This is the chatbot that the user will interact with.
- Defined Parameters — These are the parameters that the AI Assistant will help define and send to your maintainer.
- A System Prompt — System prompts are instructions that help guide the AI to learn exactly what you want accomplished.
- An m-Power Maintainer — Like always, the m-Power maintainer is used to write data back to the database.
- Utilizing Workflow to communicate between AI and the Maintenance app
Use Case
As alluded to above, this documentation will walk through an example of using the chat bot to add an item to my cart.
Creating the AI Assistant and Defining the Parameters
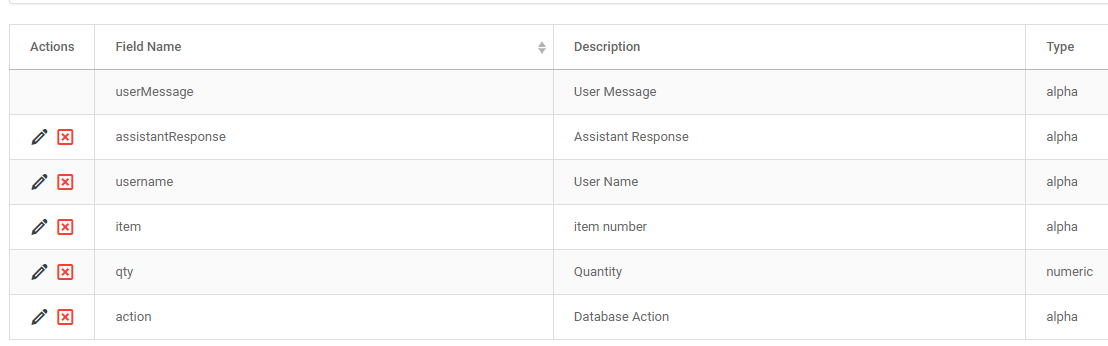
Building an AI Assistant is as simple as creating a new retrieval and selecting the AI Assistant template. The AI Assistant template is unique in that is does not require you to select tables or fields. Instead, you have the option to create parameters. This is useful in the event you want to pass values from your AI Assistant to somewhere else via Workflow. Since that’s exactly what we want to do, let’s create a few parameters. Things to include would be things like current user name, item, qty, and action.
Creating the System Prompt
After setting the parameters and compiling the application, open m-Painter. This will allow you to direct the AI with how to behave via the System Prompt. See more on writing System Prompts here.
The default system prompt will look something like this:
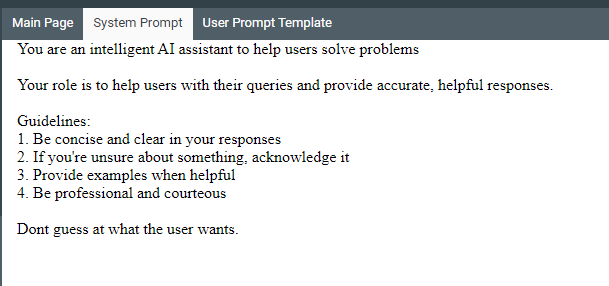
In our case, this is pretty generic and ultimately not that helpful so let’s go ahead and delete it and write our own.
Your purpose is to help people add items to their cart.
You should ask them what item number they want to order and then ask the quantity.
The quantity should always be greater than 0.
Once they have confirmed that the item and quantity is correct, you should show this message:
The item has been successfully added to your cart!
““JSON
{
“action”:”add”,
“item”:”{item the user specified}”,
“qty”:”{quantity the user specified}”,
“username”:”${visitor.user}”
}
“`
Building the Maintainer and Constructing the Workflow
Build a single row maintainer over any table you wish. Ensure there is a column for user, item, and quantity.
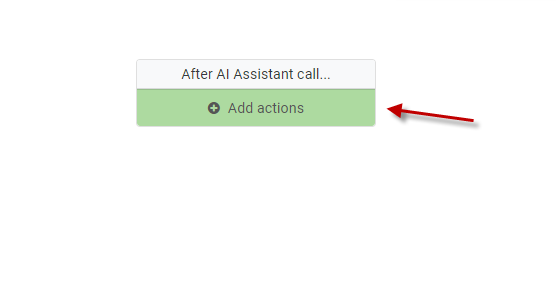
Once completed, head back to your AI Assistant, and go to Workflow. Click on the “Add actions” button within the “After AI Assistant call…” node.
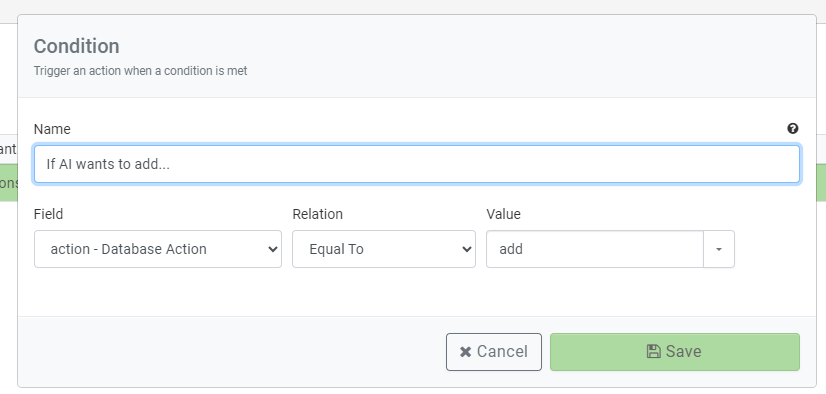
Before we can trigger the maintainer, we have to understand that any action within the “After AI Assistant call…” node will try to be called EVERY TIME the AI responds. This is not what we want as the AI might be confirming user action or otherwise performing other narrative duties. Instead, we only want the maintainer called when the JSON response is sent. Therefore, we can run a check to see if the action parameter is set to add. So let’s create a condition to do just that.
Next, click the “If true…” node, and click the Add Action option and select “Write/Update a database record via a Maintainer.”
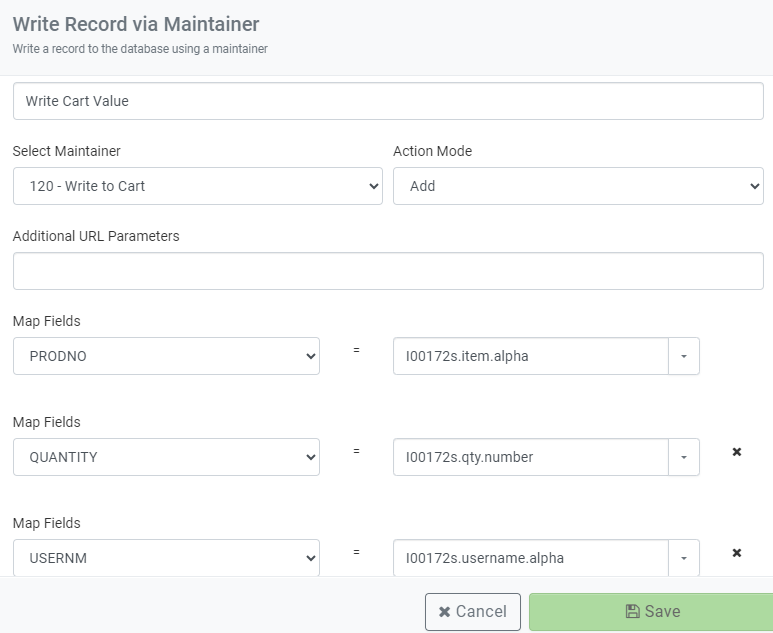
Notice that I have mapped three parameters from my AI assistant to my Maintainer.
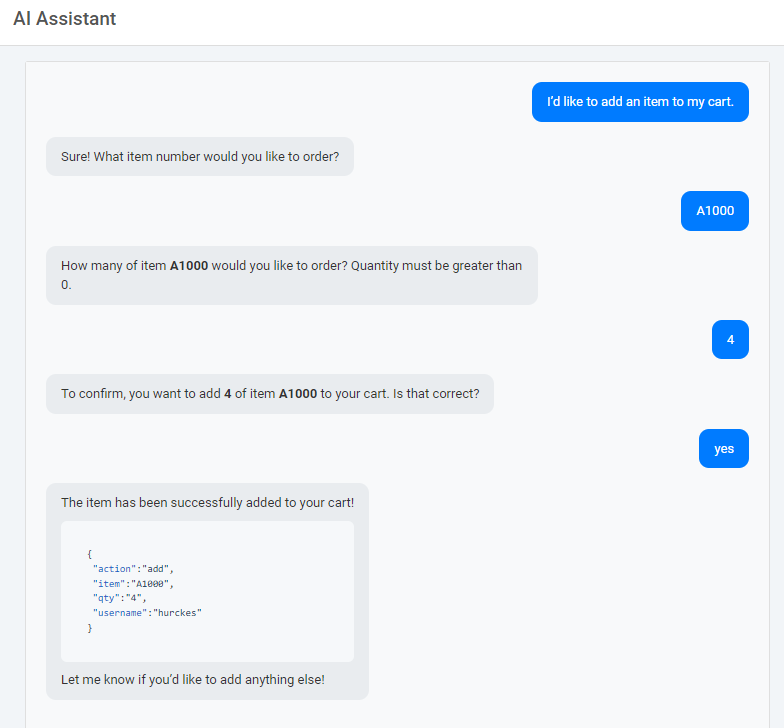
Running the ChatBot
Here is a narrative of what I asked my AI Assistant:
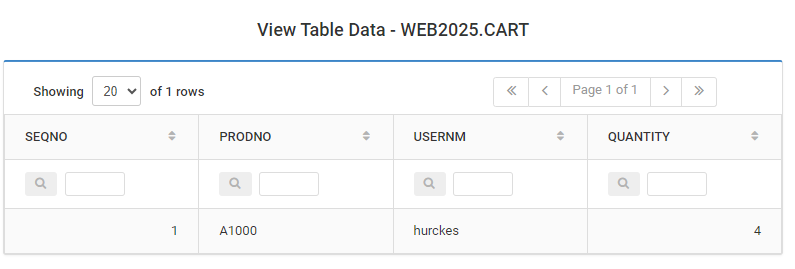
And here is the content in the database:
Finishing Touches
Everything looks great now, except for the fact that the JSON response is being returned to the user, which is confusing and not a great UX. However, you can configure within the AI Assistant to tell it to suppress JSON responses to the user.
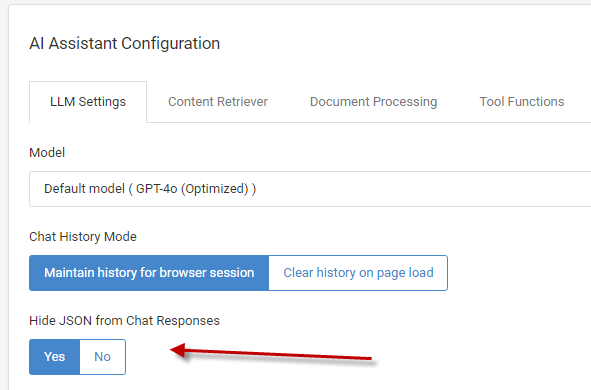
To do this, first click on Edit properties for your AI Assistant:
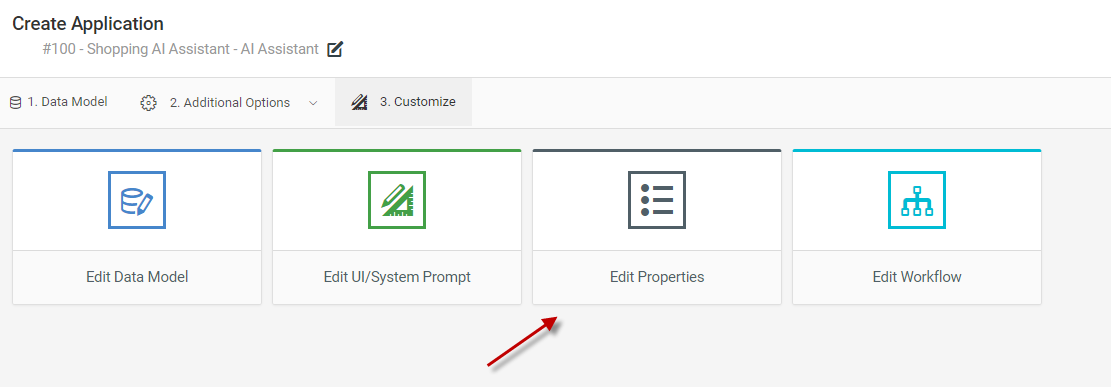
Then set the “Hide JSON from Chat Responses” to Yes.
Reload the chatbot and try again. Now notice that no JSON response is returned to the screen but the functionality still works just as it did before.
Click here to learn how to call JavaScript based on certain responses from AI.