Overview
No matter what type of application or report you are building, it is safe to say that you probably want to allow users to link between two applications. Thankfully, m-Painter makes this process a breeze!
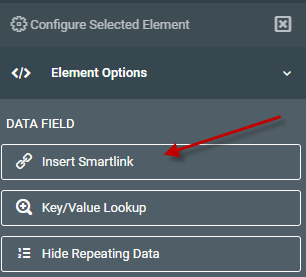
To begin, open m-Painter and click on the element you wish to be made into a link. From there, click the “Insert Smartlink” button within the right side Element panel.
Doing so will take you through a wizard approach that guides you through the process of creating your link.
Choosing a Link Type
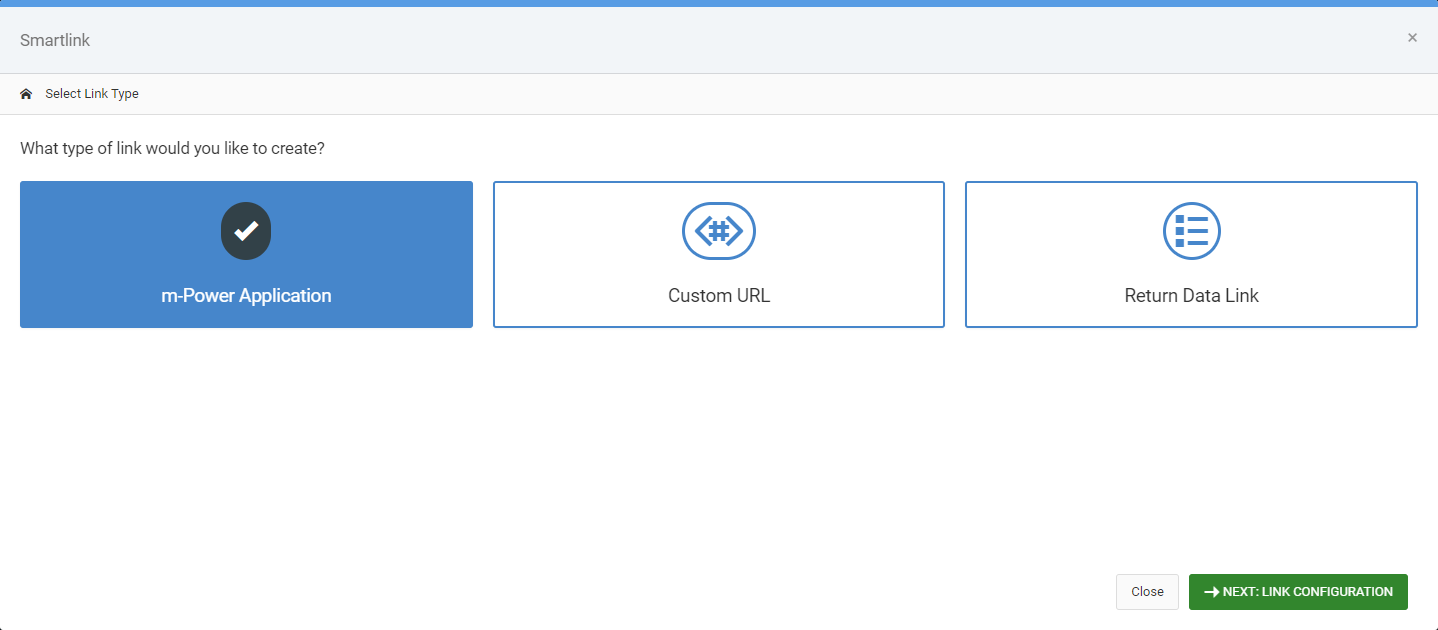
Your first decision will be to choose which type of link you want to utilize.
- m-Power Application — This is the most common choice. This will let you link to another m-Power application. You will be able to select from any application already built, including ones in a different data dictionary.
- Custom URL — Choose this option if you wish to link to something other than an m-Power application.
- Return Data Link — In the event you are creating the retrieval portion of a Return Data feature, this option creates the link that users would click to “Return Data” back to the parent form. More information about the Return Data feature can be found here.
Configuring your URL
After selecting your link type, you are then brought to a link configuration screen.
m-Power Application
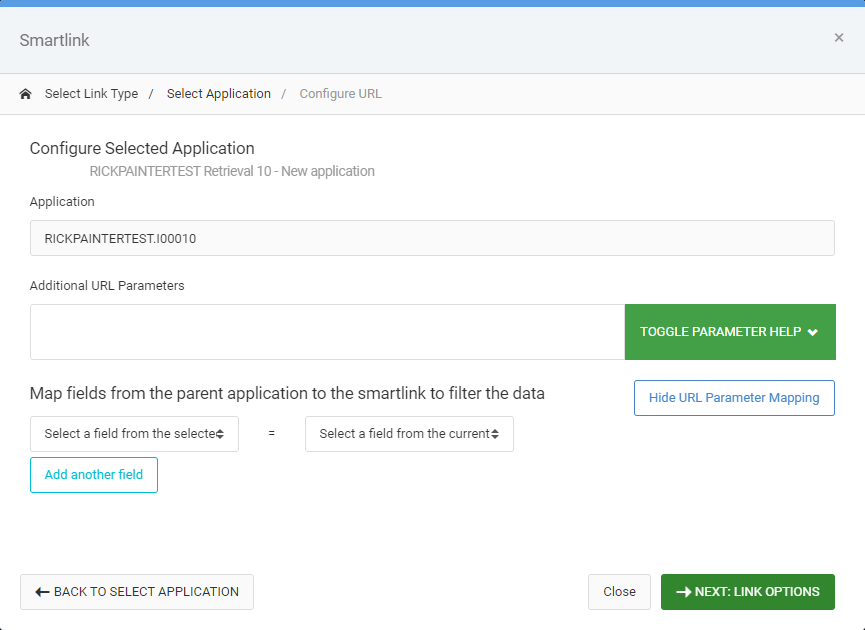
While you can manually enter additional URL parameters, the large text area can usually be ignored. However, pay close attention to the “Map fields from the parent application” section as this is where you will set the parameters that will be passed between the two applications. Pick the matching fields. Then press the green “Next: Link Options” button.
Custom URL
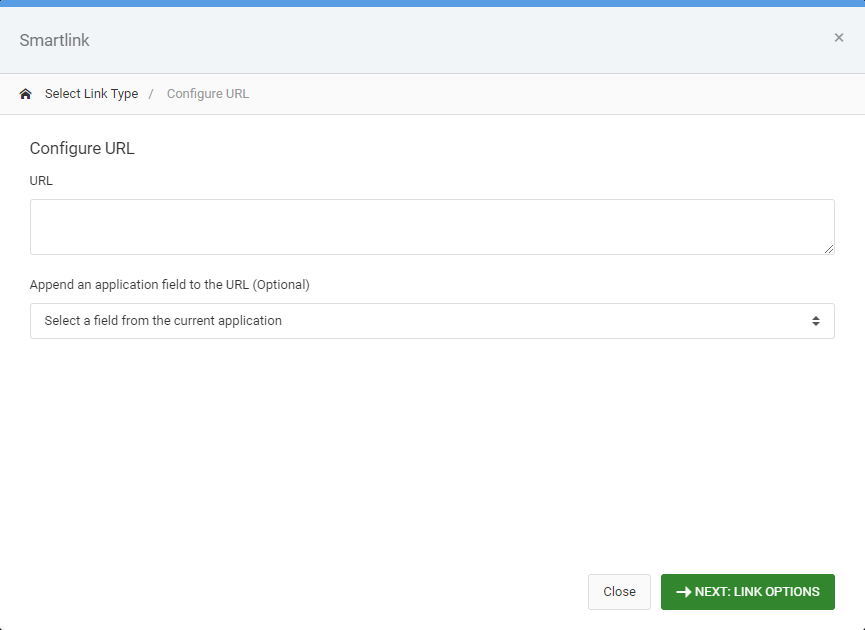
Since you are not, in this case, linking to an m-Power application, this option is much more basic. Simply type in the URL you want the user to be directed to. Optionally, you can append a single value to the end of the URL via the dropdown box.
Choosing Link Options
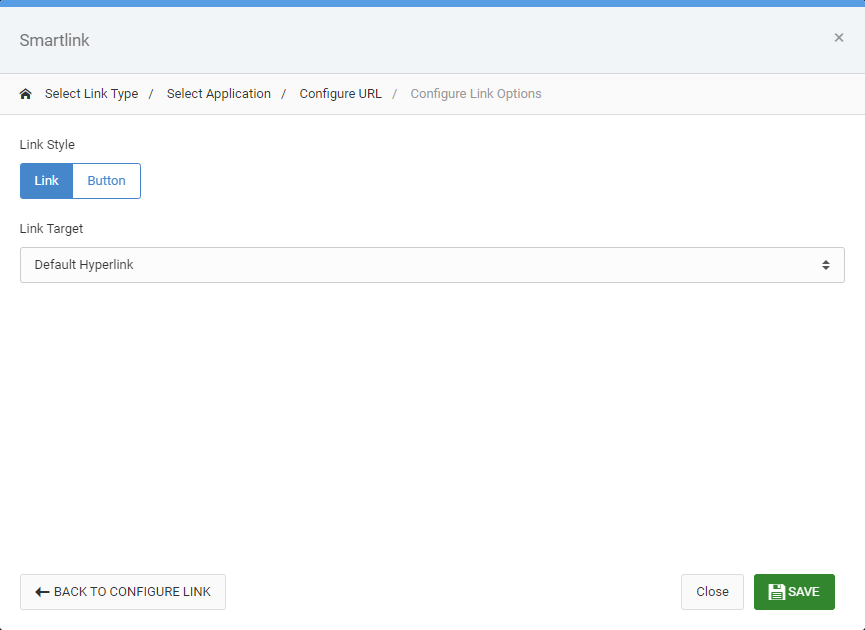
This final screen allows you to control how your link looks and behaves. By default, your link will be a traditional link but you can change the link style to button. Doing so, you have further control to select the color of the button.
Via the Link Target dropdown, you have additional choices to control where the link should option, including:
- Default Hyperlink — This is the traditional link. When a user clicks on it, the new page will replace the old one in their browser.
- New Window/Tab — As the name suggests, clicking on this link will spawn a new tab rather than replacing the contents of the current one.
- Mouseover Window — When a user hovers their mouse over this link, the linked application will appear in a small window. As soon as the user moves their mouse off of the link, the linked application will disappear.
- Popup Dialog — Clicking on this will open the linked application in a modal window, greying out the parent application behind. Once a user closes the modal, the parent will be fully visible. You have the option to name this modal window as well as control its size.
Maintainer Specific Link Options
Working with Smartlinks in Maintainers offers additional options with regard to the Popup Dialog
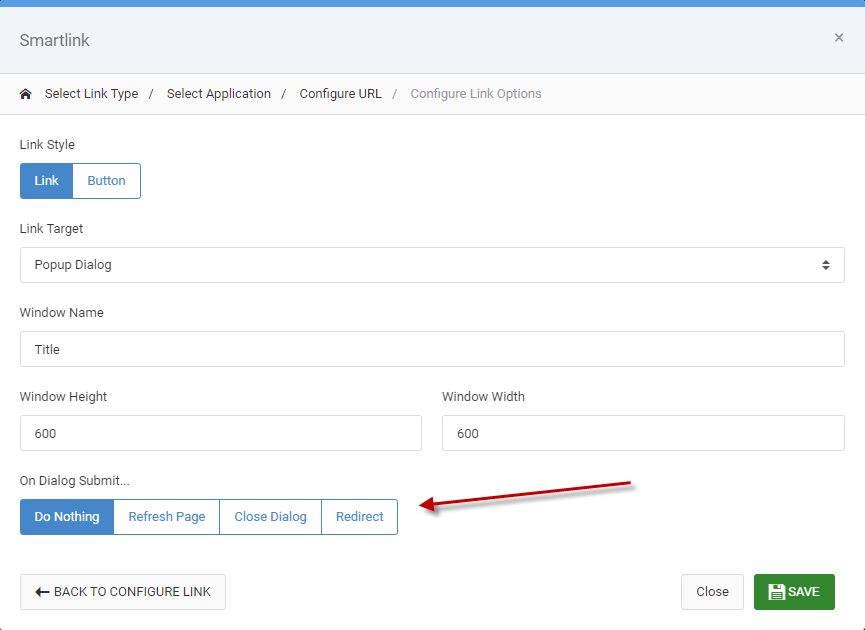
- Do Nothing — The dialog window will remain open
- Refresh Page — The dialog window will close and the underlying page will be refreshed.
- Close Dialog — The dialog window will be closed but the underlying page will not reload.
- Redirect — Specifying this option will cause the underlying parent page to be redirected to the URL of your choosing.