The m-Power Demo Video Series: How to create a shopping cart in 1 hour
The m-Power Demo Video Series takes you on a deep dive into m-Power's build process, walking you through a start-to-finish development project. In every video, we tackle a development project that would require days/weeks of manual coding, and complete the whole thing in under 2 hours.
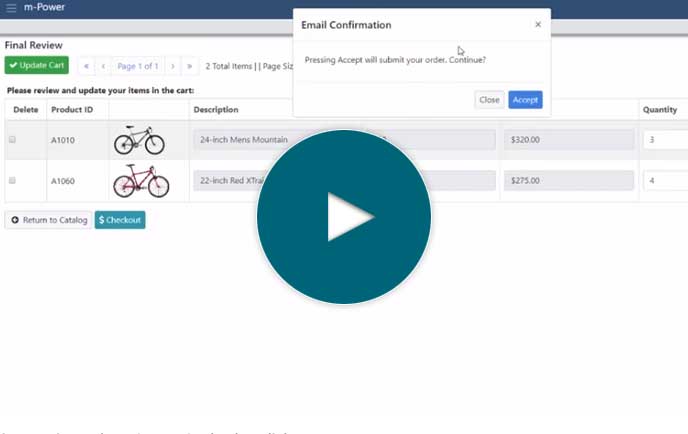
In this video, we walk you through a custom shopping cart project. In this shopping cart, customers will be able to securely browse a product catalog, add items to their cart, and checkout. Once they submit an order, they'll receive an email confirmation and receipt for their purchase. This video walks you through the project from start to finish, and explains each step along the way.
Don't have time to watch the whole video?
We've broken the video up into steps for those who don't have time to watch the whole thing from start to finish. You can filter the videos by topic and select one of the options below to view a specific step in the build process.
Filter videos by topic
Step-by-Step Videos

Part 1: Introduction
In part 1 of this video series, we introduce you to the m-Power Development Platform and explain the helpdesk portal we're about to create.
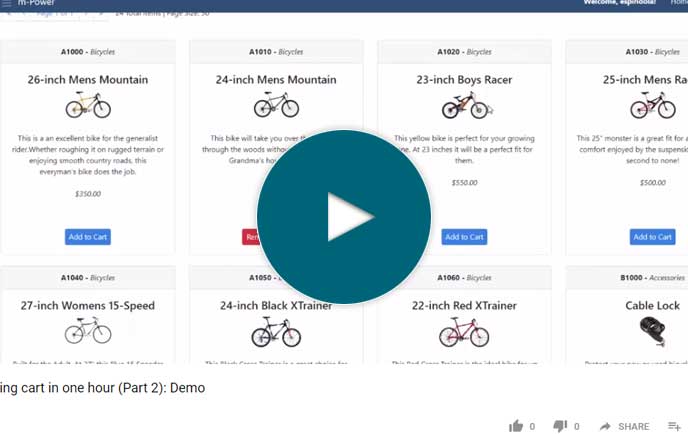
Part 2: Demo
In part 2 of this video series, we take you through a demo of shopping cart we're going to build. explain the applications we’re going to create.

Part 3: Setting up the database tables
In part 3 of this video series, we lay the foundation for our shopping cart. We create a new data dictionary in m-Power, and register our database tables.
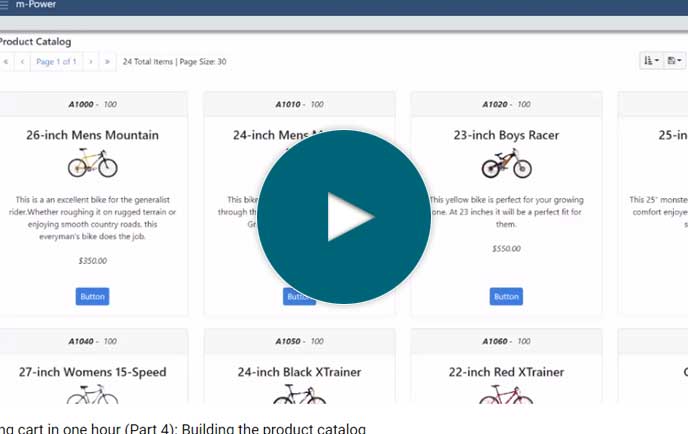
Part 4: Building the product catalog
In part 4 of this video series, we create and customize the product catalog--the application that displays all of our products in the shopping cart.
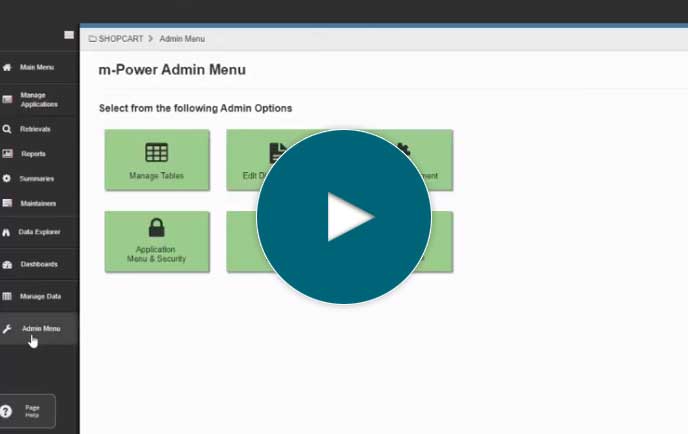
Part 5: Security
In part 5 of this video series, we add security to the product catalog. This will make sure that only registered users can access the shopping cart and place orders.
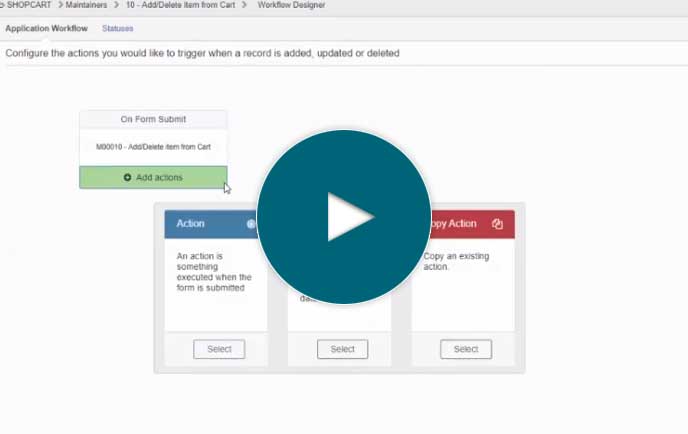
Part 6: Creating add/delete capabilities
In part 6 of this video series, we create the capabilities needed to add/remove items from the shopping cart.
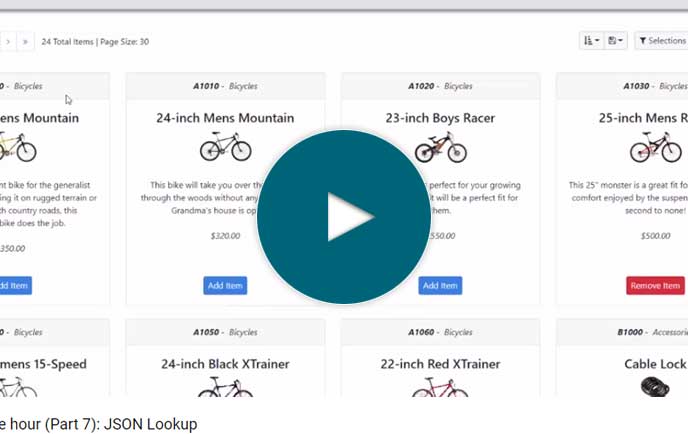
Part 7: JSON Lookup
In part 7 of this video series, we add logic to the application that will check to see if an item has been added to the cart, and then display the appropriate "Add/Remove" button based on the result.
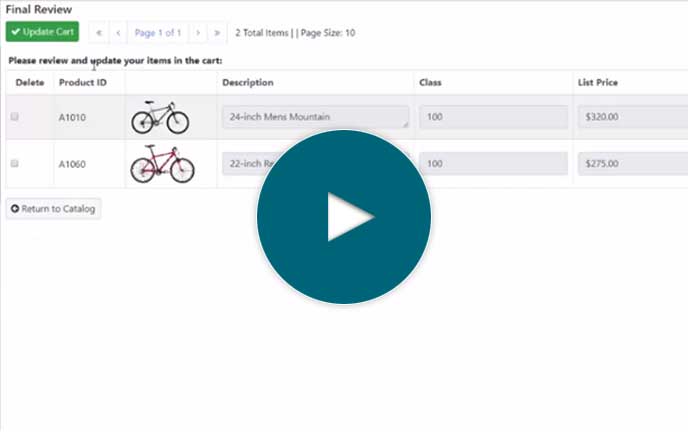
Part 8: Cart review application
In part 8 of this video series, we create the cart review application. This application displays the items in the cart, and gives users the option to go back and add more items or checkout.
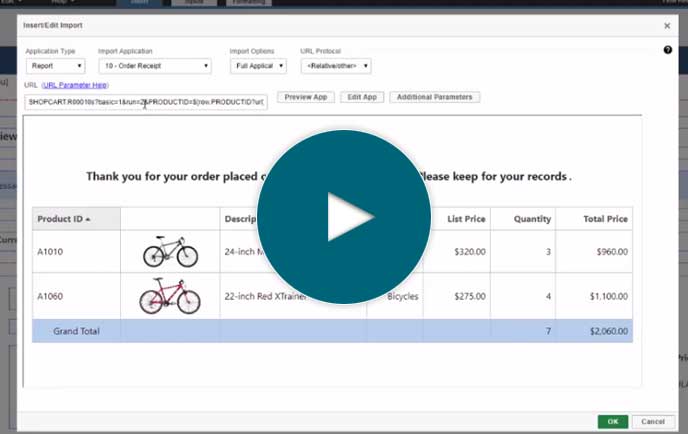
Part 9: Purchase receipt
In part 9 of this video series, we create the purchase receipt that the user will receive after submitting their order.
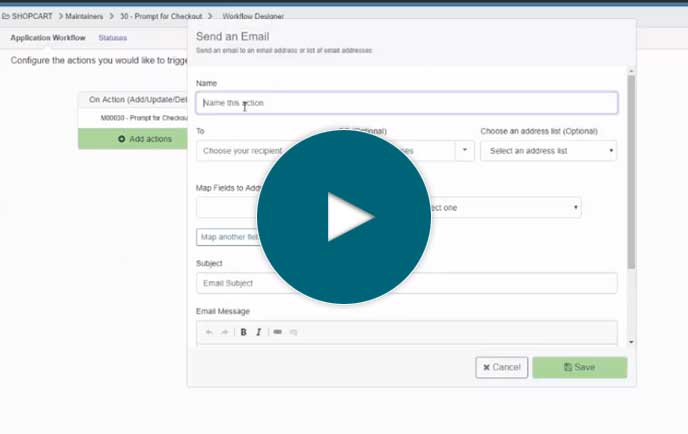
Part 10: Confirmation email
In part 10 of this video series, we create the confirmation email (and invoice) that the user receives after submitting an order.
Part 11: Checkout link
In part 11 of this video series, we add the final piece (the checkout link) to our shopping cart and wrap up the project.