Validating via an RPG External Object
This document will explain how to call an external object RPG program for validity checking. For basic information regarding validity checking please see this document.
The source code for this RPG can be found here. For the sake of this documentation, the RPG code will be located in MRCWORKLIB/RPGLESRC and the file will be named VALIDDATES.
First, we will define this external object to our data dictionary.
Click "Admin Menu" -> "Custom Code" -> "External Objects" -> "Create New Object."
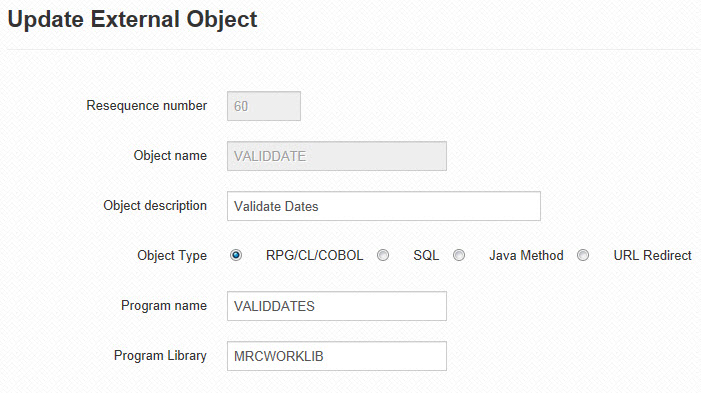
Be sure that the Program and Object name match.
Now that your external object has been created, we need to map the matching parameters to the object.
Since this object contains three parameters, we must map the same parameters, in the correct order, to this object that are listed in the RPG code.
The first parameter must be the error message, and is noted as such:
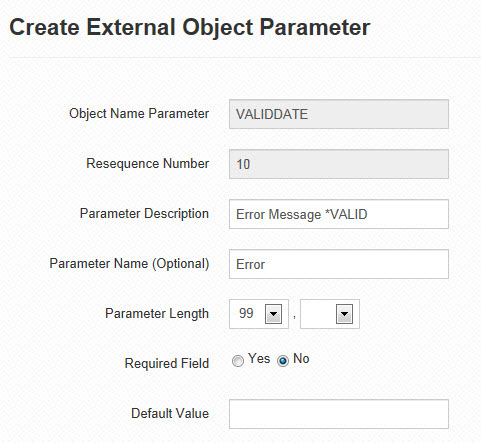
Note: The "Selected Field Required" option is set to "No" because this parameter must not be mapped at runtime.
Note: *VALID must be included in the Object Parameter Description.
Click "Accept". Create the remainder of your parameters.
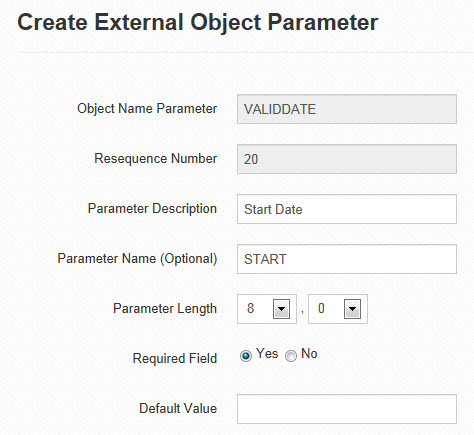
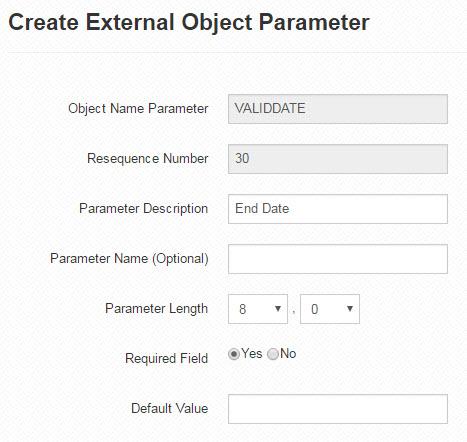
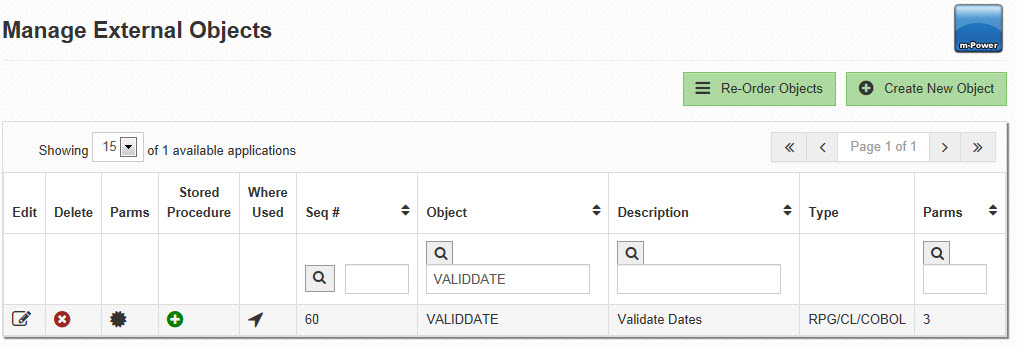
After all the parameters are created, click the "Create Stored Procedures" link for the specific object on the "Manage External Objects" screen.
This will pull up the Create Stored Procedure screen where you can view the code used to create the stored procedure, or actually create the stored procedure.
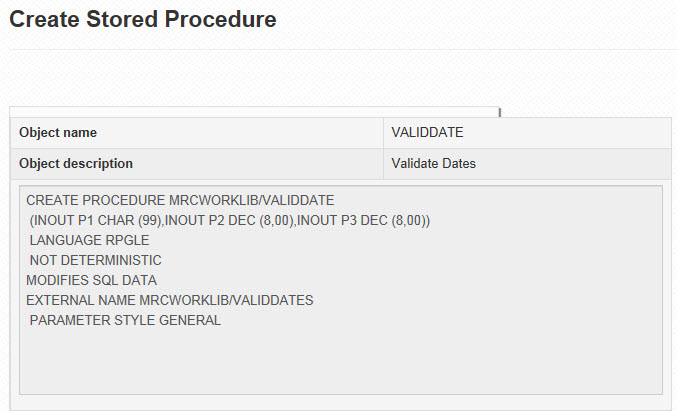
In this case, we want to click the Create button to create the stored procedure for this object. After clicking the Create button, you will see the screen displayed below.
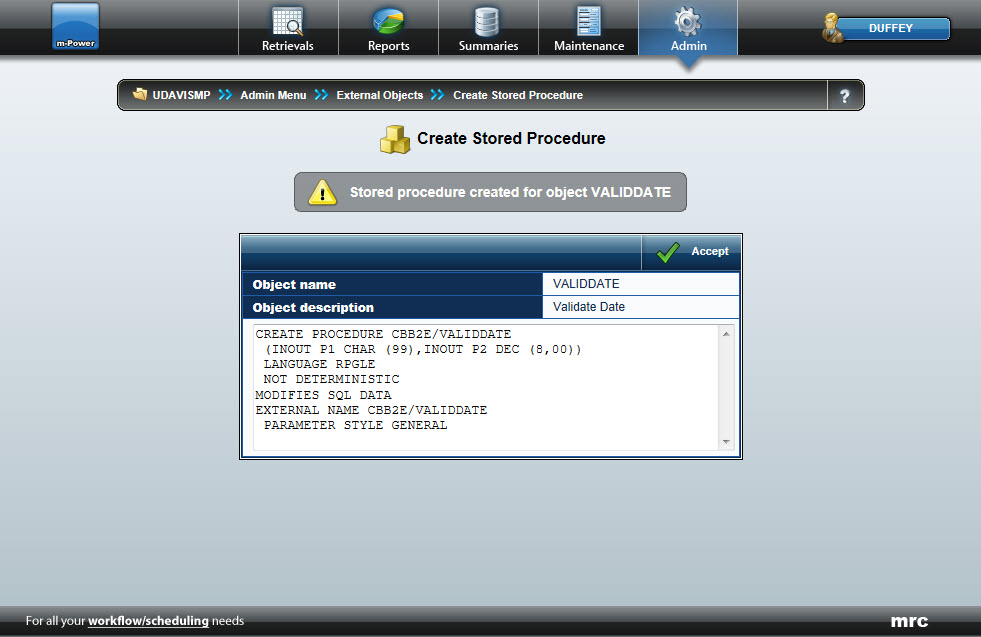
Click Accept to return to the Manage External Objects screen. Now that the external object has been created, all that is left to do is to include this object into your maintenance application.
Create your Maintenance application as you normally would. After including all of your specifications within Application Menu, click the "External Objects" link.
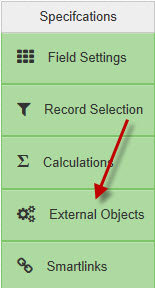
Select the newly created object off of the "Select an Object" drop-down. Select the *FLDVALID location. Map all parameters, except for the Error Message Parameter (as it must be left blank, i.e. no field mapped to it).
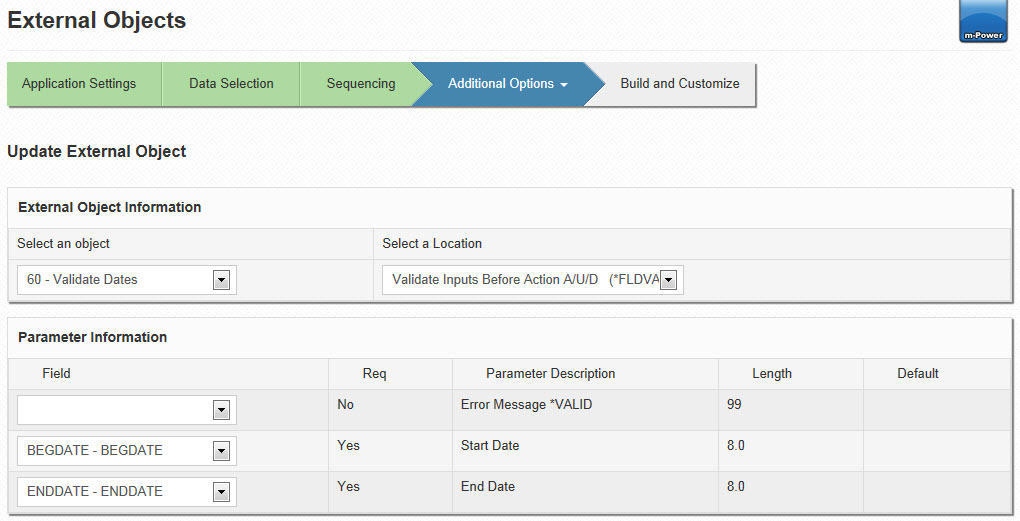
Click "Accept". Build your application.
Based upon the RPG logic provided, if a user forgets to enter a starting and ending date, forgets either the starting or ending date, or enters an ending date that is before the starting date, the external object will stop the record from being written to the database:
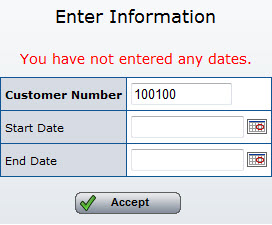
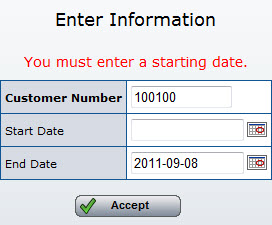
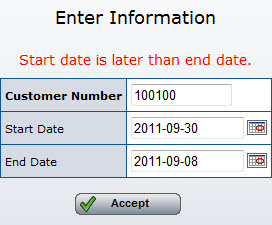
Note: The text of the error message is controlled within your RPG logic.
There are a few specific rules that must be followed for this methodology to work correctly.
- The first parameter must be specified for the error message, and must not be mapped to any field within your application.
- The first parameter must contain the text *VALID in the description.
- As a general rule for external objects, if you are chaining out to any tables, in your RPG you must include their libraries within the mrc-spring-context.xml file on the "libraries=" line to specify the run-time library list.