How to Create a Logical Field via the Data Dictionary
Logical Fields are fields that do not physically exist within your databases' tables, but rather are configured by you as a Developer. m-Power's Data Dictionary structure allows you to define these logical fields just one time, and you are able to access them throughout any application within that Data Dictionary. For example, let's say your Database consists of a MMDD field and a YY field. Rather than having to concatenate these two fields together for every single application you create (via a Calculation), you could just define this field at the Dictionary Level. Once this is done, your new logical field will simply be another field to select when you are picking all of your other fields.
There are four different Logical Fields you can create:
Similar to creating calculations at the application level, this feature allows you to create the same calculation, except it will exist at the Dictionary level. To create, click the "Manage Data" button. Then click the "Manage Tables" button. From here, find the table you with to add your logical field to, and click the "Fields" icon for the appropriate table. Click the "Create
Logical Field" button. Be sure to specify your field name and click "Save and Proceed to Step 2."
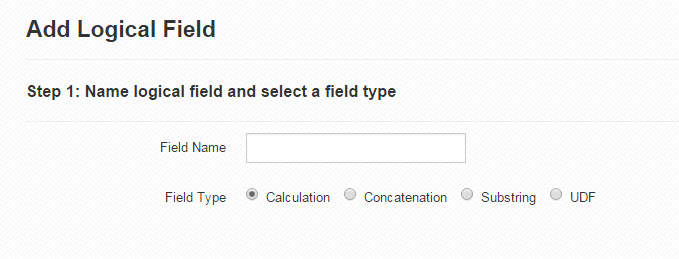
Create your calculation as you normally would. Feel free to use any technique you normally would when creating a calculation, such as including database functions and IF/ELSE logic.
Note: Data Dictionary calculations can only reference fields that exist in the same table.
Click "Accept". You have successfully created a new calculation logical field. Now, when you are creating/modifying existing applications, you will see this logical field at the bottom of your list of Fields when you click the Table/Field Selection link.
Concatenation allows you to combine up to 10 fields together into one field. Click the "Manage Data" button. Then click the "Manage Tables" button. From here, find the table you wish to add your logical field to, and click the "Fields" icon for the appropriate table. Next click the "Create Logical Field" button.
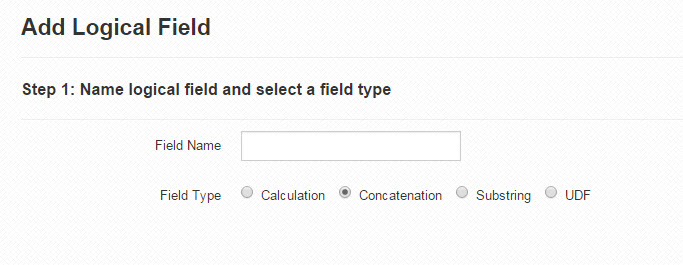
Ensure your Field Name is 10 characters or less and contains no spaces. Click "Accept".
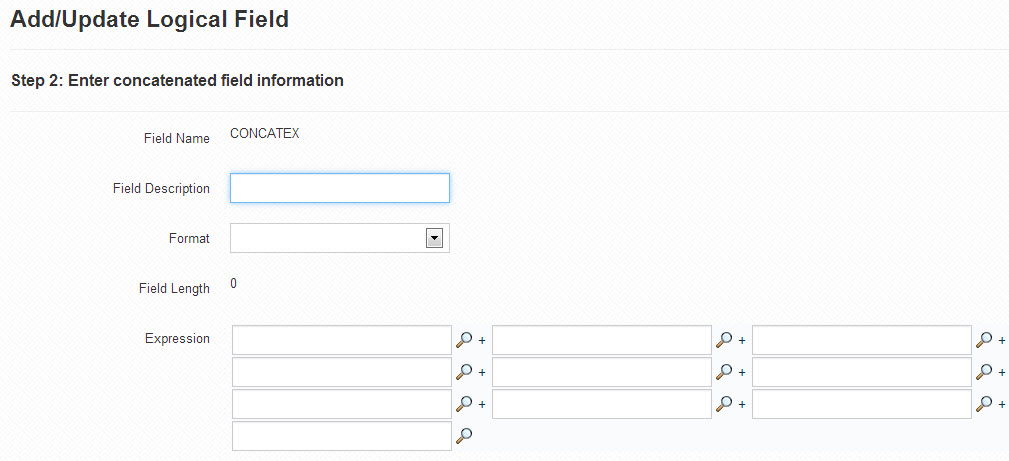
Specify a Field Description and an Edit Code if necessary. Next, use the "Look-up" links to select Fields in this table to concatenate together.
Note: You can only concatenate fields upon fields. You are not able to place literal text to delineate between different fields at the Data Dictionary level.
Click "Accept". You have successfully created a new concatenation logical field. Now, when you are creating/modifying existing applications, you will see this logical field at the bottom of your list of Fields when you click the Table/Field Selection link.
Note: You can modify this logical field in the Manage Fields screen, accessible from the Manage Tables –> Fields for the appropriate Table.
Substring allows you to place a given section of a field into a new field. Click the Admin tab. Then click the "Registerd Tables" link. From here, find the table you wish to add your logical field to, and click the "Fields" link for the appropriate table. Next click the "Create Logical Field" link.
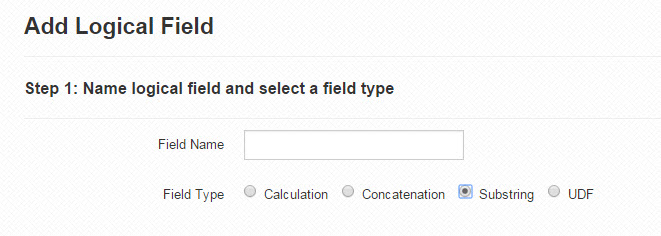
Ensure your Field Name is 10 characters or less and contains no spaces. Click "Accept".
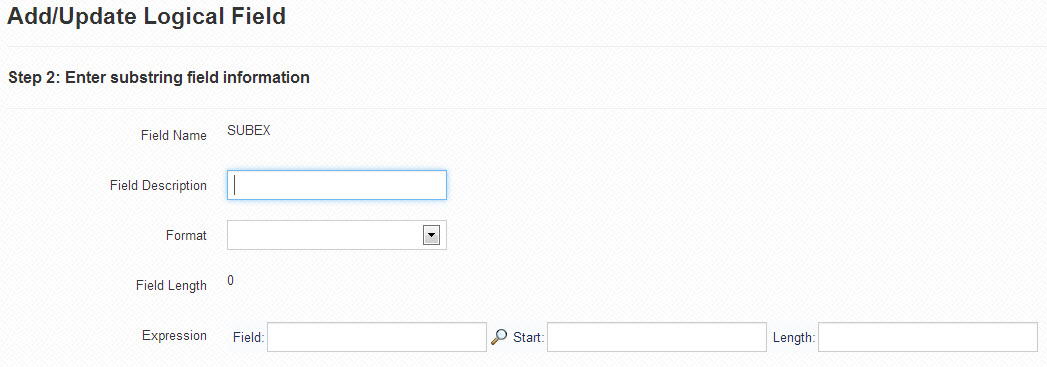
Specify a Field Description and an Edit Code if necessary. Specify your field by clicking on the Look-up link to see a list of available fields. Be sure to specify a Starting position and a length.
Note: The starting position is 1. So in the string CHICAGO, the first "C" would be in position 1, whereas the second "C" would be in position 4.
Click "Accept". You have successfully created a new substring logical field. Now, when you are creating/modifying existing applications, you will see this logical field at the bottom of your list of Fields when you click the Table/Field Selection link.
Note: You can modify this logical field in the Manage Fields screen, accessible from the Manage Tables –> Fields for the appropriate Table.
User Defined Functions (UDFs) allow you to add custom logic directly to a table. For instance, you could define a Profit Calculation at the Data Dictionary Level or Convert a Date. The advantage of using a UDF is that the setup only needs to be done once, rather than at the application level (which would need to be repeated per application). Click the Admin tab. Then click the "Manage Tables" link. From here, find the table you wish to add your logical field to, and click the "Fields" link for the appropriate table. Next, click the "Create Logical Field" link.
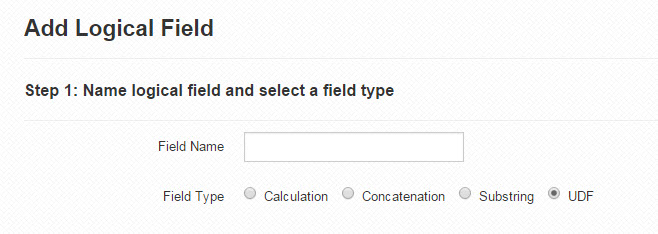
Ensure your Field Name is 10 characters or less and contains no spaces. Click "Accept".
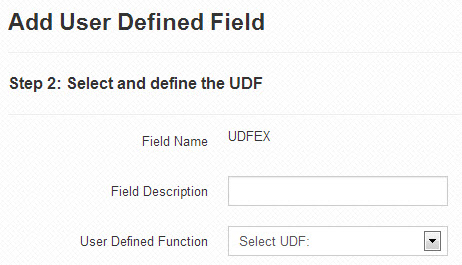
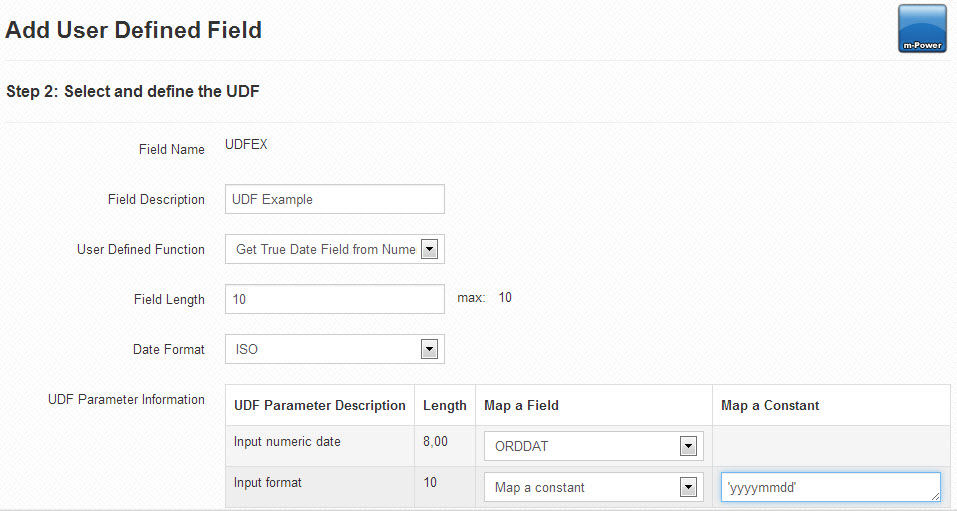
Specify a Description for your UDF, then select the pre-defined UDF from the dropdown list.
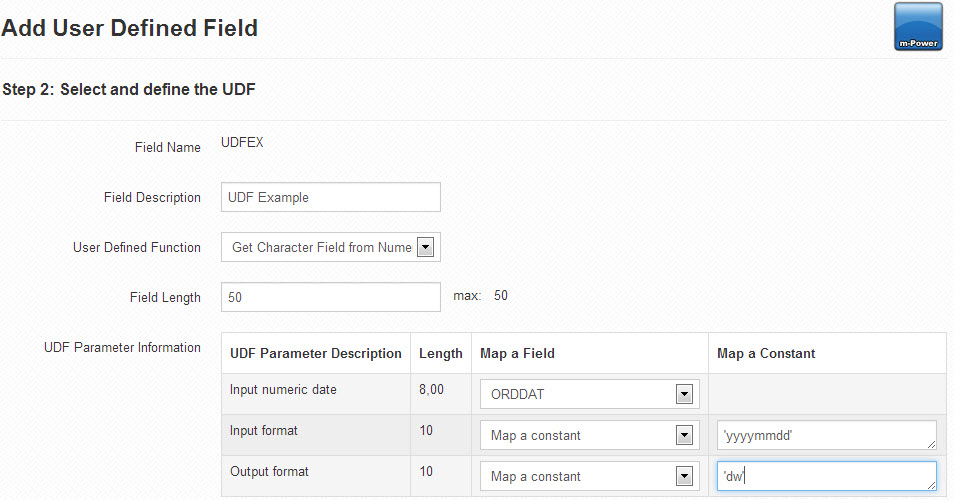
In this case, I have selected the "Get Character Field from Numeric Date" option. As soon as you select your UDF, additional fields are displayed. I can set the field's Length (currently set to 10), up to the displayed maximum allowable length as defined in the UDF. If the selected UDF returns a true date, Date Format may be selected; if the selected UDF returns alpha/numeric data, Edit Code may be selected.
If the UDF requires input parameters, fields for mapping these parameters are displayed below. In this example, I have selected the "Get True Date Field from Numeric Date" option. I need to map the "Input numeric date" to a field in this table. The dropdown will display eligible fields based on data-type and length. If there are no eligible fields, or if you would rather map to a constant field, select the "Map a Constant" option from the "Map Field" dropdown. A valid constant may be a literal, enclosed by single quotes, or an expression. Expressions may include mathematical calculations, fieldnames, and SQL functions. For example, you may wish to pass legacy or decomposed date fields as one parameter; to do so, your constant expression would look like this: (FLD_CENTURY * 1000000) + (FLD_YR * 10000) + (FLD_MTH * 100) + (FLD_DAY). Please note that literal expressions must be enclosed in single quotes. For the example below, I have selected my field "DATORD". "DATORD" happens to be in 'YYYYMMDD' format, and as such, that is what is listed for the Input Format "Constant" value. Note how it is enclosed in single quotations.
Click "Accept". You have successfully created a new User Defined Function (UDF) logical field. Now, when you are creating/modifying existing applications, you will see this logical field at the bottom of your list of Fields when you click the Table/Field Selection link.