The Field Validations feature in m-Power allows developers to enforce strict data entry rules on maintainer web forms, ensuring data integrity before it reaches the database. With several robust options available, you can validate user input against specific formats, ranges, and complex conditional logic. Validations can be applied individually at the application level, or globally at the dictionary level for maximum reusability. Whether you need to ensure a field is always required or verify it against existing database values, this feature provides complete control over your application’s data validation.
Configuring Field Validations
Validations can be configured in two different locations depending on how broadly you want the rules applied.
- Dictionary Level: Navigate to Admin > Table/Field Metadata > Manage Metadata. Select the desired table and click on Validation. The major benefit of setting validations at the dictionary level is inheritance; any future applications created using those fields will automatically inherit these validation rules, saving you from recreating them for every new app.
- Application Level: Open Field Settings within your application and switch to the Field Validations screen.
Anatomy of a Validation Rule
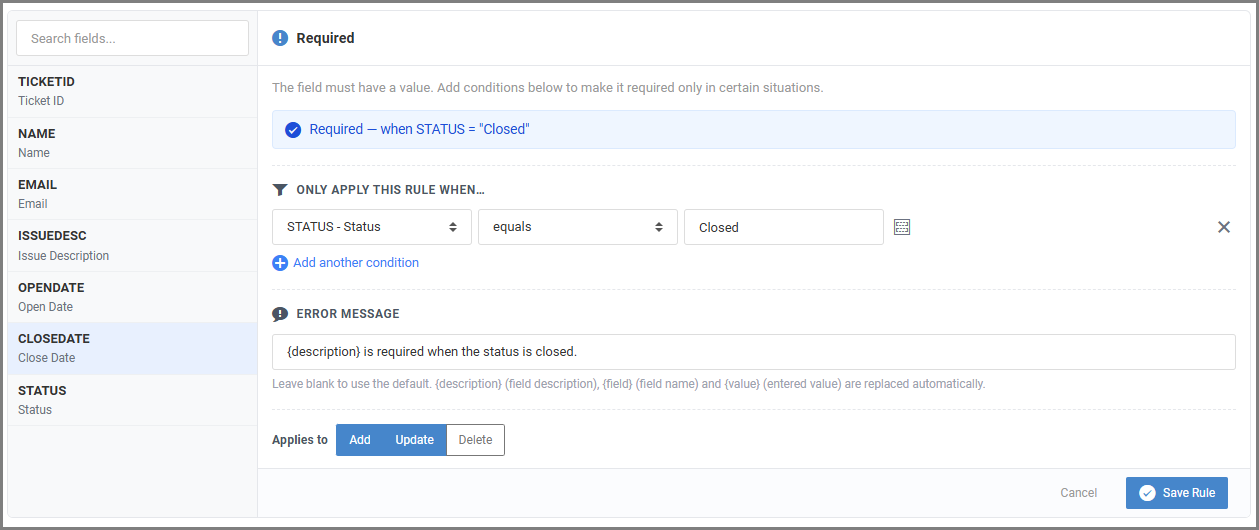
When first adding a rule, you are presented with several sections to customize exactly how and when the validation behaves:
1. The Rule
This section is entirely dependent on the specific rule option you have selected. This is where you define the core validation logic and configure the parameters for the chosen rule type (such as establishing minimum lengths, defining a numerical range, or creating a list of allowed values).
2. Conditions
You can specify that a rule should only be applied when certain conditions are met. To do this, select the conditional field, the conditional relationship, and the target value.
- Target Value: This can be hardcoded, or you can toggle the field button to compare the input against an existing field value.
- Complex Logic: You may string together multiple conditions using standard AND/OR syntax.
3. Error Message
If a validation rule is triggered, the user will see an error message on the selected field input. You can leave this blank to use m-Power’s default message, or customize it entirely. You can use the following substitution variables to dynamically inject field information into your custom message at runtime:
{description}– The field’s description.{field}– The field’s name.{value}– The actual value the user entered.
4. Action Mode
Finally, you can dictate exactly which database actions the rule applies to. You can choose to enforce the validation on Add, Update, or Delete actions.
Validation Options
Depending on your field type, you can select from the following validation rules:
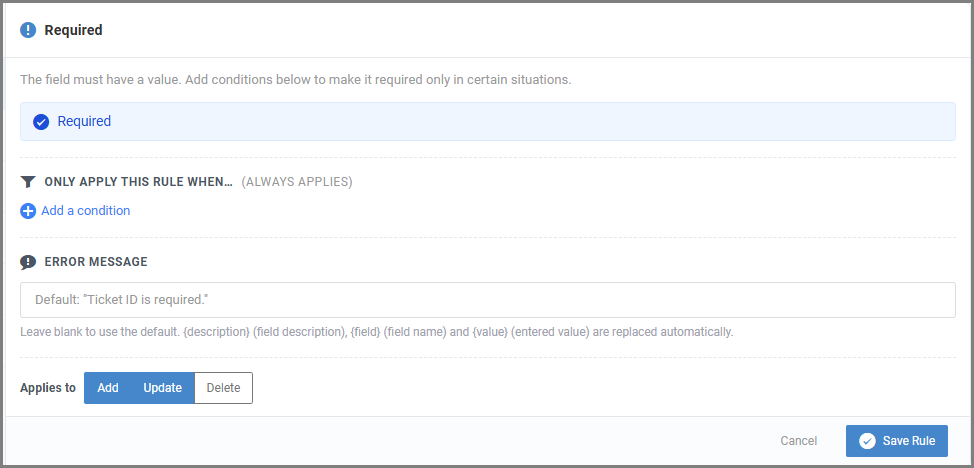
Required
The field must have a value entered (or an option selected from a dropdown). This can be set to always require a value, or only require one when specific conditions are met.
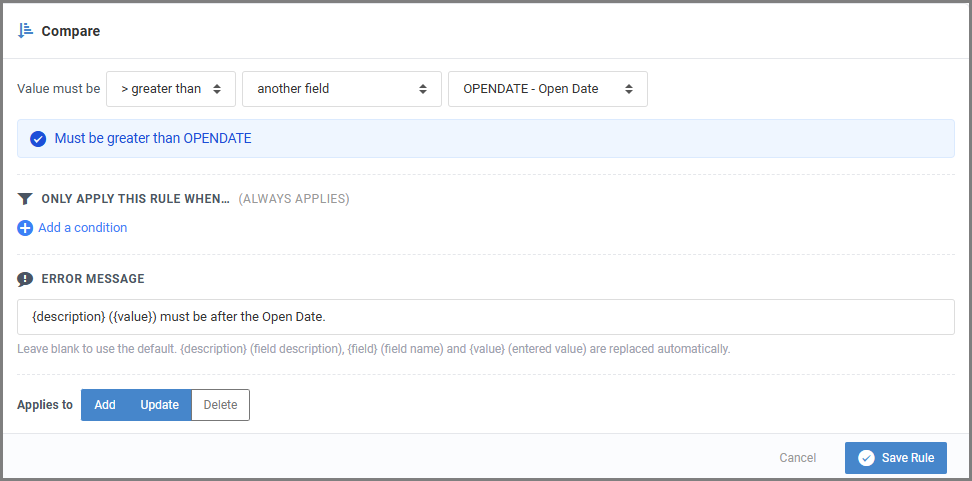
Compare
Compare the entered value against a hardcoded value, another field in the current form, or a field value currently saved in the database.
- Database comparisons are highly useful for rules like “value cannot be lowered” or “status cannot change once set.”
- Date fields can be compared against the current date, with the added ability to automatically add or subtract days, months, or years from the current date for the comparison.
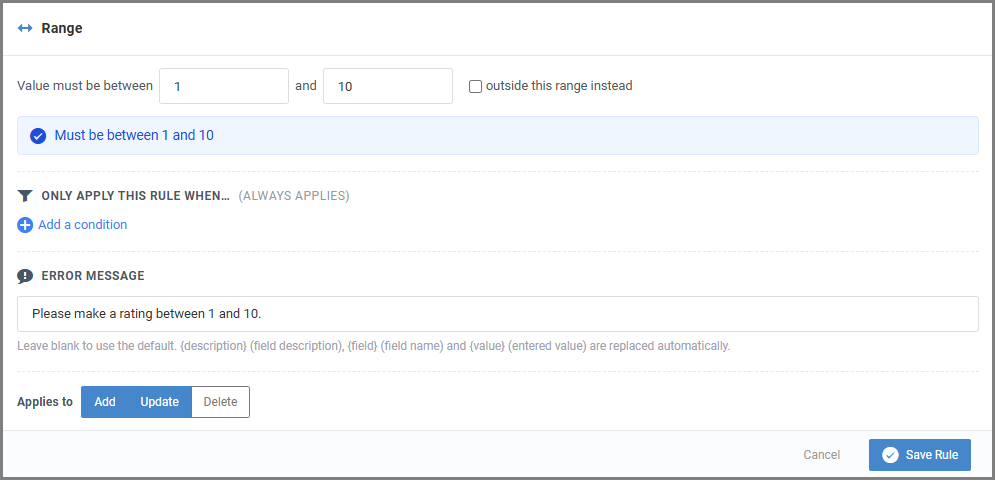
Range
The entered value must fall inside a specific range. Set the Low and High values to define the boundaries. You can also check a box to invert the rule so it applies to values outside the defined range.
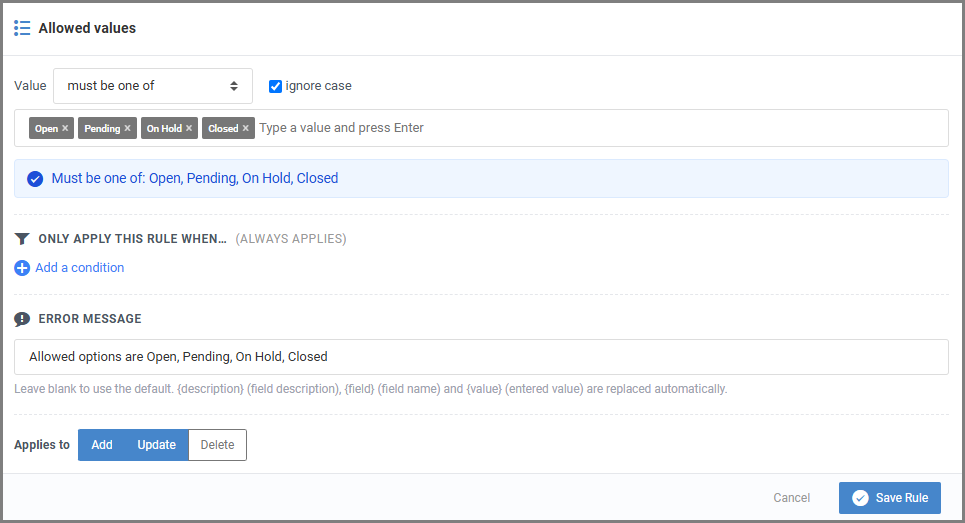
Allowed Values
The value must (or must not) belong to a specific list. Type a single allowed value and press Enter or click Add to build your list.
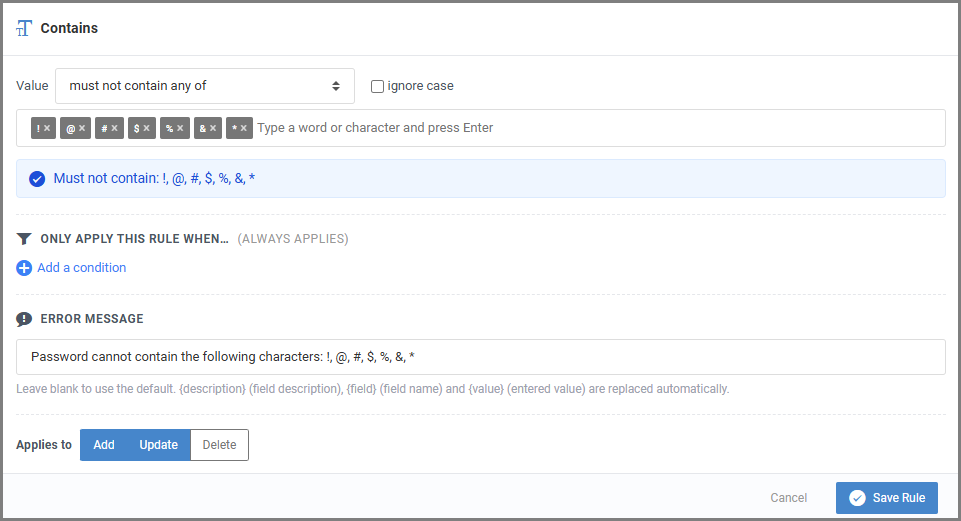
Contains
(Alpha fields only) The input must or must not contain certain words or characters. Type the word or character and press Enter or click Add to build your values. You must select one of the following logic options:
- Must not contain any of: Rejects the input if even one of the specified words or characters is found.
- Must contain at least one of: Accepts the input as long as one or more of the specified values are present.
- Must contain all of: Requires every specified word or character to be present in the input to pass validation.
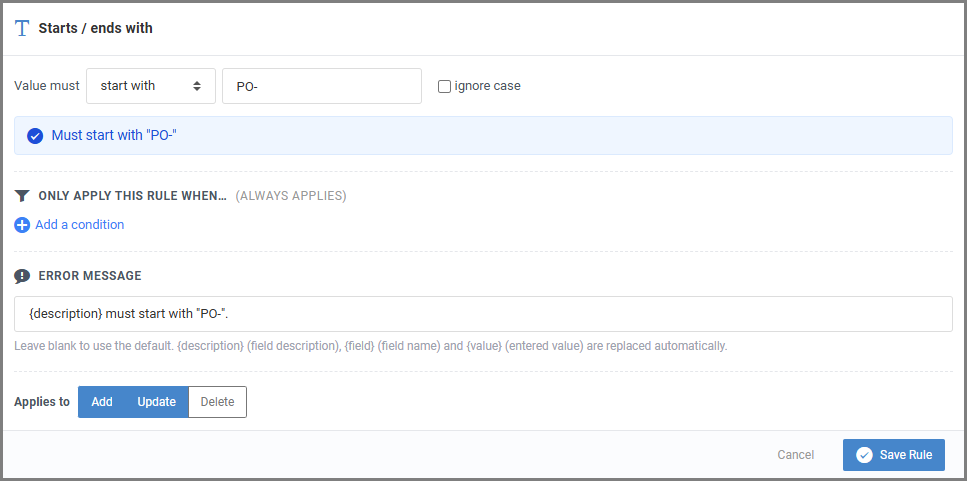
Starts / Ends With
(Alpha fields only) The value must explicitly start or end with specific text. Select either “start with” or “end with” and define the text.
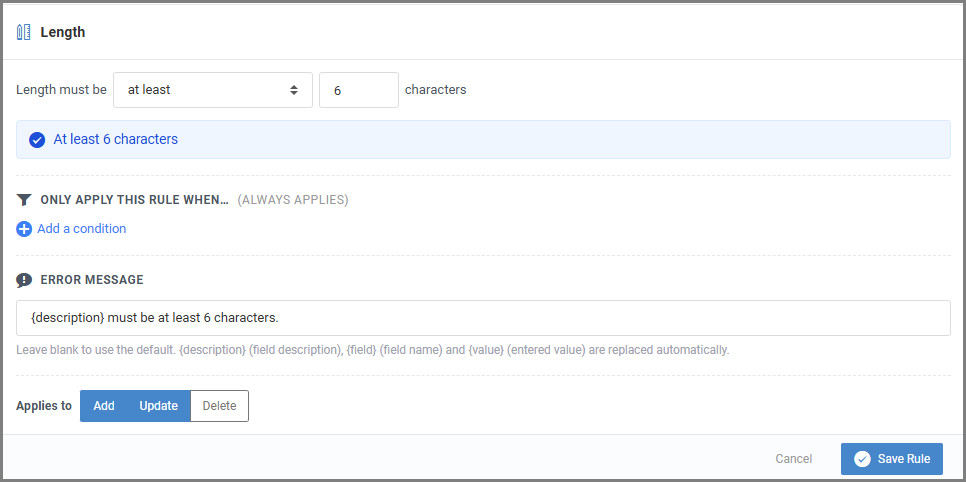
Length
(Alpha fields only) Enforce a minimum, maximum, or exact character length. Set the comparison operator (between, at least, at most, exactly) and then enter the desired character count.
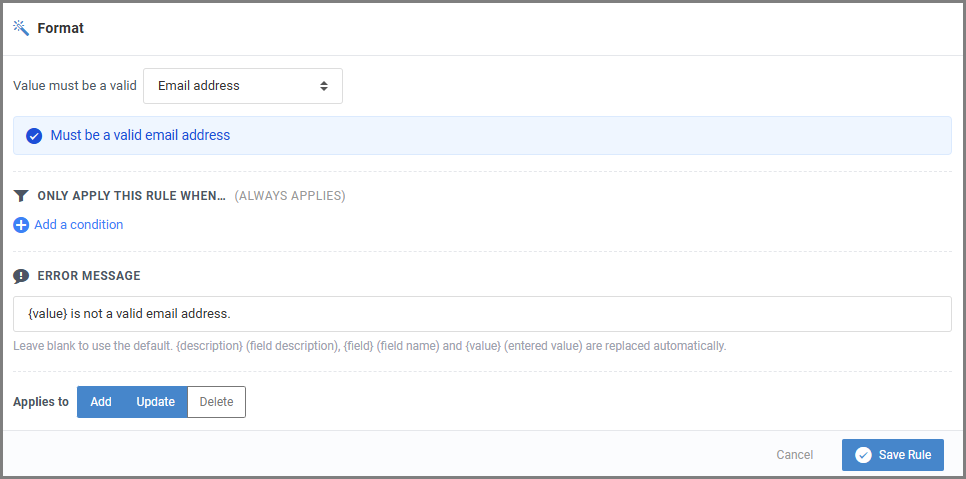
Format
Require the entered value to match a predefined specific format. Available formats include:
- Email address
- Phone number
- URL
- Social Security Number
- Digits only
- Letters only
- Letters and digits only
- No spaces
- Uppercase only
- Credit card number
- Custom Pattern (using regex)