Element Window in m-Painter (Bootstrap Templates)
Click here to view the current documentation for this feature.
Quick Navigation
Element Editor
HTML and Boostrap Toolbar
Preview Window
Element Navigation Tools
Visibility Controls
With the implementation of Bootstrap Templates into m-Power, these templates offer many new features and tools at hand for the developer that allow for easier customization Bootstrap applications. Boostrap enabled dictionaries have the ability to use the Element Window, which is an updated HTML source editor within m-Painter that allows the developer to take advantage of new features. A few benefits to the Element Window include:
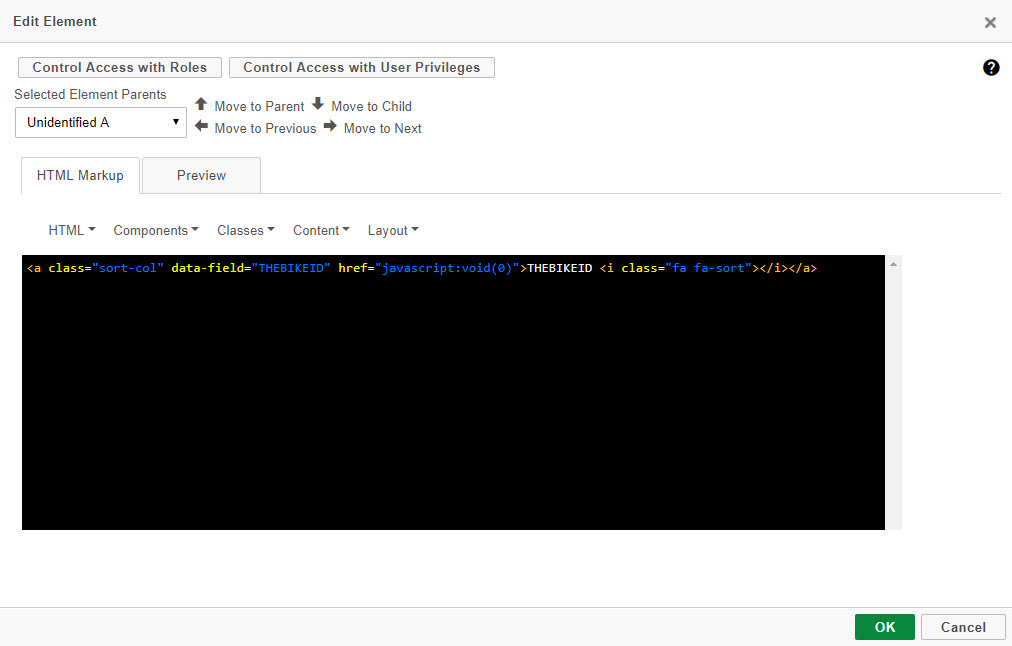
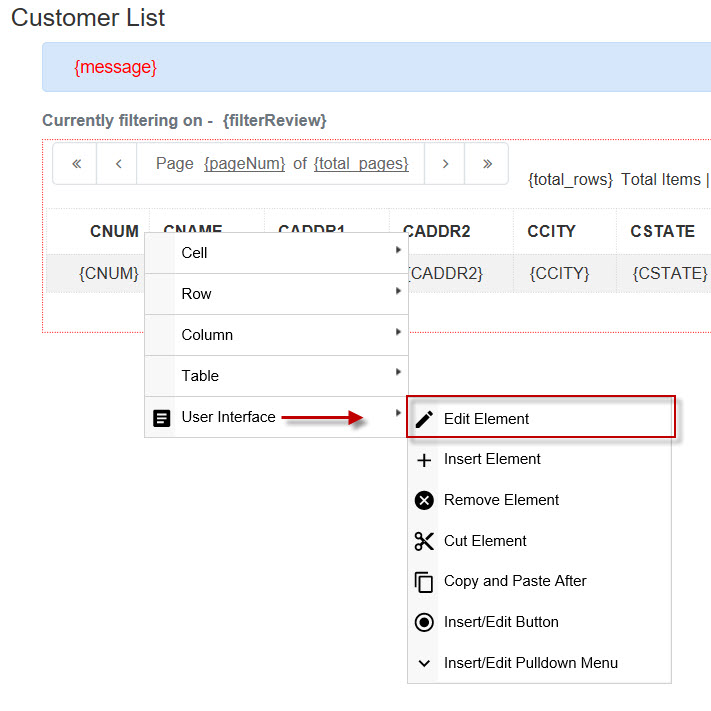
In m-Painter, right-click on an element on the presentation layer and select from the context menu: User Interface -> Edit Element (Note that Insert Element, Remove Element, and Cut Element options would open this window as well, with the intention of performing each option's specific action).

As the Element Window has quite a few new options, this document will cover each option in-depth.
Element Editor
Traditionally when editing the presentation layer of an application, developers who needed to edit the HTML source could from m-Painter right-click and pull up the m-Painter context menu to edit a particular Cell, Row, Column of their application HTML table. Outside of this, the only way to directly edit any other element in the source was to view the entire HTML source.
The Element Editor improves on the ability to drill into a particular piece of the HTML source, as developers can navigate to any particular element of the application to edit directly from this window. Instead of viewing a static snippet of their HTML source, the Element Editor also dynamically displays the source of the appropriate elements you are looking at as you use the Element Navigation Tools to move around your HTML source.
HTML and Boostrap Toolbar
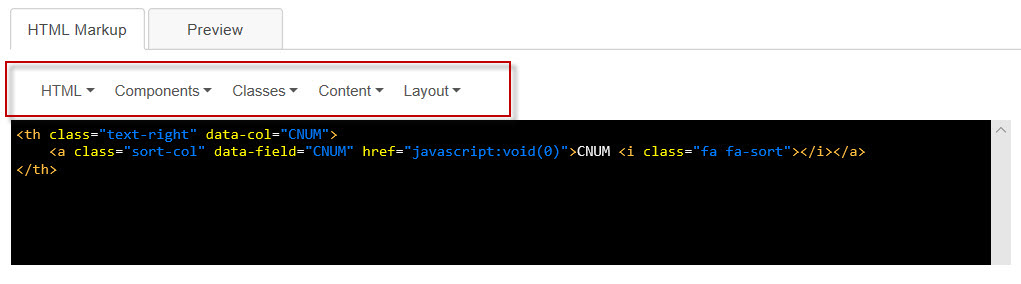
These five selectable dropdowns allow you to browse for HTML tags and Bootstrap elements that can be directly inserted into the source. Note that with the exception of the Classes dropdown, the tags/elements will be inserted wherever your current cursor is within the Element Editor. The Classes dropdown will attempt to insert your element into the first 'class' tag available in the Element Editor. As need be, please move and adjust these tags/elements to your desired location.
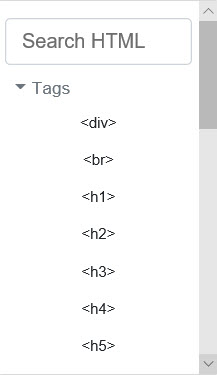
HTML — Provides a list of insertable HTML tags, such as div, header, and link tags.
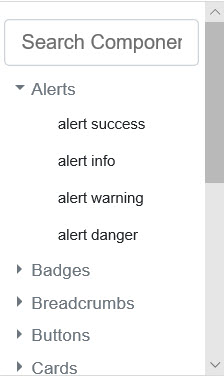
Components — Provides a list of insertable Boostrap components, such as Alerts, Dropdowns, Cards, Navbars.
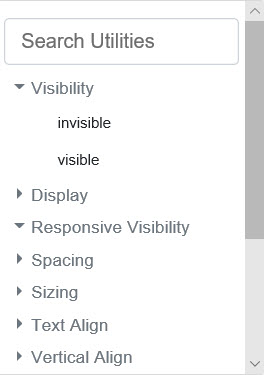
Classes — Provides a list of insertable Boostrap utilities. Boostrap Utilities provide styling and formatting to your page elements, and include options such as Borders, Visibility, Colors, and Sizing.
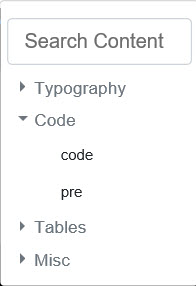
Content — Provides a list of insertable Bootstrap content, including Typography, Code, and Tables.
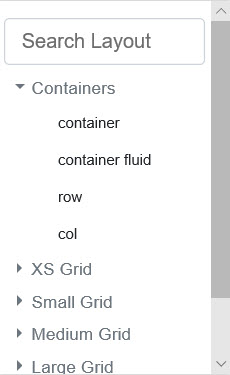
Layout — Provides a list of insertable Bootstrap layout options. Ideal for advanced users with a firm understanding of Bootstrap who are looking to edit the physical layout of their application, it includes Containers and Grids. For developers who are interested in controlling their application layout, please navigate here which walks through an example of controlling Bootstrap Responsive layout.
Preview Toggle
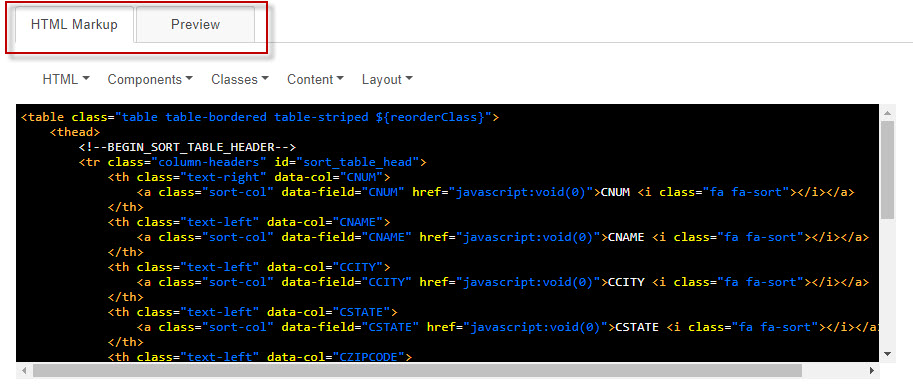
By default when the the Element Window is opened, you will be inside the HTML markup tab, which displays the Element Editor with the HTML source. You can press the 'Preview' tab to view your selected element as it appears from the m-Painter GUI. Keep in mind this preview will only display the element you are currently focused on, and any subsequent child element(s). As an example, notice in the image above I am looking at my table tag ('table'), which contains my table rows, table headers, and table data elements . When I toggle to my preview (below), I will see all my content contained inside the table tags.
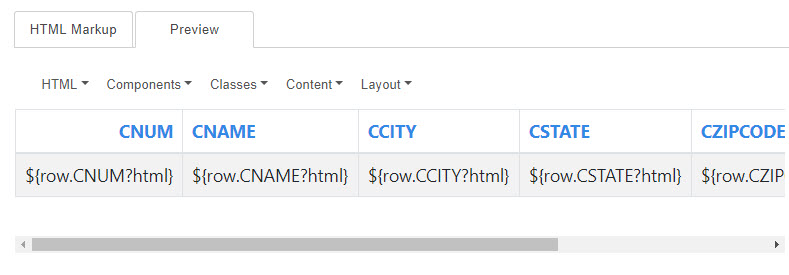
Note the preview will always show the literal Freemarker substitutions (ex. ${row.FIELDNAME}) instead of actual values that get substituted at run-time.
Element Navigation Tools
The element navigation tools allow you to quickly move between parent and child elements, as well as between individual sibling elements in your HTML source. Rather than sifting through the whole HTML source for a particular element, this feature allows you to quickly navigate and focus on a particular element.
Move to Parent/Child
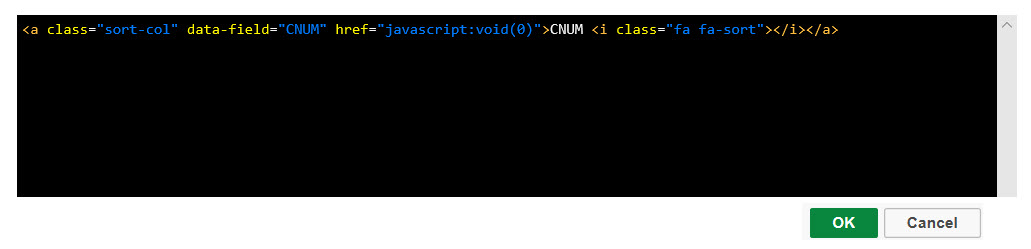
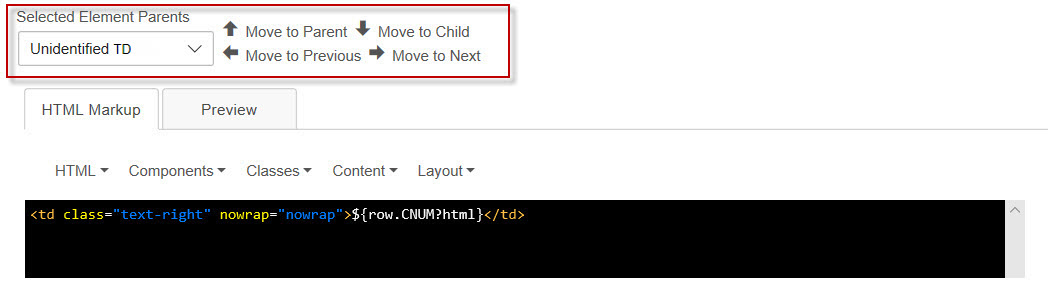
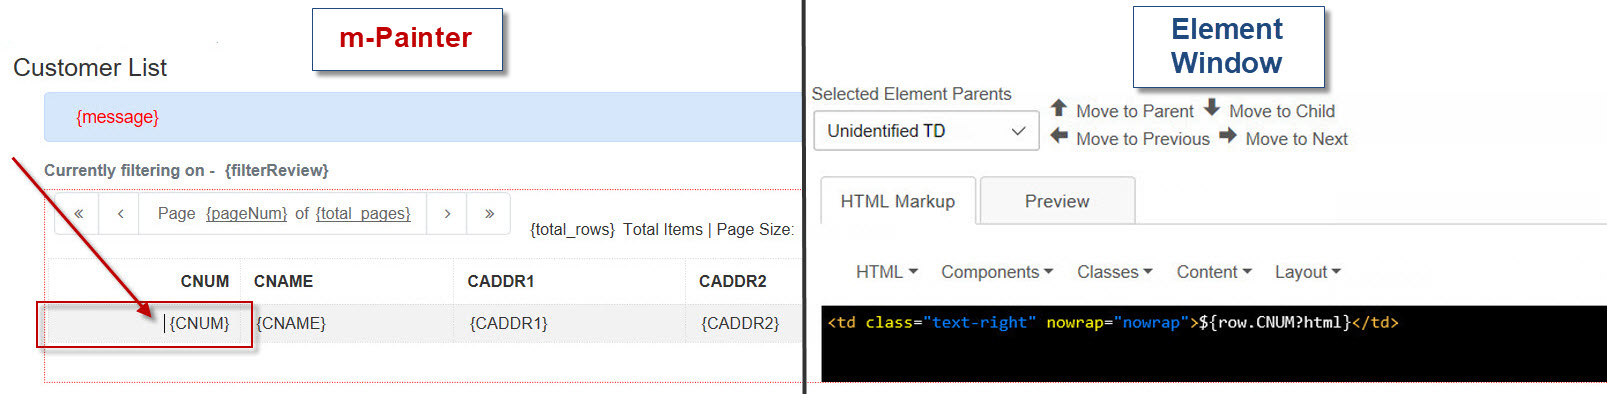
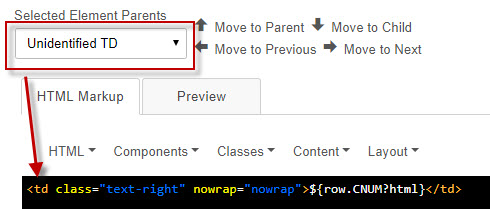
Selects the element directly one level above/below the current element. To demonstrate using the Move to Parent option, currently I am focused on the CNUM cell.
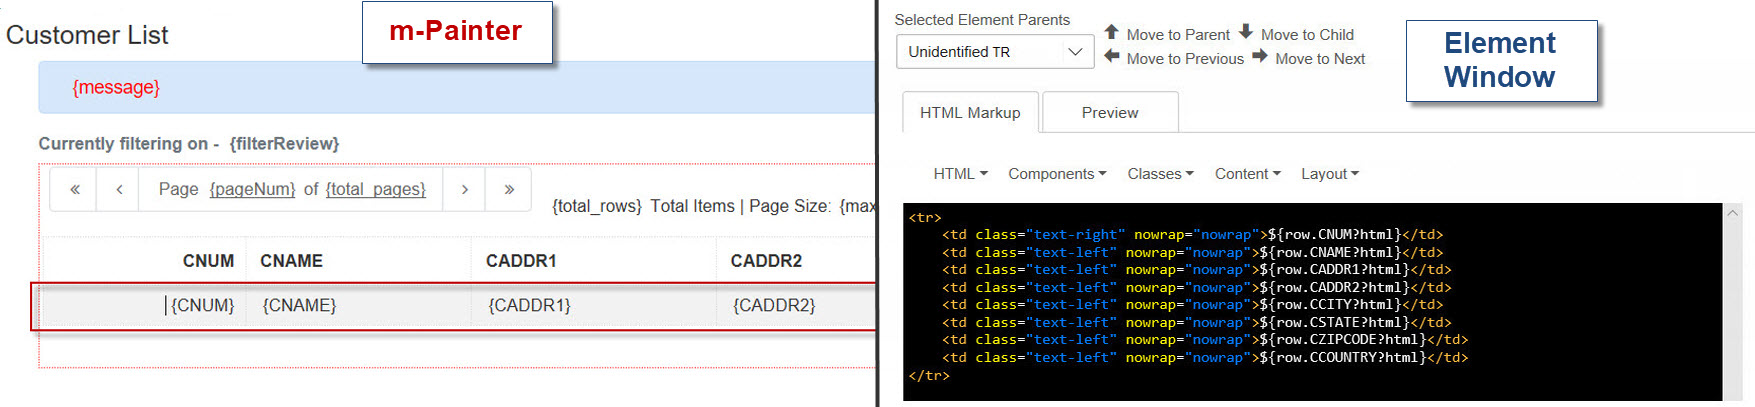
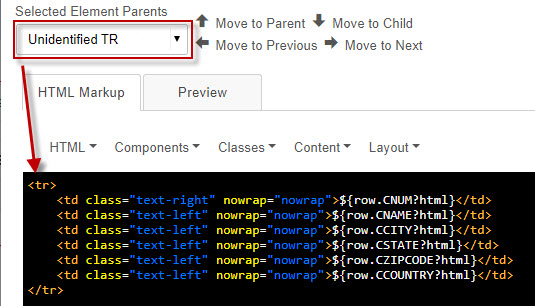
Once 'Move to Parent' is selected, the Editor Window now displays the parent element directly above my CNUM cell, which is in my table row ('tr').
Similarly, using 'Move to Child' would select the child element directly below my current element, and would preform the reverse scenario of the above example. Meaning if I was looking at the table row ('tr') and selected 'Move to Child', I would be brought back to the first available ('td') cell, which is CNUM.
Move to Previous/Next
Selects the previous/next element that is contained on the same level. This feature is only applicable when you are looking at elements that are on the same level as other elements (sibling elements). To demonstrate using the Move to Next option, currently I am focused on the CNUM cell, as shown below.
Recall from the Move to Parent example, the CNUM cell is defined by a table data ('td') tag, which is contained inside a table row ('tr') tag. However contained in my table row, there are multiple table data elements. Using the 'Move to Next' button, this will move focus to the next sibling element on the same level. In my example, the next table data element is CNAME, which is outlined below:
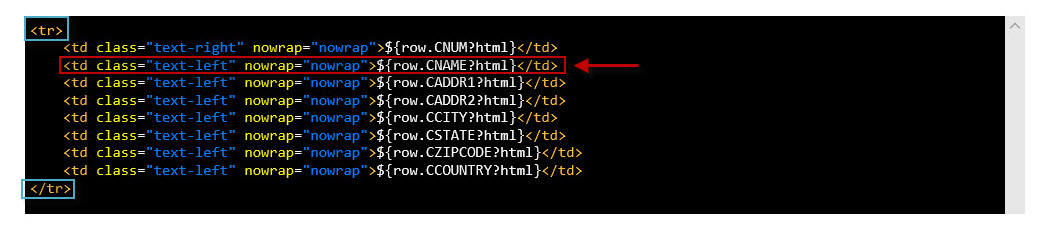
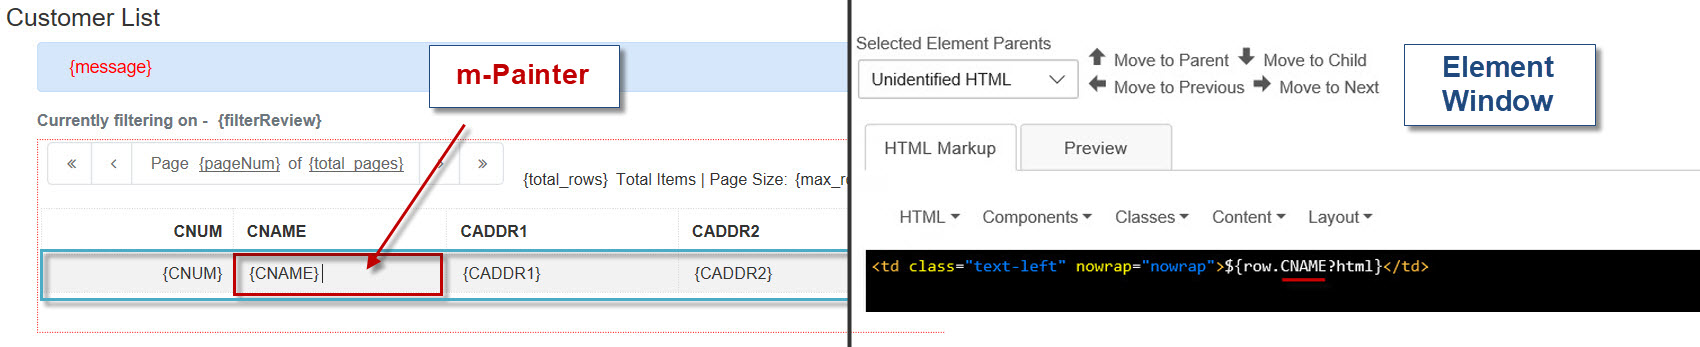
Therefore once I press 'Move to Next' I am now focused on CNAME:
Similarly, using 'Move to Previous' would select the sibling element directly before my current element, and would preform the reverse scenario of the above example. Meaning if I was looking at the table data cell for CNAME, ('tr') and selected 'Move to Previous', I would be brought back to my table data ('td') cell for CNUM.
Selected Element Parent Dropdown
In the previous parent/child and previous/next examples, you may have noticed adjacent to the 'Move to….' buttons options there is a dropdown for Selected Element Dropdown. While this feature is useful in quickly identifying the current element that is in focus, its value truly comes into play when looking to quickly jump to and focus on any distant parent element in your source.
As I move between my source elements, the Selected Element Dropdown appropriately changes to display the current element in focus. For example, pressing 'Move to Parent' the drop-down value indicates that I am now looking at my table row ('tr').
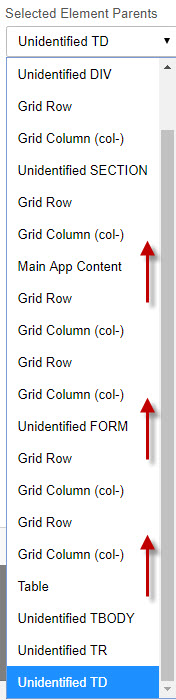
Opening up the drop-down list displays a list of all parent elements, relative to the current element in focus. The current element is highlighted at the bottom of the list. As you move up the list (see image below), the dropdown displays all parent elements above your current element in hierarchical order. Moving up the list one option takes you to the current element's parent, and moving up another position take's you to that element's parent, and so on.
Compared to using the 'Move to Parent/Child' buttons which will always move you directly up or down one level to a parent/child element, this list allows you to quickly navigate to any parent element.
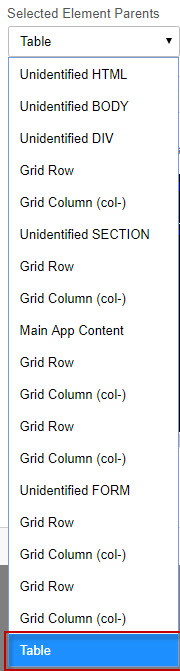
It is important to understand that this dropdown list will only display the parent elements relative to the currently selected element. This means if I were to select my Table element, this becomes the bottom-most value in the dropdown, and the child elements (Table Row; TR, Table Data TR) of the table are no longer selectable from the list.
Know however you may always navigate to any child elements below the current parent using the 'Move to Child' button, and this will appropriately put the child element in focus again, as well as make this element the bottom-most element in the dropdown.
Note – When editing an element and changes have been made, you must press 'OK'to save your changes. Moving focus to another element by using any of the Navigation Tools (whether the Move to Parent/Child, Move to Previous/Next, or Select Element Parents Dropdown) before doing so will cause any edits that were made to not be saved.
Visibility Controls
These three options allow a developer to set up and control the selected element's visibility, based on three different configurations. (While this documentation piece does not go in-depth on using Visibility Controls, please check out this page if interested in learning how to utilize these features.)
Conditional Visibility — Available in maintenance applications where users enter data, this option will allow you to conditionally show/hide elements on the page based on other values the user has entered. More on this option can be found here.
Control Access with Roles — This option utilizes the built-in menuing and sign-on security within m-Power to control which elements are shown/hidden on the page based on a particular user. More on this option can be found here.
Control Access with User Privileges — This option utilizes the User Privileges feature in m-Power to control which elements are show/hidden on the page. More on this option can be found here.