Create a custom CRM with m-Power!
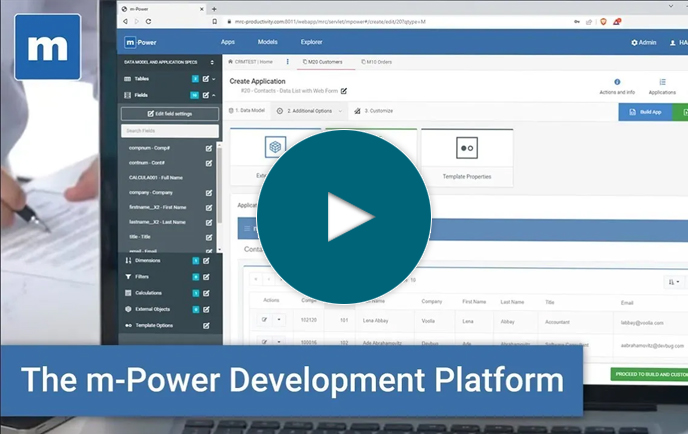
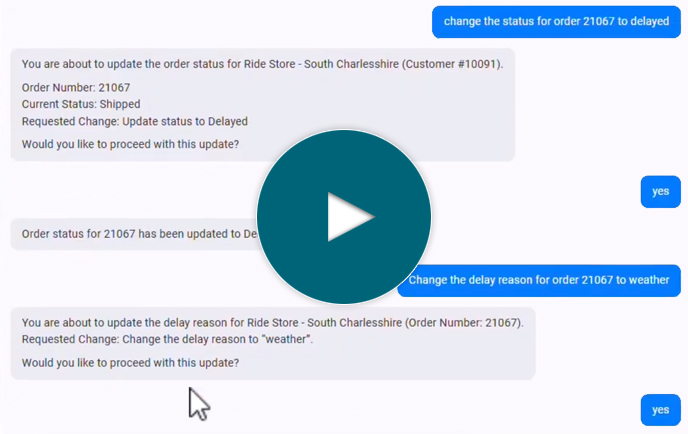
In this video, we take you on a step-by-step build process of a custom CRM. Starting with only our data, we show you how to build your own custom CRM system using the m-Power Development Platform. Why build a custom CRM with m-Power? Here are a few big advantages:
Built to Your Needs
With generic CRM systems, you'll often have to adapt your business processes to fit the software. With m-Power, it's the opposite. You can build a CRM that works exactly the way you want and works the way you work.
Development Speed
Why doesn't everyone create custom CRMs? It's usually because the development is far more expensive and time-consuming than deploying an out-of-the-box solution. m-Power eliminates that hurdle. You can build a custom CRM in hours or days--often faster than it takes to get up and running on a generic CRM.
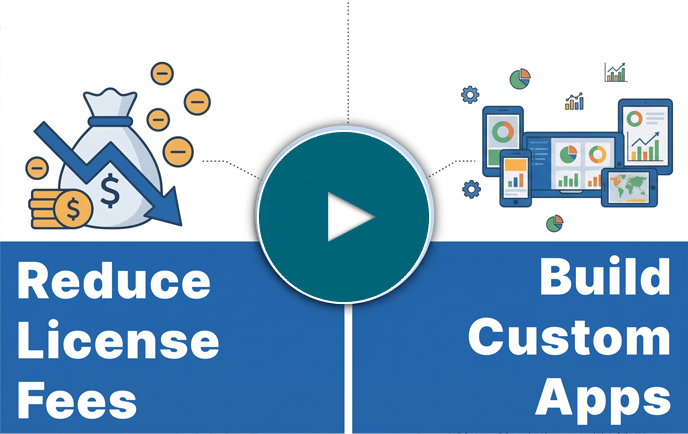
Scale Up Without User Fees
Unlike standard CRM solutions that come with escalating costs based on the number of users, a custom CRM lets you expand across your organization without worrying about additional user fees. As a bonus, m-Power doesn't have user fees either!
Custom Workflow Processes
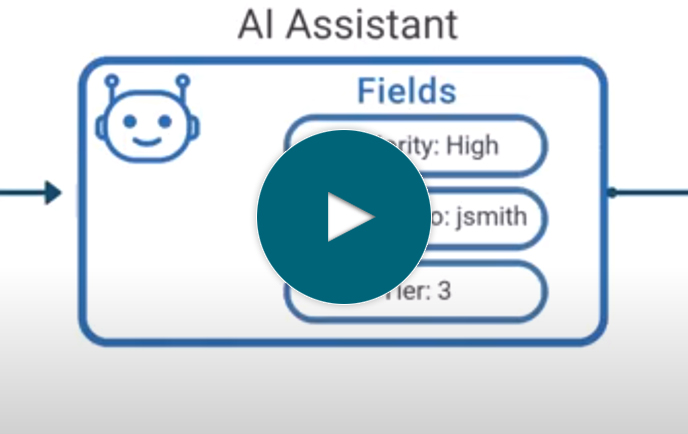
m-Power takes your CRM beyond static data, and lets you build custom workflow processes to automate various aspects of your business. You can craft specific workflows, like automated customer onboarding, approval sequences, and much more.
Seamless Integration Capabilities
Do you need your CRM to talk to your ERP system, integrate with other internal software, or exchange data with third-party tools through APIs? A custom CRM can fit right into your existing tech stack and work the way you work.
Deploy Anywhere
While most ready-made CRMs are cloud-bound, a custom CRM offers flexibility. Whether you prefer cloud-based or on-premise solutions, the choice is yours. Adapt the deployment to your business infrastructure and preferences.
Customized Security
Every business has unique security requirements. With a custom CRM, you have the liberty to define and implement the security protocols that best suit your business needs, giving you peace of mind and protecting your data.
Discover how easy and effective it is to create your custom CRM with our low-code approach. Watch our video now and see for yourself how a custom CRM can revolutionize the way you manage customer relationships and streamline your business processes.
Learn how m-Power can help you
Sign up for a free trial
More Videos
Sort videos by category using the options below