Create a custom calendar applications with m-Power
In this video, I'll show you how to build a custom, web-based scheduling application in just a few minutes. Now, you might hear the term "scheduling application" and think of a simple, generic calendar. We're talking about data-driven scheduling applications that integrate with core systems, drive workflows, and are completely tailored to your business.
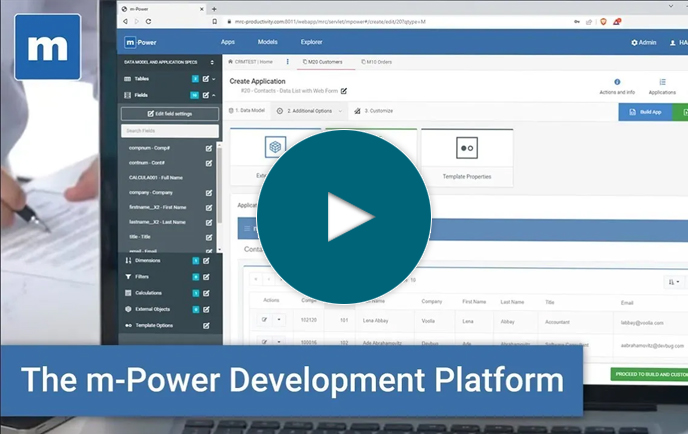
If that's what you're looking for, this video is for you. It shows you how to build a fully customized calendar in just 12 minutes—using the m-Power Development Platform.
With m-Power, you can create enterprise-level scheduling applications quickly, using your existing skills. It’s a low-code development platform designed for businesses that need speed, flexibility, and full control over their software. Unlike many low-code tools, m-Power doesn't limit you with proprietary code or hidden restrictions. You can customize every aspect of your application and integrate it seamlessly into your existing systems and workflows.
In this video, you’ll see:
- How to create a web-based scheduling calendar from scratch using m-Power’s 4-step build process.
- How to customize the calendar layout, features, and functionality to match your exact business requirements.
- How m-Power eliminates common low-code limitations—giving you total flexibility without sacrificing speed.
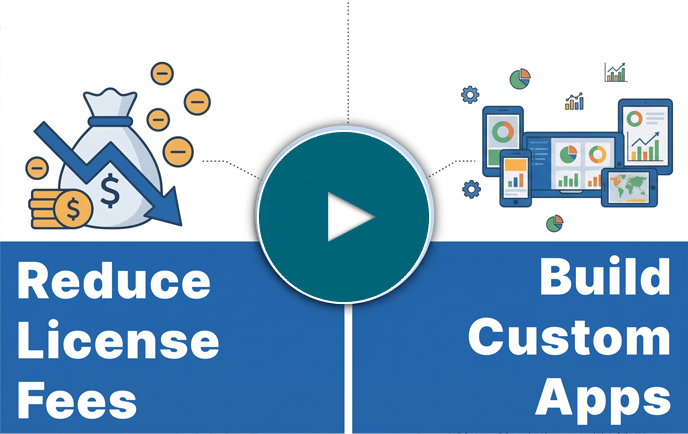
Businesses use m-Power to streamline scheduling, improve productivity, and automate processes—without hiring a team of developers or relying on third-party tools. Whether you're building internal scheduling apps, customer booking systems, employee shift calendars, or resource planners, m-Power makes it fast and easy.
Ready to simplify your scheduling and reduce development time by up to 80%? Watch the video to see how m-Power empowers your team to build exactly what you need—when you need it.
Learn how m-Power can help you
Sign up for a free trial
More Videos
Sort videos by category using the options below