
How to create a database front-end in 5 minutes
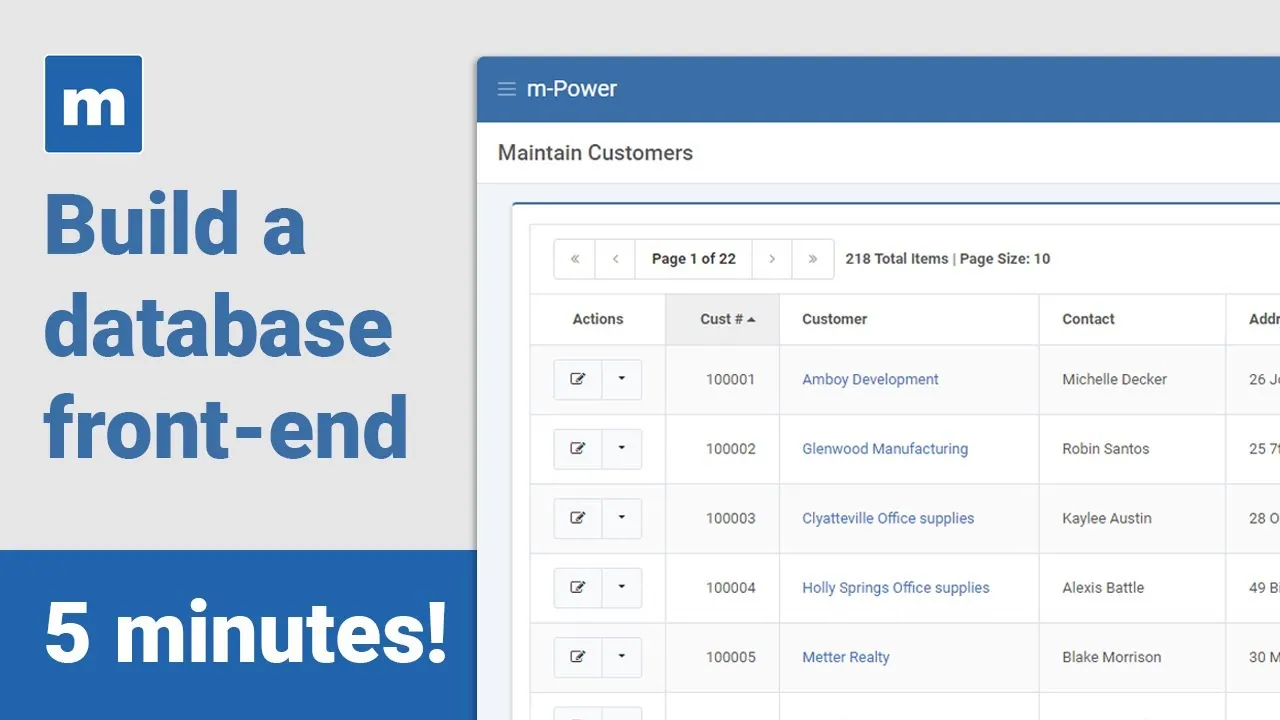
If people need to read and update database records but you don't want to hand them raw table access, they need a front-end. This video builds a web-based front-end that lets users create, read, update, and delete records from any browser, using the m-Power Development Platform.
What you'll learn
This walkthrough starts from a database table and ends with a working, browser-based front-end your team can use. Here's what you'll see:
Read and write from any browser
Pick a table, choose your fields, and m-Power builds a front-end where users create, read, update, and delete records without touching the database directly.
Works with the database you already run
The demo builds over an IBM i table, but the steps are the same for SQL Server, Oracle, MySQL, Postgres, and other relational databases.
Rename fields and lay out the form
Cryptic column names become readable labels, and m-Painter, the visual editor, lets you rearrange the form so it fits on one screen and reads cleanly.
Drill from a record into related data
Add a smartlink so clicking a customer name pulls up that customer's orders. m-Power passes the key automatically and returns only the matching records.
Control who can edit the data
Layer on role-based security and edit checks so only the right people update records, and bad values get caught before they reach your database.
Full transcript
Prefer to read? Here's the complete transcript of the video.
Today, I'm going to show you how to create a web-based front-end for your database in just 5 minutes. This front-end will let us create, read, update, and delete data from our database using any web browser.
We'll be using our low-code development platform, m-Power, as it simplifies the process. Now, in this demo we're creating a front-end over an iSeries database. But, with m-Power, the process is the same for any database. We could just as easily create the same front-end over MySQL, SQL Server, Postgres, Oracle, and any other relational database.
So, here on m-Power's home screen, I'll click the "Create Apps" button, as I want to create a new web application.
Now I just name my application and select a template. The template is how we choose what our application is going to do. In this case, I want to view and update data, so I need the data list with web form template, which is already selected.
m-Power looks at my database and shows me a list of available tables. For this demo, I'm interested in a front-end for my customer data.
Once I select the table, I can pick and choose which fields I want, or just select all fields up here.
Now, the field names in my database table aren't exactly user friendly. So, I'll click "edit field settings" and adjust the descriptions so users know which field they're editing.
Also, I don't really like the way these fields are arranged. So, I'll quickly rearrange the fields how I want them to appear.
Okay, once I'm done, I need to tell m-Power how to sort my data. I'll sort it by customer number.
So now, m-Power has created a data model using the specifications that I've just outlined. In this screen, I get a preview of the application we're about to complete...and have the option to add more features.
For this application though, I don't need to do any of that, so I'll move on to the build step. Once I click Build, m-Power puts everything together for me.
So, let's check it out.
As you can see, the data is organized in a familiar table format. Here at the top, I can sort and filter my data, or even add new customers. These options on the left let me view, copy, delete, or update the data.
Now, when I go to update this customer, I don't really love the form layout here. The form itself is too long. I could shorten some of these inputs and make everything fit a lot better.
To do that, I'll open up m-Painter (which is m-Power's visual editor) and head over to the form layout editor. Here I can remove rows and organize my form however I want.
Once I'm done, I'll just save my changes and reload my form. It looks a lot better now, doesn't it? Everything fits on the screen. It feels cleaner and easier to work with.
Okay, so we've put everything together now. Let's verify that it's working. Suppose I want to update a customer address in the database. I'll click the update option on that customer record to pull up the form again, and change the address. Once I make the change and click accept, you'll see that the change now shows up in my database table.
So, this database front-end works well as is. It does what I want it to do. But, we can make it a little better. For instance, I think it'd be useful to add an order history drill down. This would let a user click on a customer name and pull up a list of their orders.
Let's quickly add that.
Now, I already have an application that lists customer orders. I just need to use m-Power's smartlink feature to link that to the one I just built. I'll go into m-Painter, and add a smartlink here to the customer name.
m-Power is smart enough to know that when I click this link, it should return all of that customer's orders from the order history application. Once I save my changes, you'll see that I can now drill into individual customer orders.
Now, there's a lot more I could do here. I could add user or role-based security so only certain employees can update the data. I could add edit-checking to ensure that employees aren't entering faulty data. I could set up a workflow that automatically sends an email every time a new record is created. I could even create reports and dashboards over this data and put everything into a secure portal.
For sake of time however, we won't do any of that right now. But, if you'd like to see more of what m-Power can accomplish, check out our website at mrc-productivity.com. Thanks for watching.
See what you could build over your database
We'll walk through m-Power live, using your data and your use case, and answer any questions your team has.