How to automate a workflow process with m-Power's Workflow Designer
Full Transcript of Video
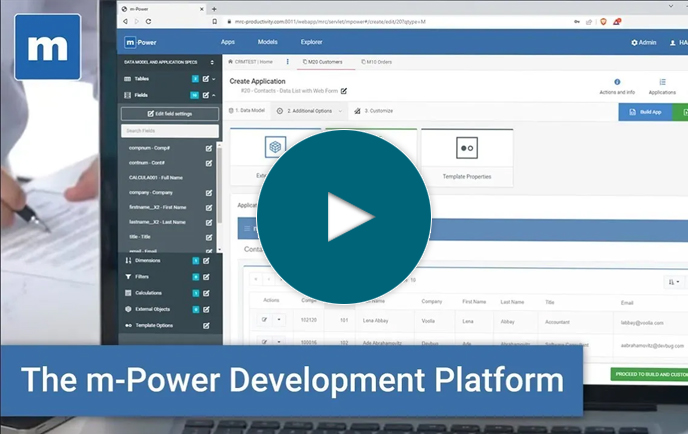
In this video, I’ll show you how to automate a manual process with the m-Power Development Platform. m-Power is a low-code development platform that lets you create web applications and automate processes without coding.
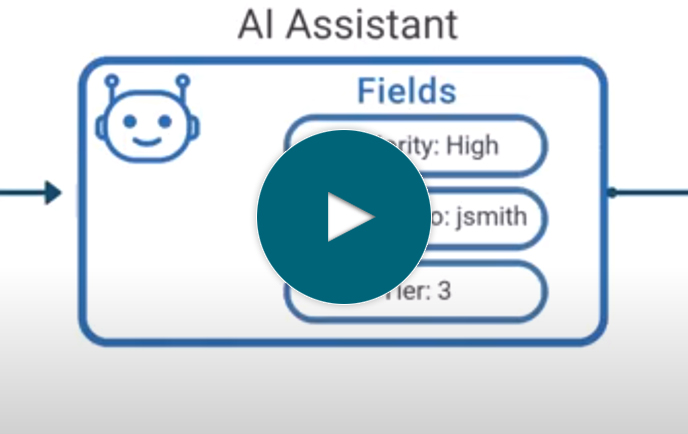
Today, I’ll show you how to automate a simple support ticket system with m-Power. Now, I could automate most any process with m-Power, like invoice processing, employee onboarding, expense tracking, approval processes, and really anything else. But I’ll keep it simple for sake of this video and add some basic workflow automation to a support ticket application, as you can see in this diagram.
Now, I already built the support ticket application, but it doesn’t include any workflow yet. Let me quickly show it to you, and then we’ll add some automation to it. Sound good, Okay lets get started.
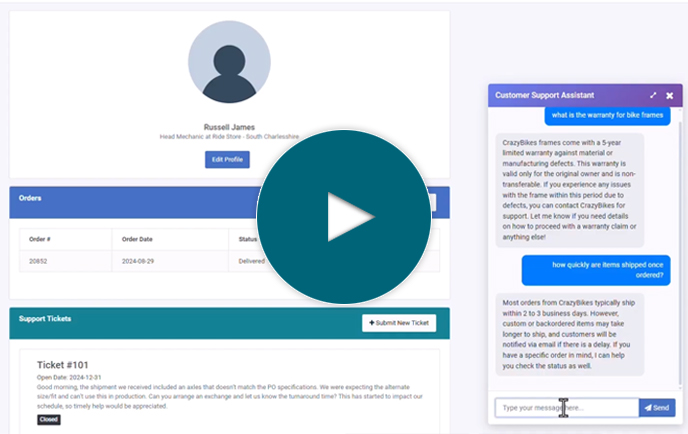
Here, a customer can login to view their existing support tickets. You’ll see there’s two open tickets in there now. If this customer wants to submit a new ticket, they just complete a short form with some basic information. Once I submit this form, it shows up in this customer’s list of tickets.
So that’s what it looks for a customer. Let’s login to the internal side here and see how it looks to the customer support team. Here they see the same info but have more options. They can close or reopen tickets, or even edit the ticket itself with notes and set open and closed dates. The nice part is that both the customers and support team are using the same application. I have security rules in place to ensure that everyone can only see the data they’re supposed to see. Now, this is all works but it’s very manual. Nothing happens when a ticket is submitted or when it’s open or closed. I’d like to add some automation to this process.
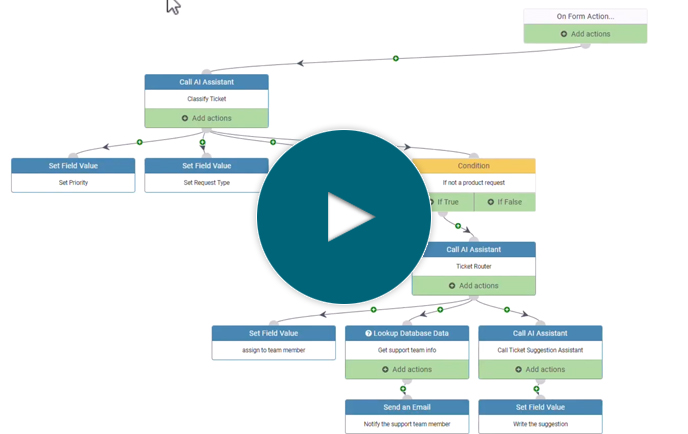
To do that, let’s open up m-Power’s workflow designer. It’s a built-in tool that lets you set up all types of automated actions and workflows. Here in the main screen is where I can set up my workflows. Over here in this area, I can create statuses for my workflows. I already created an open and closed status when I created this app, but you can create as many as you like. We’ll be using these statuses later on.
For now, let’s get started. The first thing I’d like to focus on is what happens when a customer submits a new ticket. I’d like to do a few things when that happens.
First, I’d like to notify the customer that we’ve received the ticket. I created a condition that fires when a new ticket is added, so now I’ll set up an email that will get triggered once that happens. The great part is that I can use database fields in the email. I’ll set the email address to whatever the user entered in the form. Then I’ll put together an email to let them know that we’ve received their ticket.
Once that’s done, let’s set up an email to notify our support team that a new ticket has arrived. We’ll include a bit more information in this email so our support team can get working on it right away. We don’t need all the information from the ticket, but it would be nice to have the customer’s name, the name of the person who completed the form, their email address, and a description of their problem.
Okay, so now we’re sending two emails when a ticket is submitted. Let’s do a couple more things before we test it. If you remember back to the ticket application, we have an open and closed status. Rather than set that manually, I’d like to automatically set the ticket status to open when a ticket gets submitted.
Okay, we’re not done yet, but lets test out what we have so far. I’ll open the application as a customer and submit a ticket. You’ll notice that the top 3 fields are read only and get auto populated. The application is setting a unique ticket ID number for sorting purposes, and it generates the customer name and ID based on the login information. So if I were to login as another customer I’d see different data up there.
So, once the ticket is created, 3 things should’ve happened. First, the customer should have received an email. If we check the email account, you’ll see it’s there and if you remember...it’s pulling the contact’s first name.
Secondly, our support team should’ve received a more detailed email. If I open that up, you’ll see that I have all of the ticket info in this email. I’ve pulled all of the necessary data out of the ticket so our support reps can work on it without the need to open up the app. So that’s working great as well. Finally, the ticket status should be set to open, and you can see that it is.
So, this app has a little bit of automation now but we can add more. It would also be nice to have that open date automatically created as well. Let’s get back into the workflow designer and set that up. I’ll create a new condition that fires when the status is changed to open. Now you might wonder why I don’t put this action under the first condition. I’m making a separate condition because the status can change to open in two different ways: When I add a ticket or when I reopen a ticket. Once I have that condition set up, I can set the open date to today’s date.
Now, another thing to consider is what happens when we close a ticket? First, I’ll set up a condition to fire when the status is changed to closed. In this workflow, support reps can close tickets in two ways: Clicking the ‘close ticket’ button in the table view, or opening up the ticket and manually typing close in the status field. Either option will fire this condition.
Once I have my condition set up, I’d like to do a couple of things. First, let’s automatically set the closed date so our support reps don’t have to do that manually. I’ll create an action that will automatically assign the closed date to the current date after a ticket has been closed.
I’d also like to notify the customer that their ticket has been closed. I’ll set up an email like I did before, and include a description of the solution in the email body. I won’t walk you through the whole email setup again though, since I’ve already done that twice. I’ll just set it up in the background and show you the finished email.
Now, let’s do one more thing before I wrap this up. What happens if I need to reopen a ticket? First, I’ll need to set up another condition. I only want this to fire when the status changes from closed to open. So this time I’ll set both the changed to and the changed from option here.
Next, I’d like to do a couple of things. First, I’d like to clear out the closed date since that no longer applies. I’ll create an action to set the closed date to an empty field. Finally, I’d like to send another email to the customer letting them know that their ticket was reopened. Again...I already showed you this process a couple of times so I’ll skip through the setup. Now, I don’t think we need an email to notify the support team, as they would be the ones reopening the ticket in the first place.
So, now that we’ve added all of that, let’s check it out. I’ll add a new ticket from the customer like I did before. I won’t show you the notification emails this time since we did that already. Now, you’ll see it automatically sets an open date.
If I log out of the customer support application and into the internal support side, I can see the ticket I just made. Let’s say that I fixed the problem and want to close it out. I’ll hit this button and write up a quick resolution. Once this is closed, you’ll see it automatically sets a closed date. Also, if I check the customer email, you’ll see a notification.
And of course, if I want to reopen this I click this status button again which will clear out the closed date and send an email to the customer. So this is all working like it should. In just a few a minutes I automated a support ticket workflow. Of course, you can do way more than that in the workflow designer. I just wanted to keep it simple to give you a good idea as to how it works. If you want to learn more or set up a demo, visit on the web at mrc-productivity.com. Thanks for watching!
Learn how m-Power can help you
Sign up for a free trial
More Videos
Sort videos by category using the options below